
Metal Stamped Washer Necklaces
Friends, you all know that I love creating all types of projects; everything from crochet to painting and sewing to using the Silhouette Cameo. But I’d have to say that my all time favorite kind of creating to do is jewelry making. I particularly enjoy projects that incorporate metal stamping because it allows me to make things that are so incredibly personalized. I’m always looking for new design ideas, so I thought I’d share with you a basic design style I recently used for two similar yet unique necklaces for people I love.
Metal Stamped Washer Necklaces

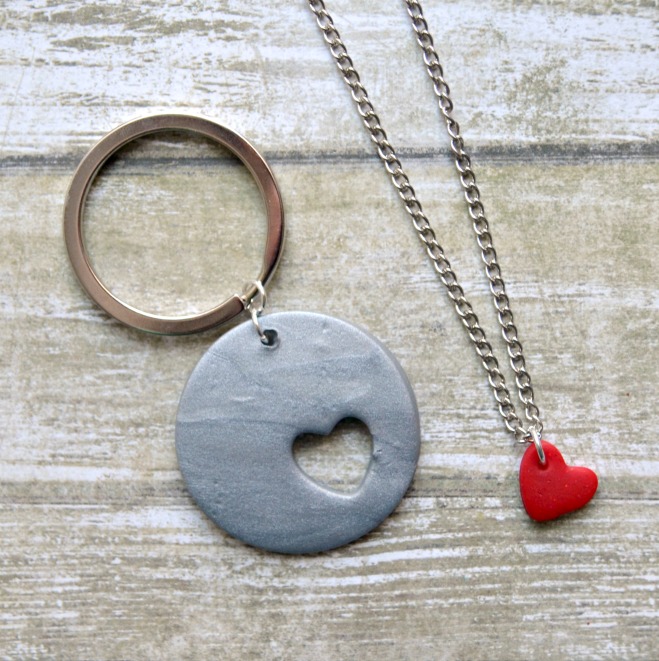
The basic design is that you stamp around a washer, then you stamp on a smaller charm and attach the two together. I used the same core supplies for both of these necklaces, with just a few variations to make them personalized for the recipients.
Here’s what you need for both designs:
– 1 lb Brass Metal Stamping Hammer
– Steel Stamping Block
– Two Hole Metal Punch
– Alphabet Stamp Set
– Painters’ Tape
– Jump Rings
– Needle nose and Flat Nose Pliers
– Black Permanent Marker
– Jewelry Polishing Cloth
Before I talk specifics about each design, if you’re new to metal stamping you’ll want to start with my Stamping Basics tutorial which has step-by-step photos and instructions for everything you need to know about starting out with this hobby.
Love My Boys Necklace

I made this necklace for my friend who really wanted a family necklace to remind her of her three boys. In addition to the supplies listed above, these are the specific things I needed for this particular design.
– Small Circle Stamping Blank
– Washer Stamping Blank
– Alphabet Stamps
– Heart Stamp
When it comes to choosing stamping blanks, I always pick something from the Soft Strike line by ImpressArt if I can. They are so much easier to use and you get a deep, clean impression with just one tap of the hammer. Honestly, you’ll love them, and they’re extra-perfect for beginners.

Step 1: I started with the washer first and stamped the names of the boys around it. I actually like stamping around curves like this because it’s more forgiving than when you try to stamp in a straight line; if some of the letters aren’t perfectly lined up, it’s harder to tell.
Step 2: Then, I colored the stamped letters in with a permanent marker and wiped off the excess with a jewelry polishing cloth.
Step 3: For the small disc, I stamped the tiny heart in the top center, then went around it with the words “my boys”. Depending on who you’re making it for, you could also substitute, “my girls,” “my kids” or anything else you wanted. I repeated step 2 by coloring in the stamped areas and wiping off the excess.
Step 4: Attach the smaller circle to the washer using a jump ring. Remember to always twist jump rings when opening them, rather than pulling the ends apart.
All that’s left is to add a chain and wear your necklace, or gift it to a friend.

To The Moon and Back Necklace
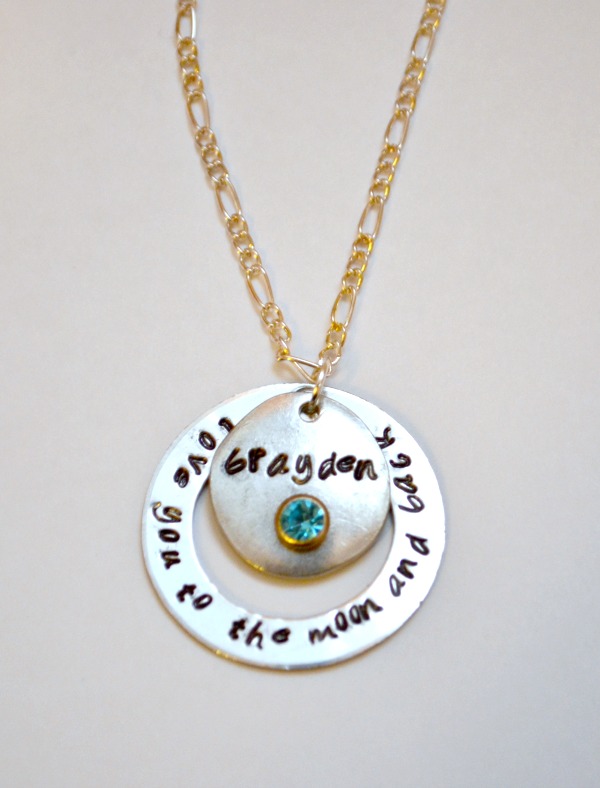
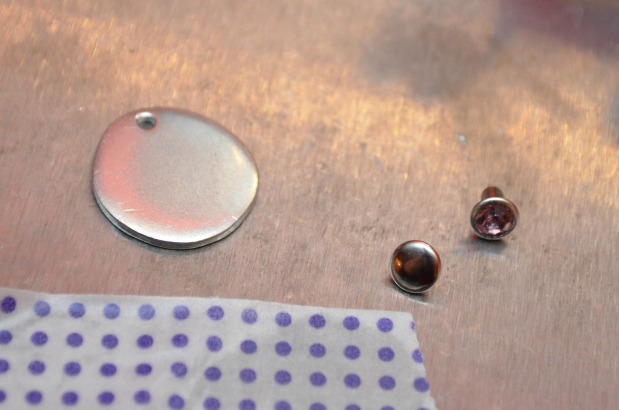
This necklace was requested by someone I know who has a very special relationship with her nephew. They tell each other, “I love you to the moon and back” every night, so she asked if I could make her a necklace with the saying. I did, and I also included her nephew’s name and December birthstone. Since I wanted to incorporate the birthstone, I chose a slightly larger second stamping blank than I did for the other design because it allowed me to add a rivet. Here are the special materials I used for this design.
– 3/4″ Pewter Soft Strike River Stone Blank
– 1 3/8″ Washer Stamping Blank
– Bridgette Alphabet Stamp Set
– Rivet Setter Kit
– Large 2 Hole Punch
– 6 mm teal crystal Rivet
Step 1: I stamped the phrase, “love you to the moon and back” going around the washer, colored in the letters with permanent marker, and wiped off the excess.
Step 2: Using the smaller 2 hole punch, I added a hole to the top center of the washer.
Step 3: I stamped the name “Brayden” across the top portion of the smaller stamping blank, using tape to help align my letters and keep them straight. Then, I colored them in and wiped off the excess ink.
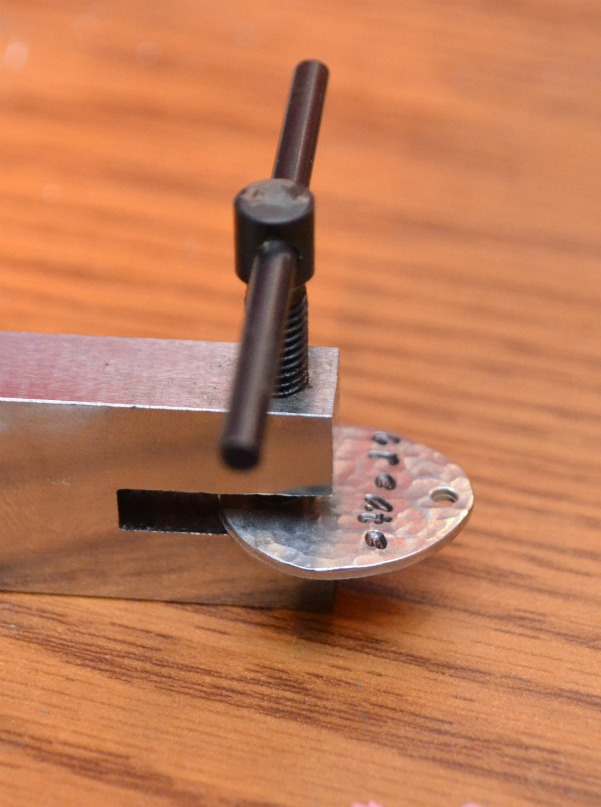
Step 4: To add the rivet, I placed the blank in the large 2 Hole Punch and made a hole the size I needed. The blank in the photo is a different project, but the same process.
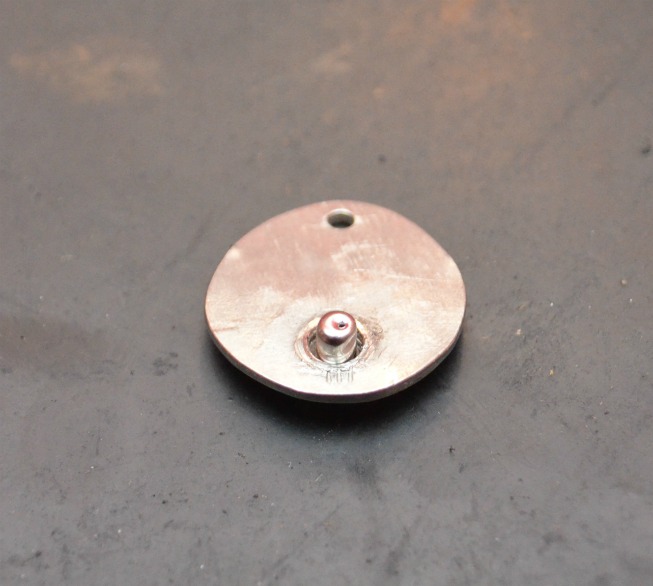
Step 5: I placed the crystal rivet through the hole and laid the blank face down on the rubber mat, which was on top of my steel stamping block. Then, I put the other half of the rivet on, aligned the riveting tool and hammered until the rivet was secure.
Amanda loved her necklace, and I was really pleased with how it turned out too. {Meanwhile, I hate it when I get stuck having to photograph indoors. Pardon the not-so-hot pictures!}

Step 6: The only thing left to do was attach the two blanks together with a jump ring and add a chain.
I really like the look of this design; the larger washer with the smaller stamped disc. I think one of my favorite things about it is that the surface of the washer allows for more words than you can fit on most stamping blanks, so you can add a longer phrase or multiple names and really make the piece extra-special.
What do you think? Which one is your favorite? Would you wear or make a necklace in this style?


I LOVE these! They look great. You can do so many different themes with this style.
They are both beautiful… 🙂
My favorite is the boy one….;)
So beautiful. I have a necklace with my son’s name and finger print which we got done when he was 4 months old. I love it so much.