
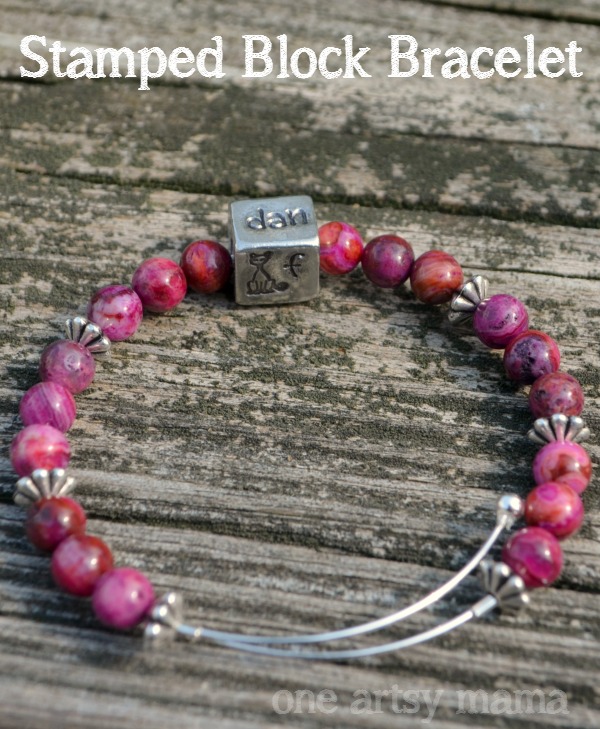
Stamped Block Bracelet & ImpressArt Giveaway
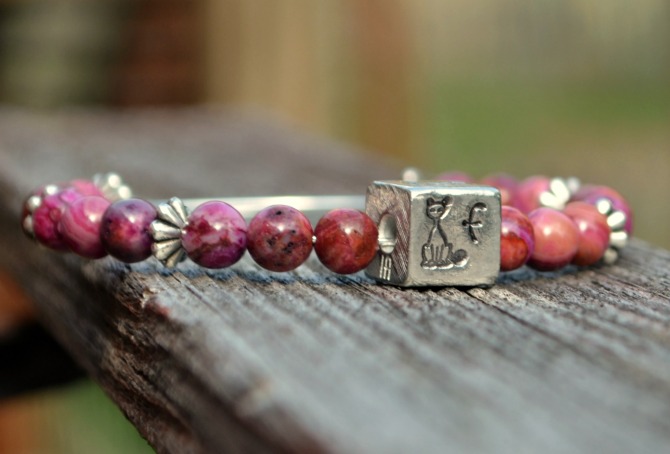
Hey, friends, take a look at my latest jewelry project! I have been really anxious to try out the new Soft Strike stamping blanks from ImpressArt, particularly the 3D shapes like the cube, so I came up with this fun way to use one in a personal bracelet!
Materials:
Many of my materials were provided by my sponsors ImpressArt and GoodyBeads. I have linked to some of the exact materials I used in the hopes that it will be helpful to you if you want to make something similar. Some of these are affiliate links, which means if you make a purchase after clicking on them, it helps to support One Artsy Mama and allows me to make more fun jewelry projects to share!
– memory wire
– memory wire cutters
– Impress Art Soft Strike Cube
– Impress Art Juniper Alphabet Stamp Set
– Impress Art Sitting Cat Design Stamp
– Impress Art Metal Stamping Hammer
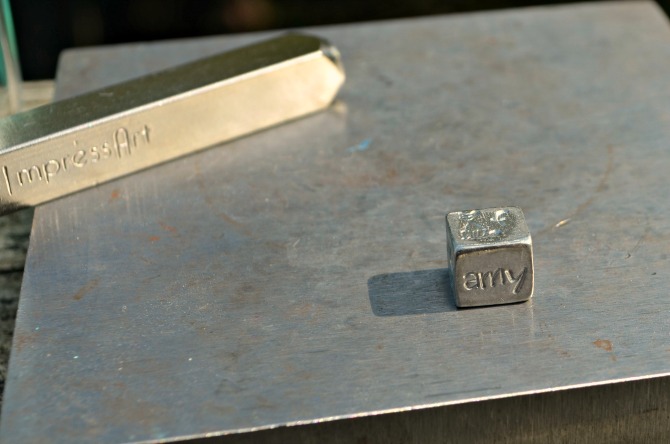
– Impress Art Steel Stamping Block
– 6mm Pink Agate Crazy Lace Beads
– 3 mm Silver Fluted Roundelle Beads
– crimp beads
– 3 mm silver memory wire end caps
– jewelry pliers
– black permanent marker
– jewelry polishing cloth
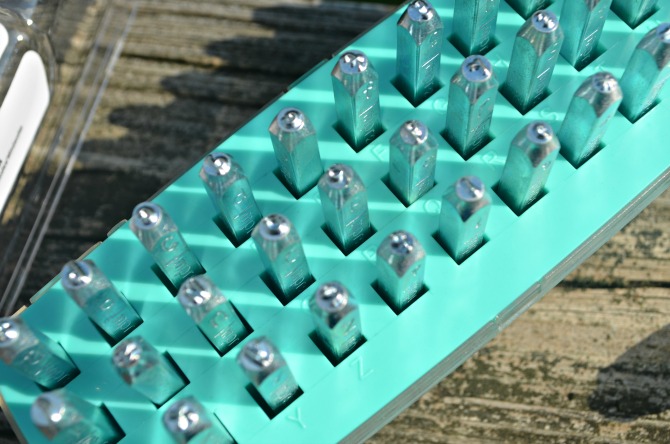
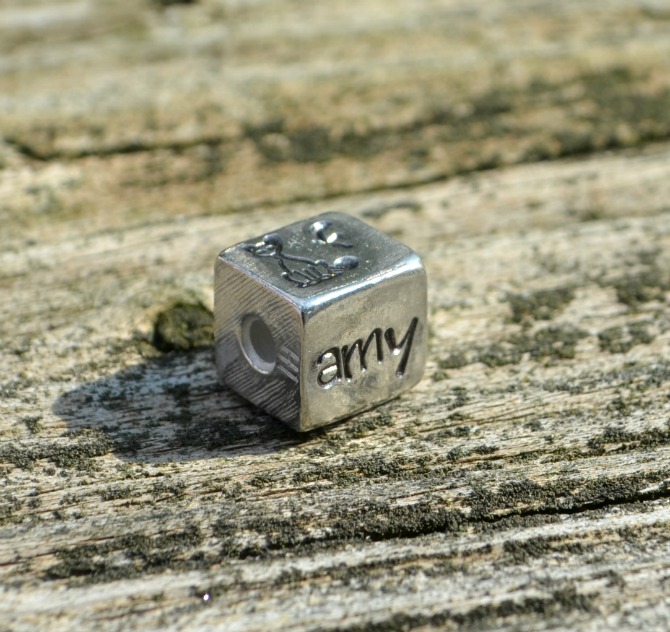
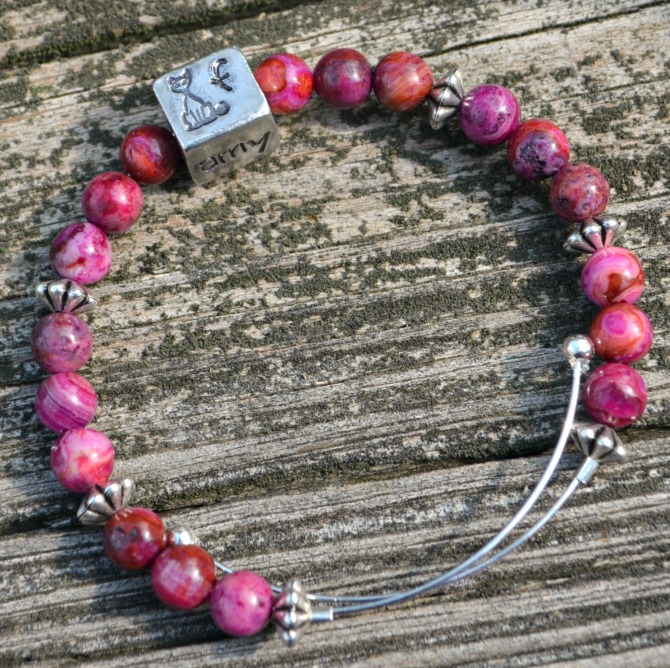
Step 1: Stamp your desired letters, words, and/or images onto the four flat sides of the cube.
You can choose anything that’s meaningful to you. For me, it was my name, hubby’s name, LC’s name, and a cute little cat stamp accompanied by the letter “f” for Fuzzy. For a full, step-by-step photo tutorial on how to do this, check out my Basic Metal Stamping post.
Step 2: Use the permanent marker to color in the stamped letters/images and wipe off the excess with a polishing cloth.
Step 3: Cut a piece of memory wire that’s about 3″ longer than the size of your wrist.
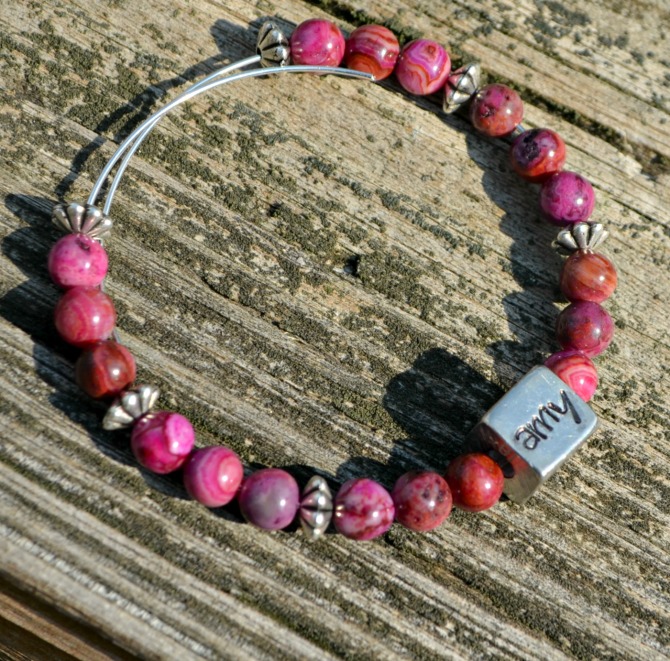
Step 4: Thread your stamped cube onto the wire along with beads in any pattern you like!
This is another way you get to totally personalize your bracelet. Use any size, shape, and color beads that appeal to you and string them in any pattern you want. I like to start by putting my center bead on first, then working outward.
Step 5: Thread a crimp tube onto each end and squeeze it tight against the last bead on each side.
This will keep the beads from sliding around when it’s on your wrist.
Step 6: Glue a small silver end cap onto each end of the wire to finish it off.
It’s that simple! Memory wire bracelets like this one are fun to wear on their own, or you can also make several coordinating ones and stack them together.
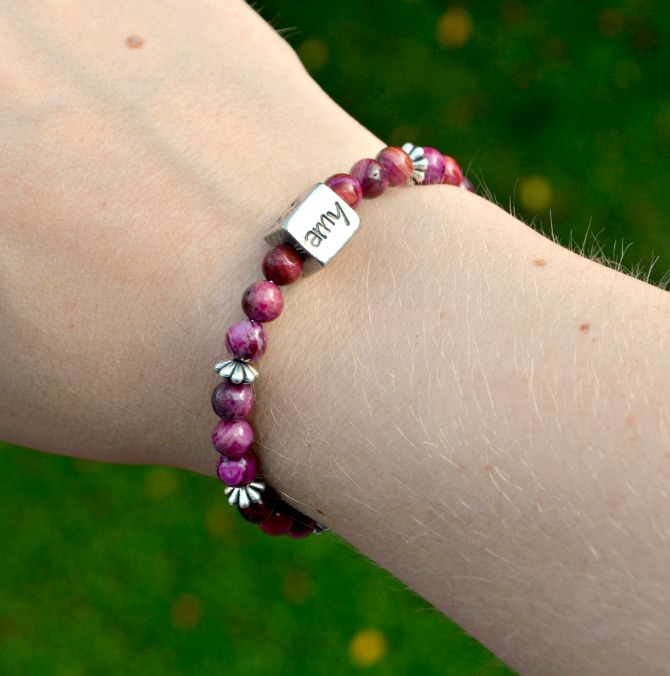
The cube was surprisingly easy to work with, and I love how as it naturally turns throughout the day, I’m reminded of different members of my family. Each time I glance at my wrist, I have another reason to smile.
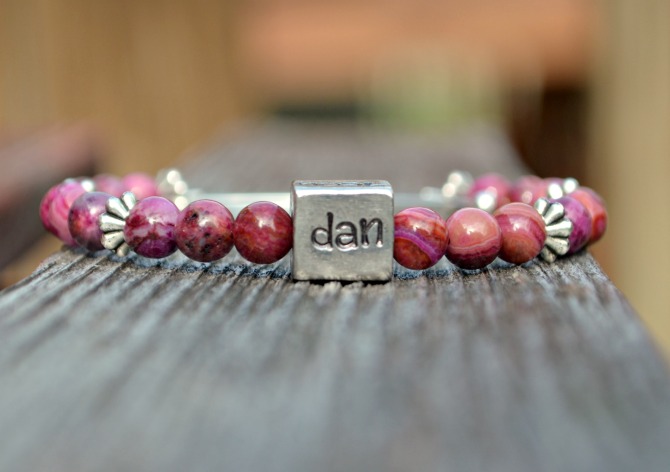
What would you stamp on your cube? Loved ones’ names? Initials? Special dates? Images? The possibilities are endless!
Today, ImpressArt is offering one lucky reader a set of lowercase alphabet stamps in their new Juniper font! To enter, just follow the instructions in the Rafflecopter below. Good luck!


Oh my GOODNESS! I am loving this design and that FONT!! Pretty!! Love the new design of the stamp cases too!
I love that block bead! I checked out the new shapes and they are awesome!
Absolutely beautiful!!!
These are awesome!! Fingers crossed I win, since I would love to make a bunch for christmas gifts!
Love it! The little cat is adorable. 🙂
Love this! And of course, love the name 😀
I LOVE this stamped block, Amy! I would love to make one of these for myself. 🙂