Unicorn Jewelry
Hey, friends! Have you ever heard the saying, “Always be yourself. Unless you can be a unicorn. Then, always be a unicorn.” I have a group of friends who totally identifies with that saying. This year, we exchanged names as Secret Santas and agreed that we’d specifically have a unicorn theme for our gift exchange; how fun is that? Here’s what I created for my partner.
Materials:
{some of mine were provided by ImpressArt and/or Goody Beads. Links below are affiliate links.}
– Memory Wire {Bracelet size}
– 3 mm Memory Wire End Caps
– 6 mm Purple Miracle Beads
– 6 mm Antique Silver Sand Resin Beads
– Crimp Tubes
– Wire Cutters
– Crimp Tool or Pliers
– Jewelry Glue
– Cube Soft Strike Stamping Blank
– Metal Stamp with Unicorn Design
– Stamping Hammer
– Black Permanent Marker
– Jewelry Polishing Cloth
– Steel Stamping Block
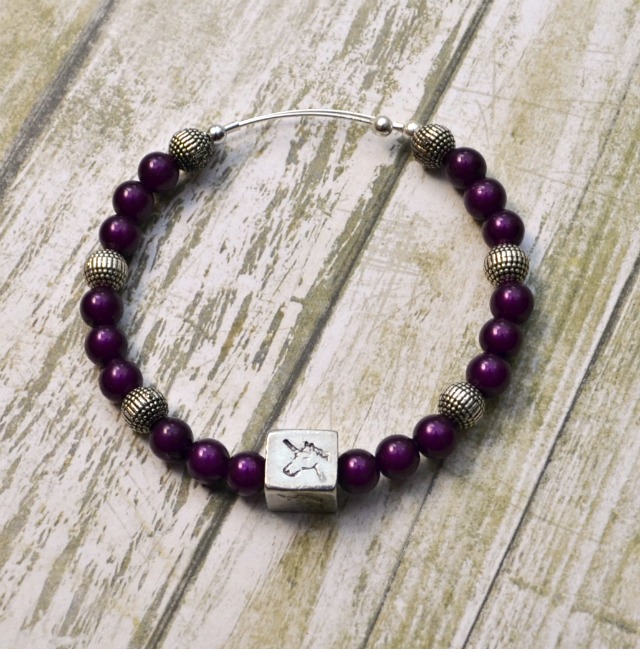
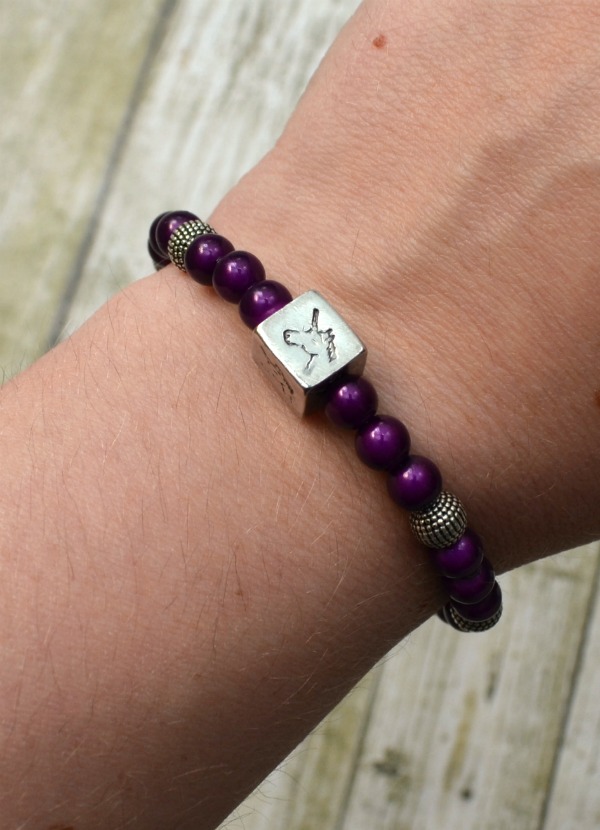
Step 1: Stamp the cube. This step is optional. You can stamp any design or letters you like, or if you don’t have stamping tools, you can purchase a focal bead that already has a design or word on it. If you choose to stamp, here’s how:
Place your cube onto the steel stamping block. Use your hammer to impress the design on each of the four flat sides. Color in the designs with a black permanent marker, then rub off the excess with a jewelry polishing cloth.
Step 2: Cut a piece of memory wire that fits around your wrist with about two extra inches. I highly recommend special Memory Wire Cutters for this job because it’s thicker and much harder to cut than other wire, but if you don’t have them, your normal cutters will eventually do the job.
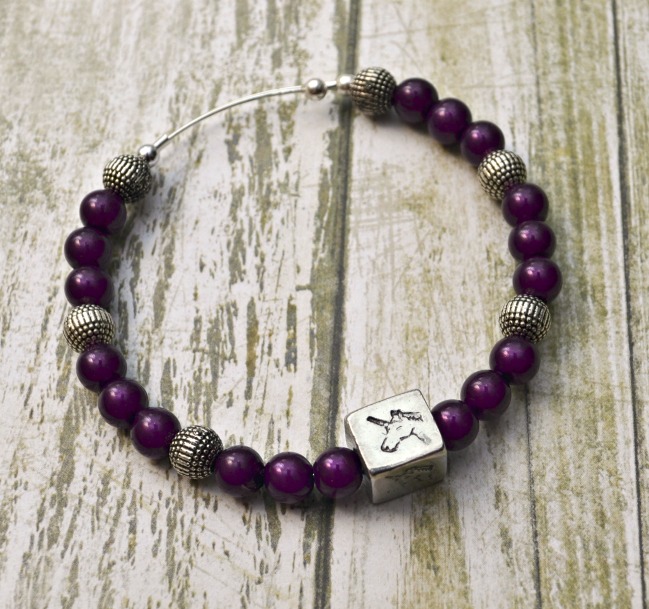
Step 3: Thread your beads onto the wire in whatever pattern you like. I start with my center focal bead then work my way out so it’s symmetrical. My pattern was three purple beads followed by a silver bead, and I repeated it three times on each side of the bracelet.
Step 4: Place and tighten a crimp tube at each end of your beads. Unless you plan to fill the entire length of your wire with beads, you’re going to need these so the beads don’t slide all around when the bracelet is on someone’s wrist. Just slide them in place and tighten them using a crimp tool or squeeze them tightly with a pair of pliers.
Step 5: Glue an end cap onto each cut end of your wire. This finished your bracelet and also keeps the cut ends from being sharp and injuring someone or catching on clothing. If you don’t have end caps, you can always form the ends into loops, but this is somewhat difficult to do since the wire is so firm and doesn’t look as good.
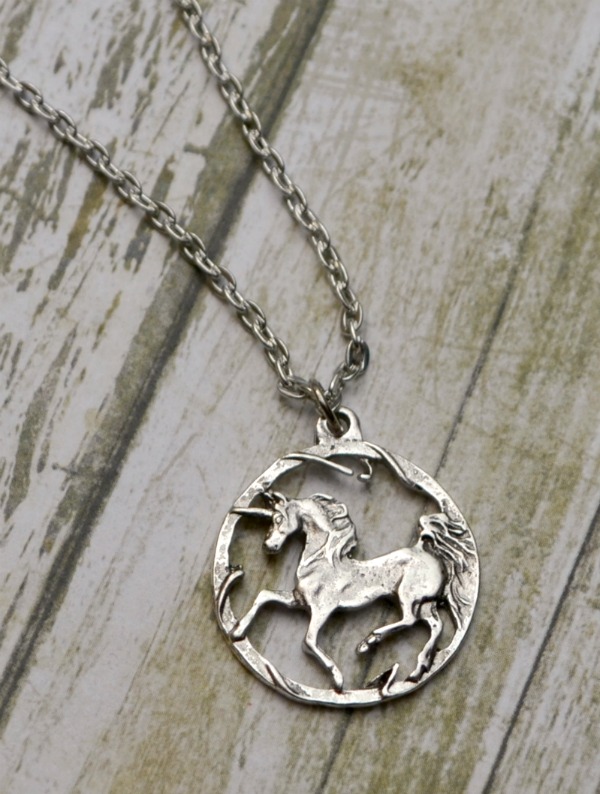
For the necklace, I ordered the pendant on etsy and just had to attach a jump ring and chain. Easy peasy!
In hardly any time at all, I had a coordinating jewelry set for my friend.

She loved it, which was just what I was hoping for. And now, I have a unicorn stamp I can use on other jewelry projects too! Are you a unicorn lover, or do you know someone who is? If not, you can easily adapt this bracelet by stamping any image you like on the block or replacing it with a focal bead instead. That’s the beauty of making your own jewelry; make what you love! Happy crafting, friends!