
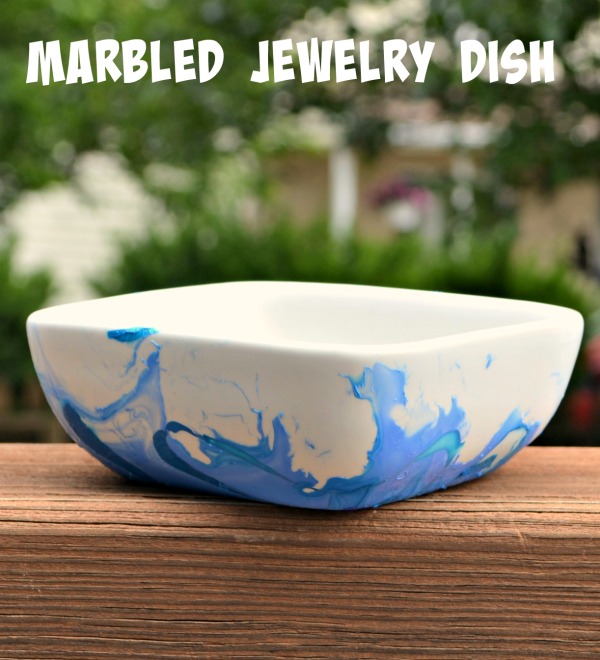
Marbled Jewelry Dish using Nail Polish
I’m sure most of you have seen projects on Pinterest or around the internet already that are made with a marbling technique using nail polish. Little Crafter and I decided it looked like fun, so we gave it a try to make a marbled jewelry dish. Here’s how ours turned out, how we did it, and what we learned along the way.
You’ll need:
– plain white dish {you can find these in a variety of shapes for $2 or less at Target}
– assorted nail polishes
– plastic container
– water
– disposable gloves {I learned this the hard way}

All you do is fill your container with water, then add however many colors of nail polish you want. There’s no wrong way to do this step, unless of course, you miss the container altogether and pour the nail polish onto your deck instead. *cough* Not naming any small people here… The nail polish will float on the top. Feel free to create a design by running a toothpick through it, or just let it naturally do its thing like we did.
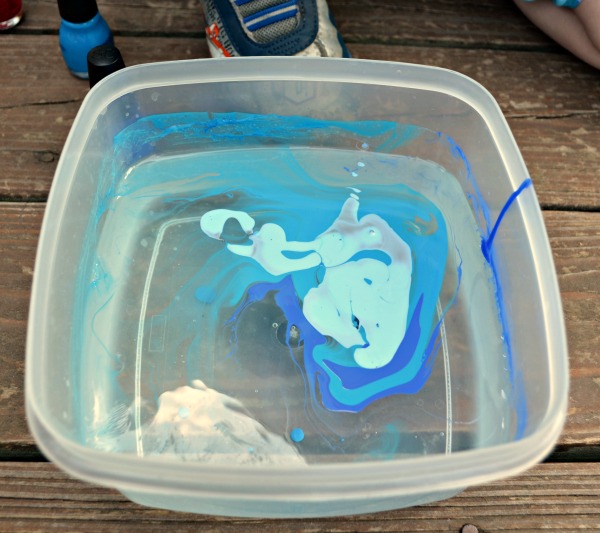
Then, dip your bowl straight into the plastic container. Don’t twist or turn it, just push it straight in past the nail polish layer, then pull it straight back up. The polish will adhere to your bowl and form a pretty marbled pattern. Let it dry completely, then your dish is ready to use.

A few tips based on our experience:
– If you don’t wear gloves, you will get nail polish all over your hands and various other body parts. Nail polish doesn’t wash off easily.
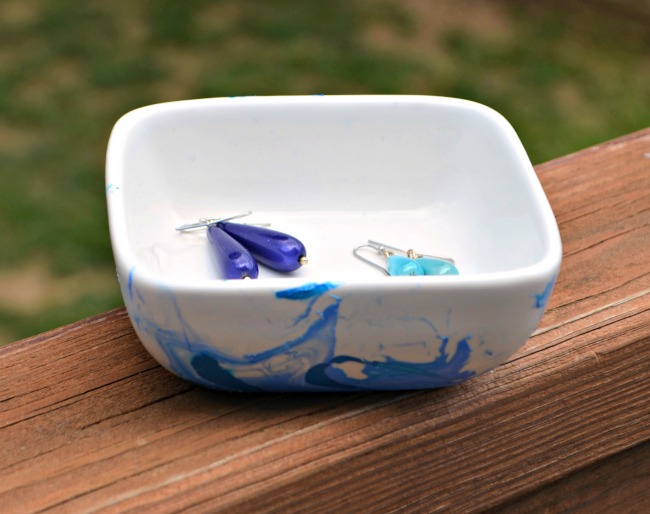
– The wider your plastic container, the better results you’ll get. The polish will spread out on the surface of the water, so the more surface you have, the more color your finished product will have to absorb. Our plastic container was a little smaller than the ideal, so you’ll notice that the color doesn’t go all the way up the sides of our bowl.
– Although the polish will stick to a variety of surfaces, we found that glass works better than plastic. We also tried a clear plastic glass and didn’t get great results.
– Doing this project outside is a good idea because it can be both messy and smelly! It’s even better to do it outside AND use a drop cloth. Lesson learned.

All in all, I’m pretty pleased with how the jewelry dish turned out, and it’s great for holding earrings, rings, or other jewelry on my dresser. Have you ever tried this technique? What tips have you found helpful?


Love this!! Thanks for sharing 🙂