
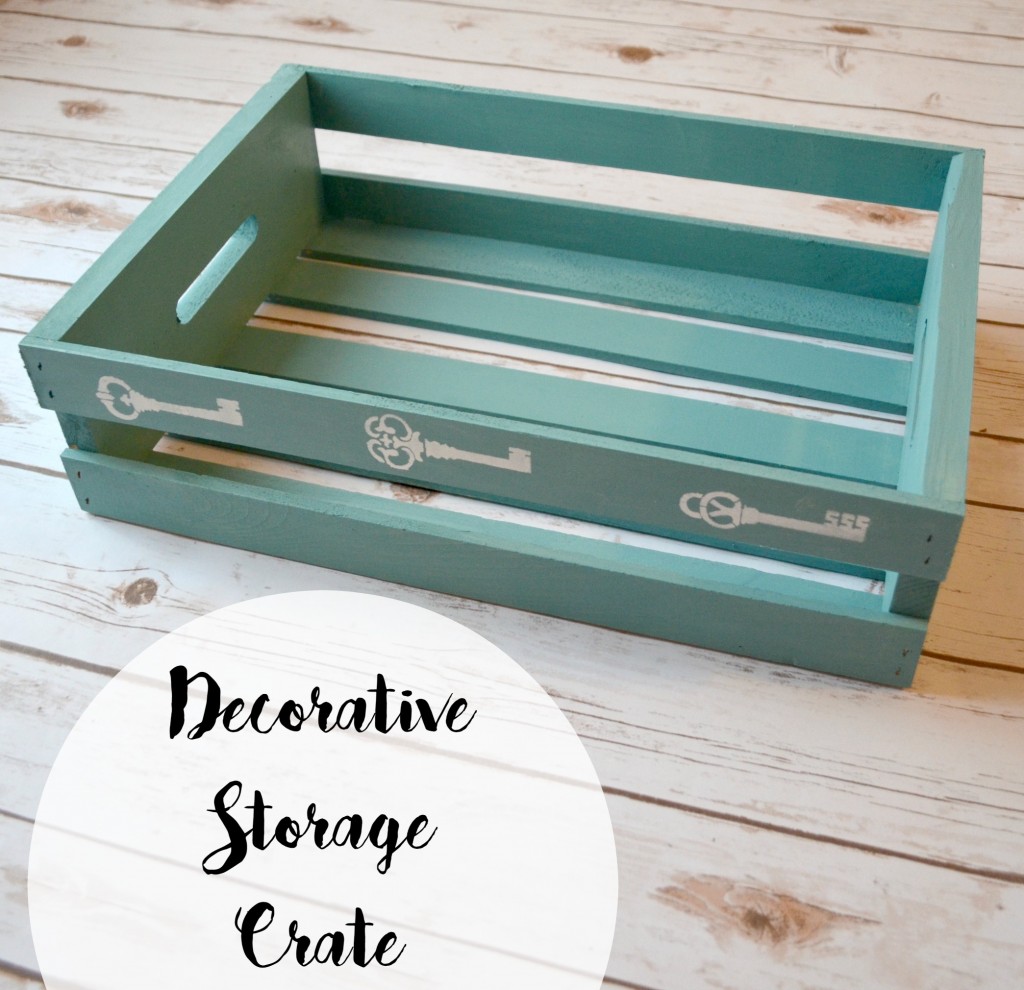
Decorative Crate
Hey, friends! As I shared back in January, I am super-excited to be taking on an additional role this year as one of ten bloggers on the brand-new Plaid Creators team!

Today, I’m excited to share with you my project for the first Plaid Creators Challenge! In January, at the Craft and Hobby Association Mega Show, Plaid debuted what they think will be the top 10 DIY Inspiration trends of 2016: Artisinal, Authentic, Bold, Comforting, Curiosity, Individuality, Moments, Organic, Ornamental, and Romantic. They also shared previews of some exciting new products Plaid will launch in 2016 to go along with these trends!
My job was to choose a trend and come up with a project to inspire you all for your own DIY project…here’s what I did!
If I were to try and describe for you the overall feel of the decor in the Artsy House, it would hands down align with this particular trend: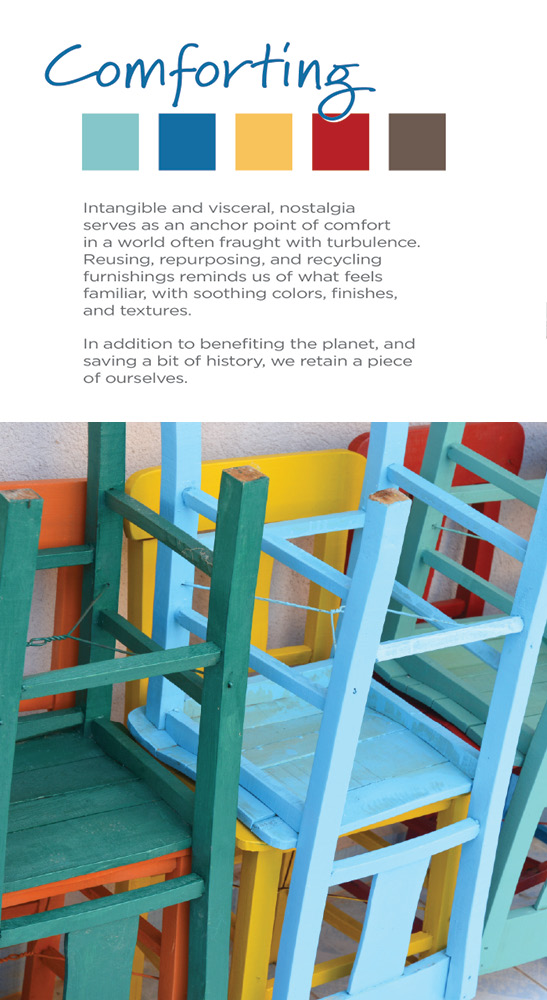
My color scheme throughout the house is neutrals {with an emphasis on grey} paired with shades of teal and mustard yellow. Basically, if you take out the red, just about all my decor is one of the colors in the swatch above. More than anything, I want guests as well as our family to feel comfortable here…I want everything to be stylish and appealing but not to the point where we feel like we can’t really live in our house. Several years ago, I took a bold step and painted the wooden coffee table and end tables with FolkArt® Home Decor Chalk in Cascade, and I love the pop of color they bring to the room.
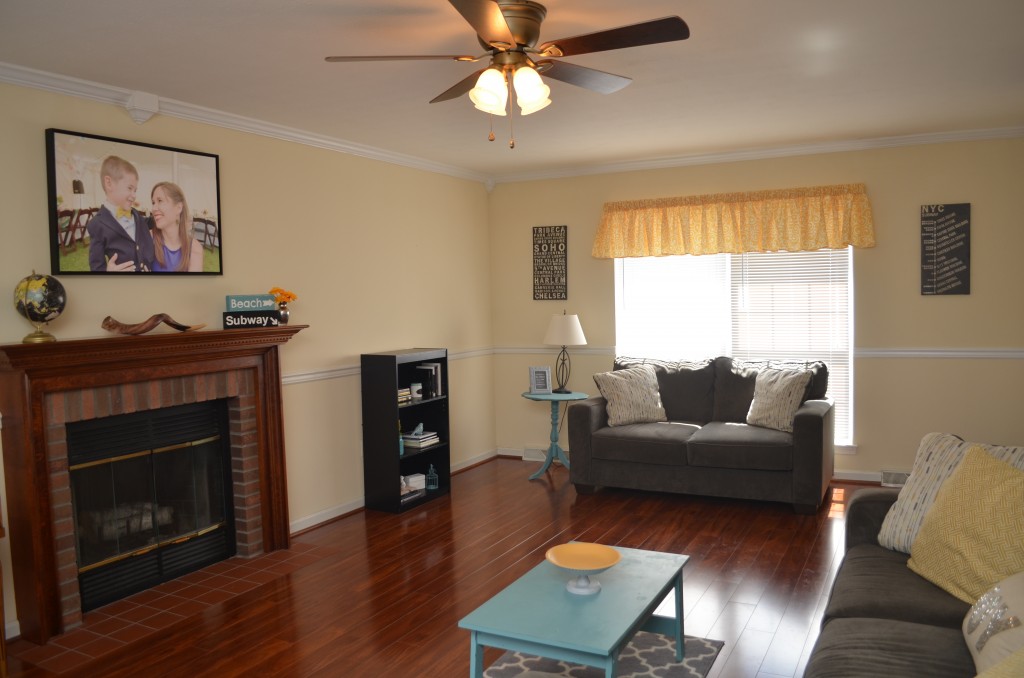
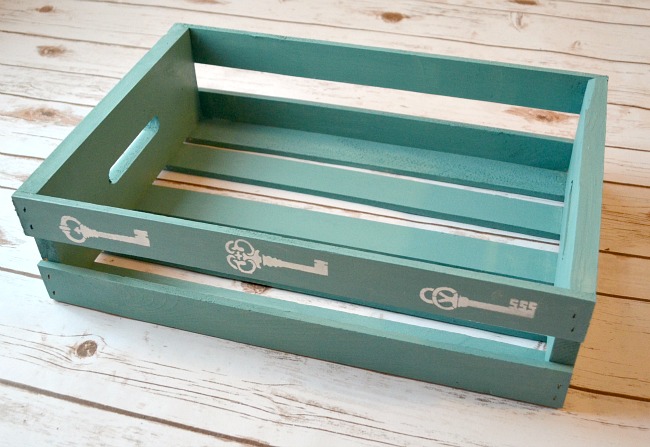
We have been needing a spot in this room {technically the family room, but we fondly call it the “beautiful room”} to keep my hand lettering supplies in rather than having them spread out all over the table, so when I came across a half-sized crate in my craft stash, I decided to paint it and make it a piece that’s both decorative and functional. Here’s how I did it.
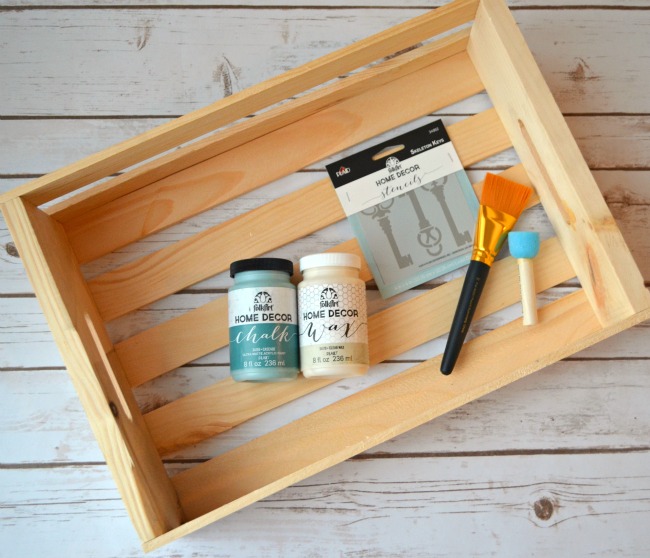
Materials:
FolkArt® Home Decor Chalk, Cascade and White Adirondack
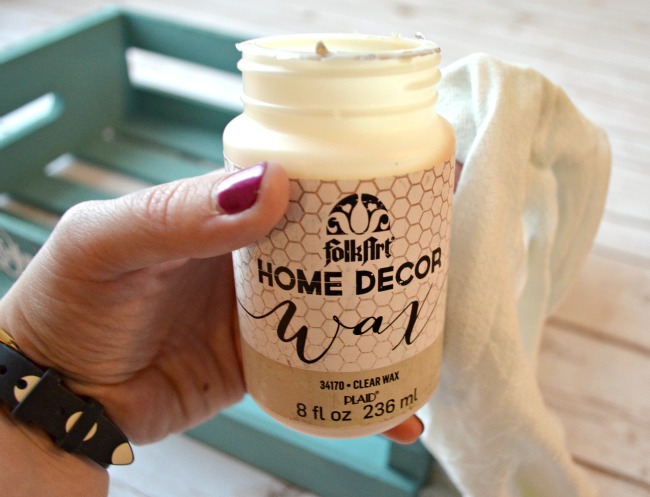
FolkArt® Home Decor Wax, Clear
FolkArt® Paintbrush and Sponge Brush
FolkArt® Home Decor Stencils, Skeleton Keys
FolkArt® Stencil Tape
Soft, lint free cloth
Half Crate
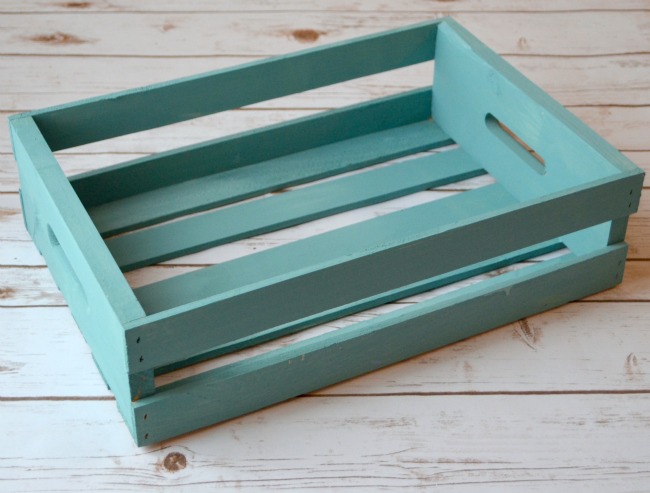
Step 1: Paint your crate using a wide brush.
I got good coverage with just one coat, but feel free to apply two if you like. Let the paint dry completely.
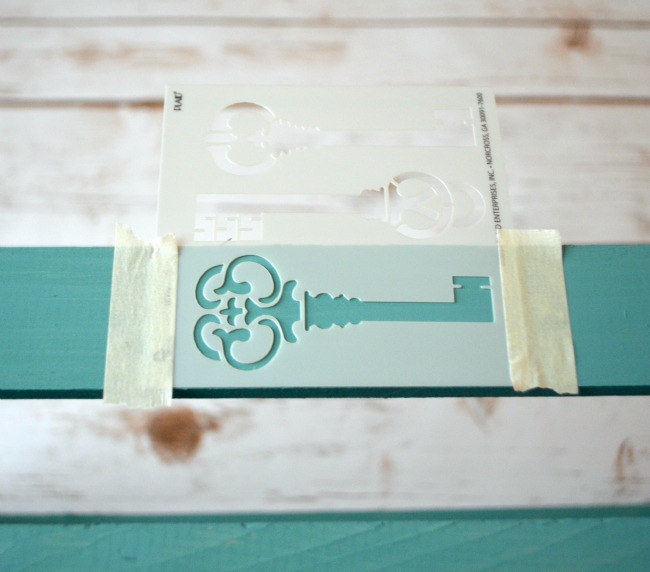
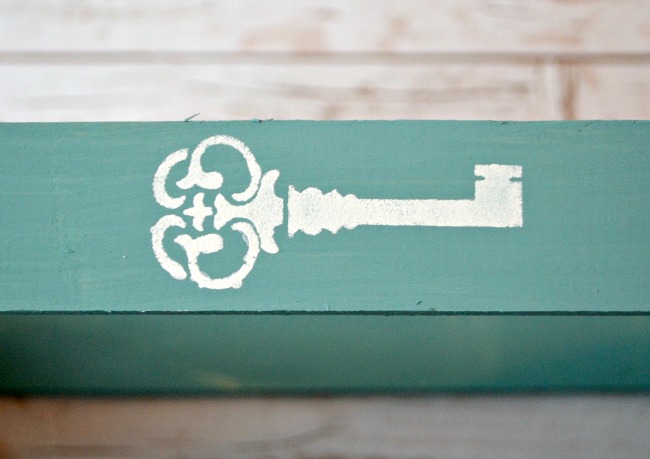
Step 2: Tape your key stencil in place.
This tape is strong enough to hold the stencil but easy to remove and won’t peel your paint off. I started by positioning one key in the center of the top board.
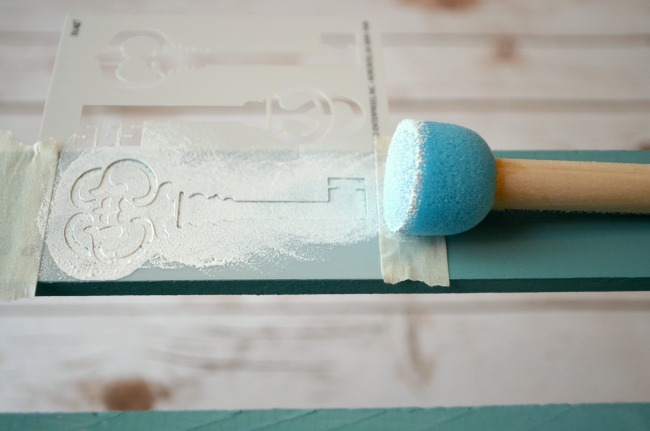
Use a sponge brush to lightly apply paint.
When you’re stenciling, less is more. You don’t want your paint to bleed underneath and mess up the design, so you only want to load a very small amount on your brush at a time.
Remove the tape and repeat until you have stenciled as many keys as you like.
I stenciled three keys; one of each design across the top board.
Step 3: Apply clear wax using a soft, lint free cloth.
An old t-shirt or sock works great for this. Once again, less is more. Get a little bit of wax onto the cloth and really rub it in, spreading it out over the surface of your project.
Step 4: Once the wax is dry, buff to your desired finish.
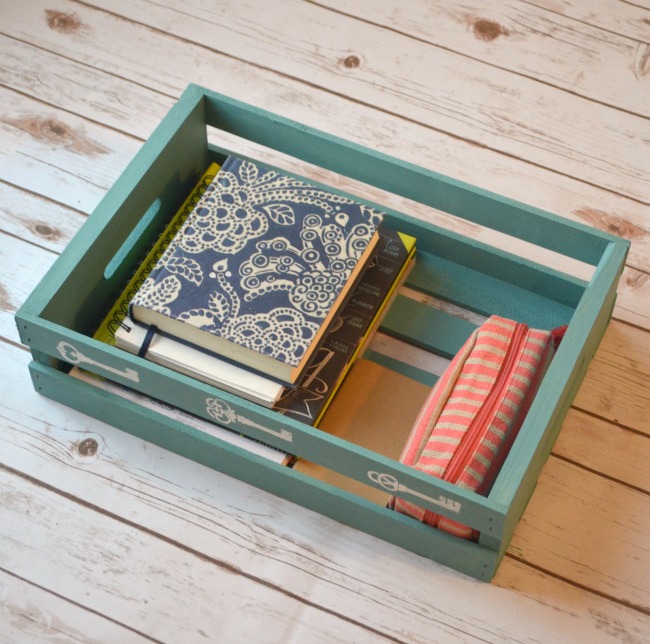
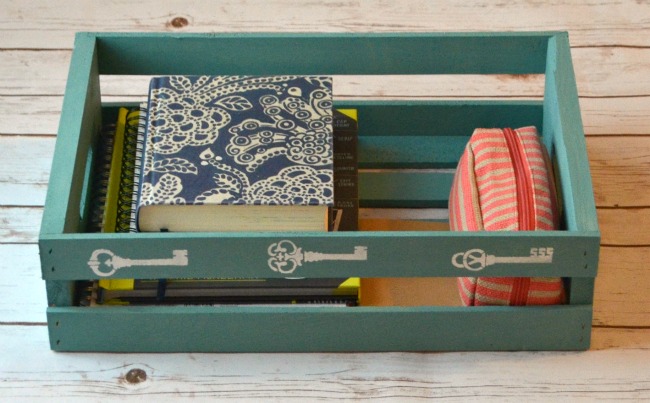
All that’s left to do is load your crate with whatever it’s going to hold, and then put it on display! This one holds my lettering books, sketchbooks, Journaling Bible, and markers, so that I have everything I need all in one convenient place. We also have crates in our home that hold our shoes, our library books, and more…they’re really great for organization! What would yours hold?
I hope you enjoyed the first of my challenges as a Plaid Creator; there are lots more coming, so stay tuned! Plaid is also celebrating its 40th “birthday” this year, so be sure to follow along on Facebook, Pinterest, & Instagram and sign up for their newsletter where they’ll be sharing throwback crafty trivia, highlights about the history of crafting, and special giveaways all year long!


Wonderful project! I have been thinking to make my own crate for the same purpose 😀
I love the chalk paint look on your create. But, why did you add wax on it? What does the wax do after apply it on the painted project? Do we have to add wax on every painted project?
Thank you so much!
This is such a cute project! Love the color you chose too.
Thanks, Erin! I am obsessed with the color…it’s all over my house!
Love how this turned out!!
Thanks, Katie! So glad you stopped by!
Love the project!! The color is spectacular!! Awesome job 🙂
I LOVE the color; your project is adorable. It will look so pretty in your living room. Thanks for that idea. I don’t know why I didn’t think of something so easy to store things in!
I love your ideas and especially that you use faith filled words!