
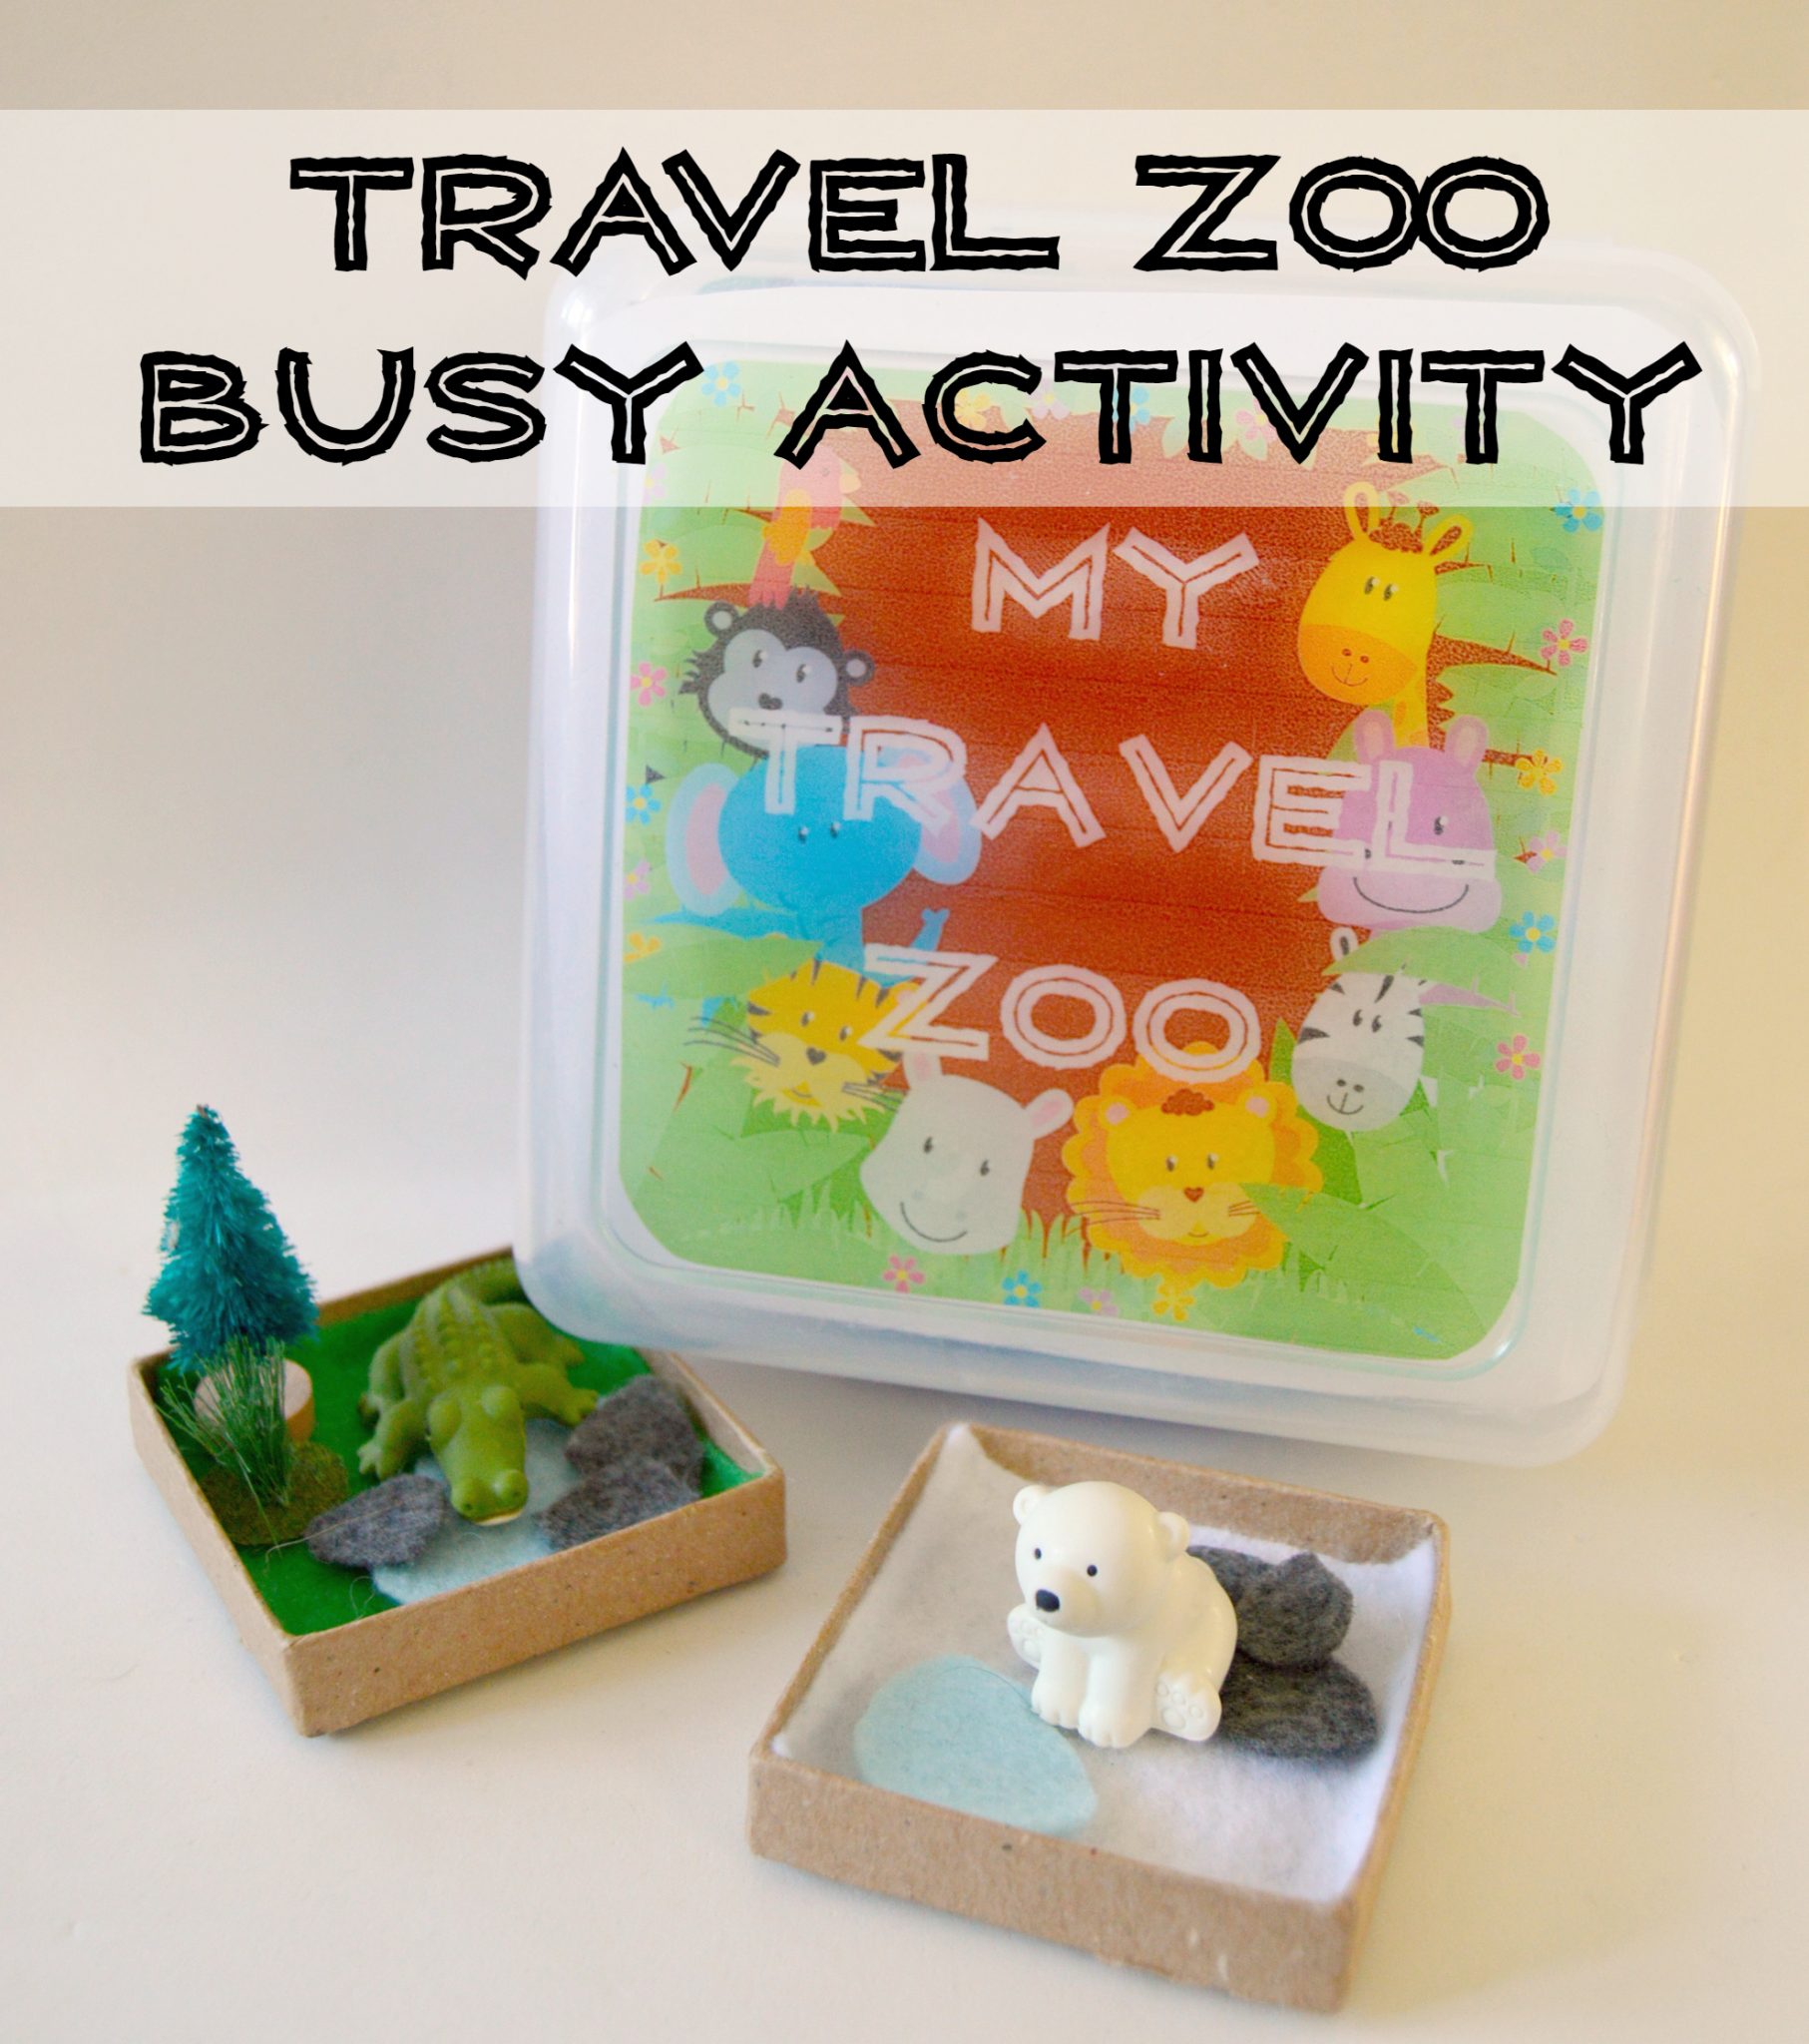
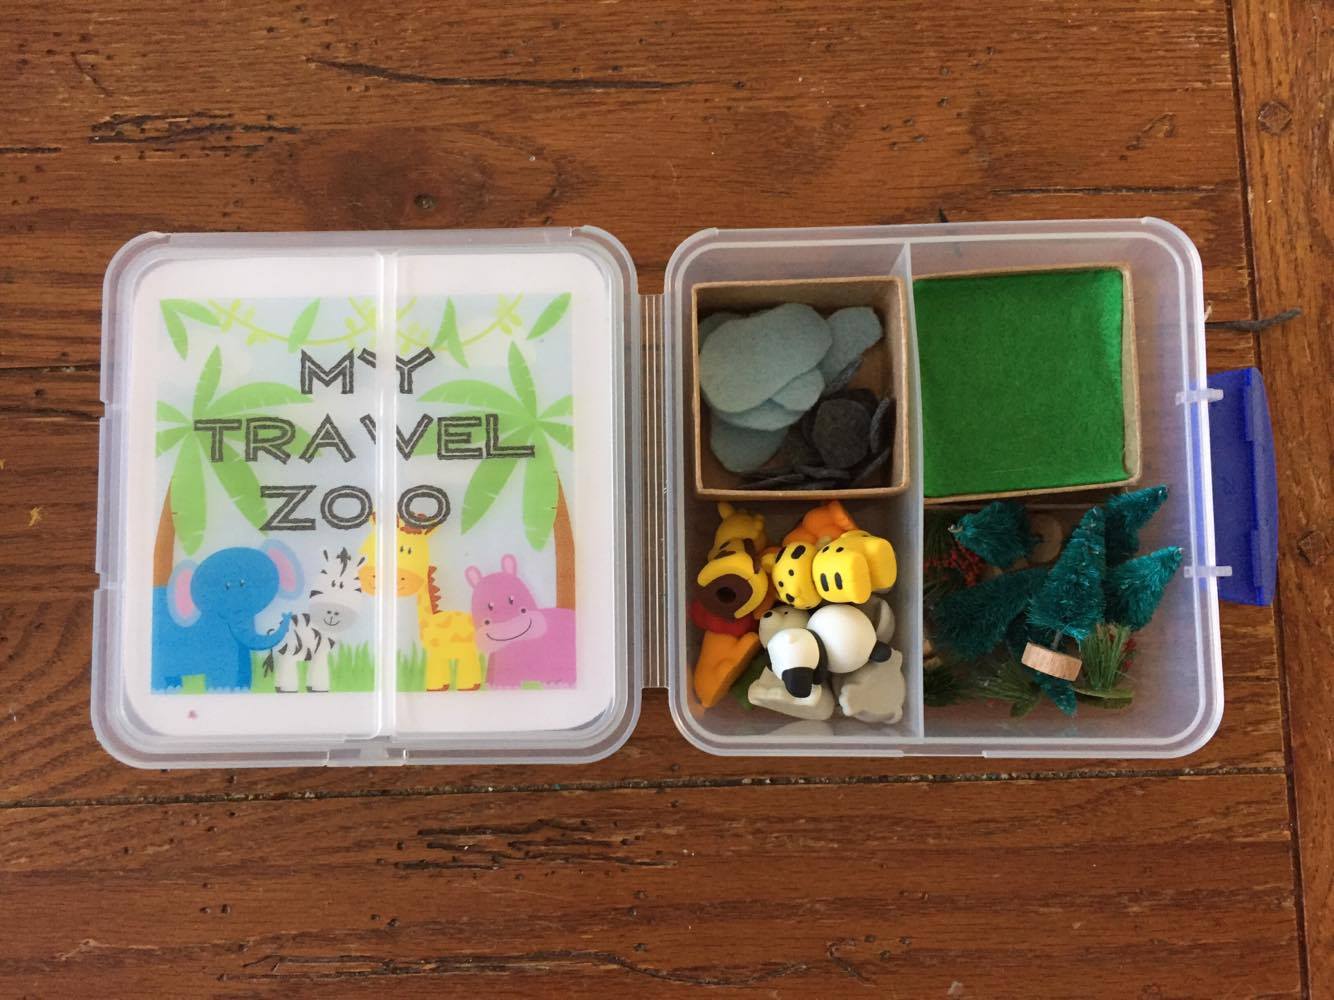
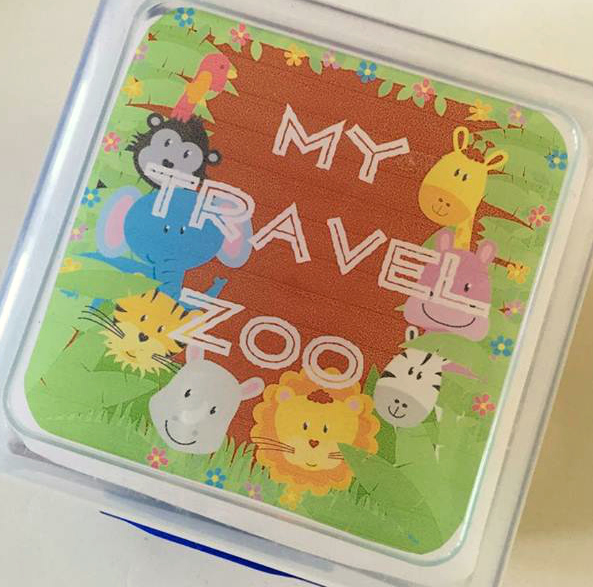
Travel Zoo Busy Activity
Hello friends! I know it’s been awhile since you’ve heard from me (Erin), but it’s mostly because I’m still in the crazy world of four kids, 5 and under! With non stop action around the house, I don’t get as much time to craft, but I’m still able to get a few projects done for the kiddos. With so many young kids, it’s important for me to find something to keep their attention if I need to attend to the baby or deal with some household chores. I wanted to share a quick and easy activity with you if you’re looking for something to keep your own kids busy. This travel zoo is perfect for independent play at home, but also packs up perfectly to take along!
Materials:
-Container to hold your zoo (I used these awesome containers, which are perfect for busy activities!)
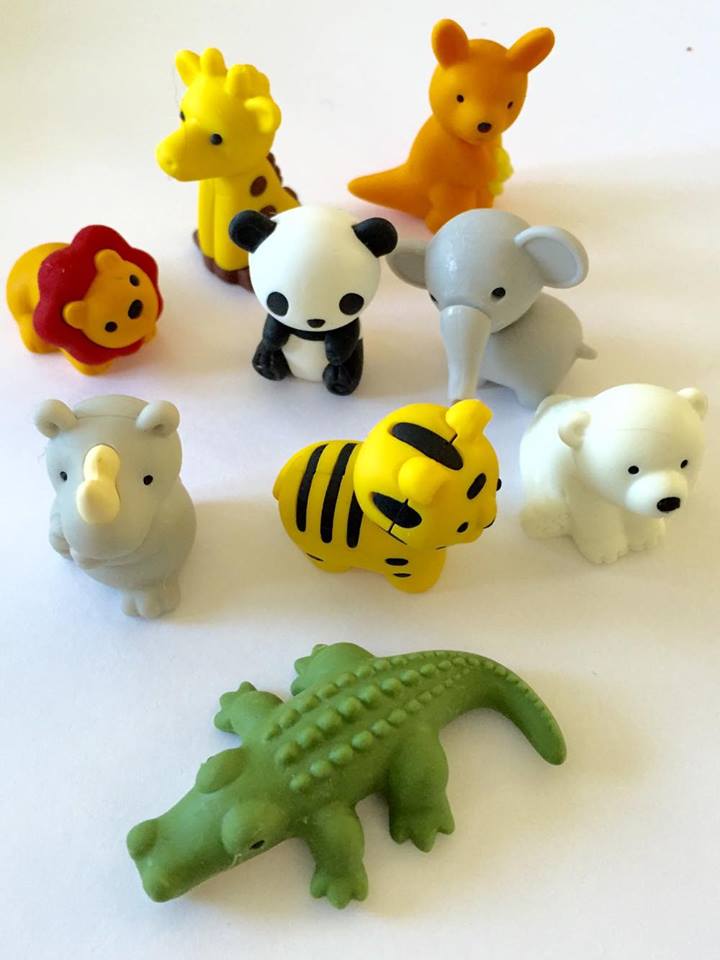
-Animals-I used some from our collection of Japanese Iwako Erasers found HERE
-Felt
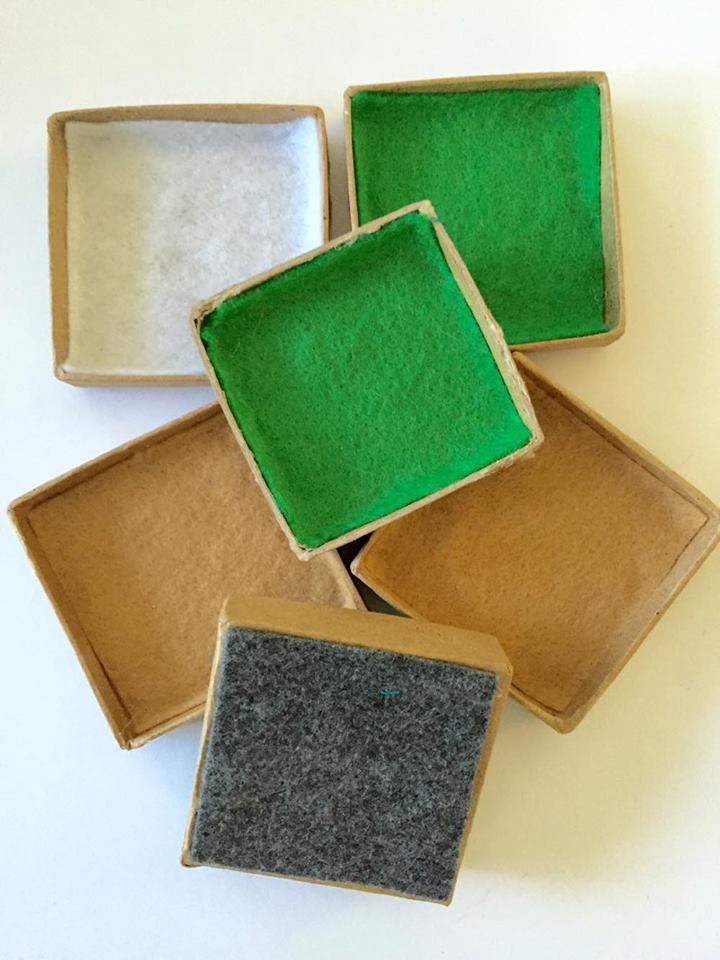
-Small Paper Mache Boxes (you’ll use the lids!)
-Hot Glue
-Small trees, plants, rocks etc
*A note on these animal erasers* These little guys rock my world. They’re adorable, they’re all the rage at school, and tons of fun to play with, but also have a secret. They’re mini puzzles as well! What does this mean? If you do use these, please be aware that there are super tiny parts that might not be great for your little ones. You can always glue them together, or just use a different type of plastic animal. My two year old is able to handle them well, but you know your child best!
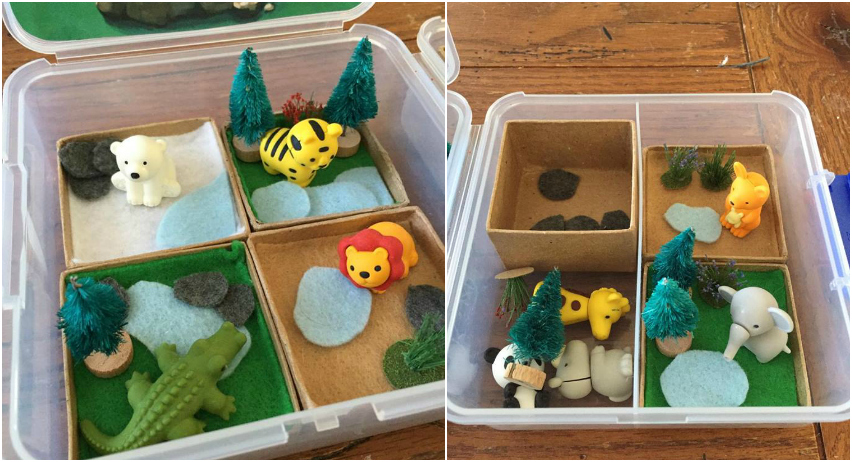
Step 1: Remove the lids from your paper mache boxes. Hot glue various colors of felt to the insides of the lids. The lids will be the “habitats” for the animals. I used white for snow, green for grass, and light brown for dirt. I also put a square of gray felt on the bottom of the lids, to cover those sticky labels.
Step 2: Gather small trees or plants for your habitats. Cut out ponds and rocks from felt. I used small bottle brush trees and little plants found in the model section of my craft store.

Step 3. Prep your box! I cut out a zoo scene and used it as a background for the “zoo”. As you can see, everything has its own little place, ready for play!
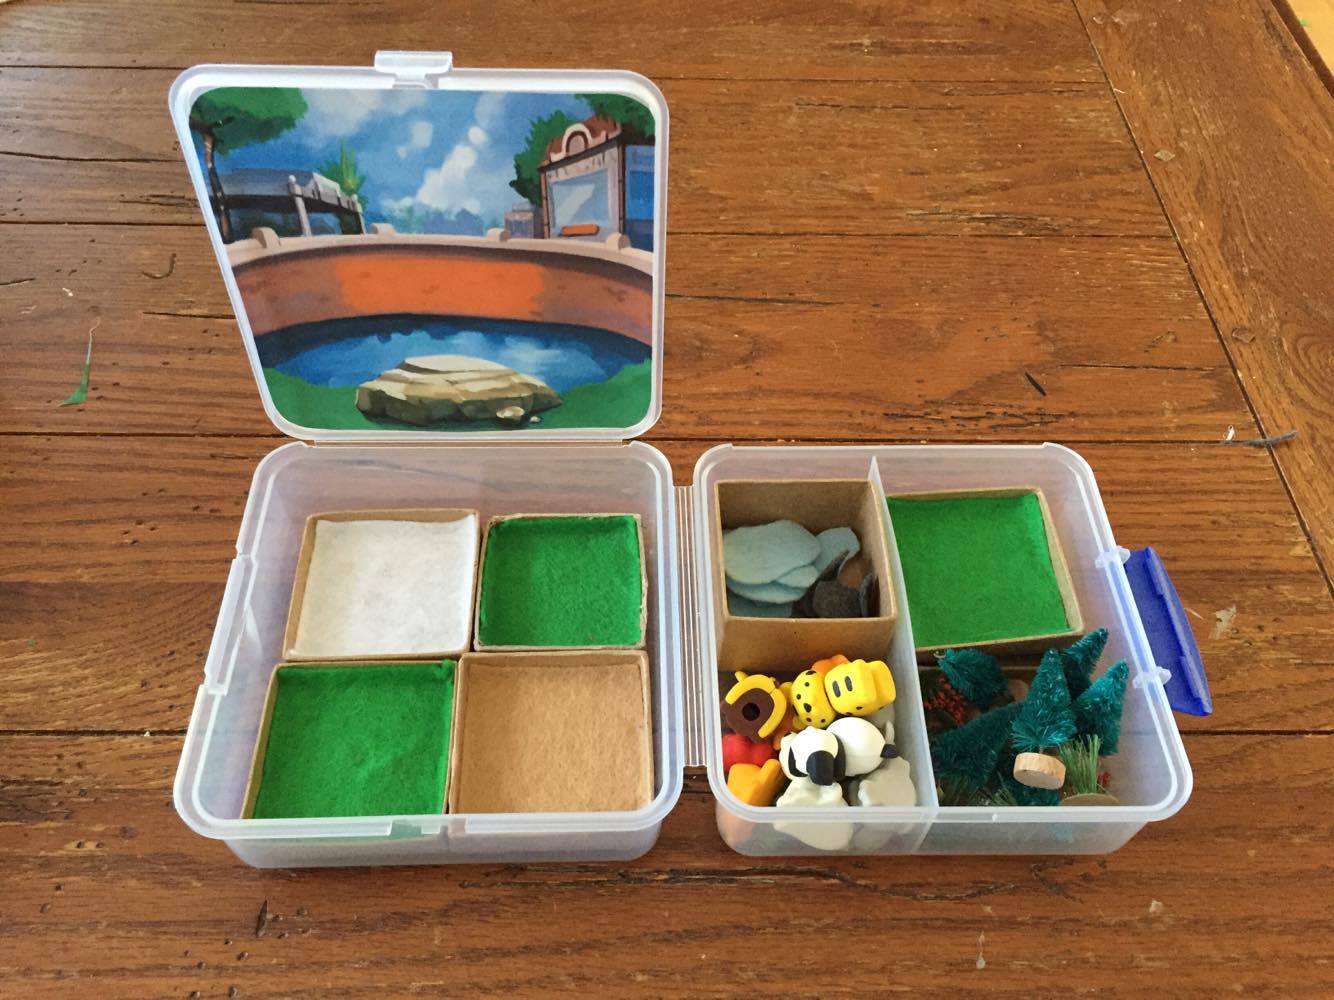
I have clear sticker paper at home, so I printed a few labels for the empty spaces inside the box, and for the lid.
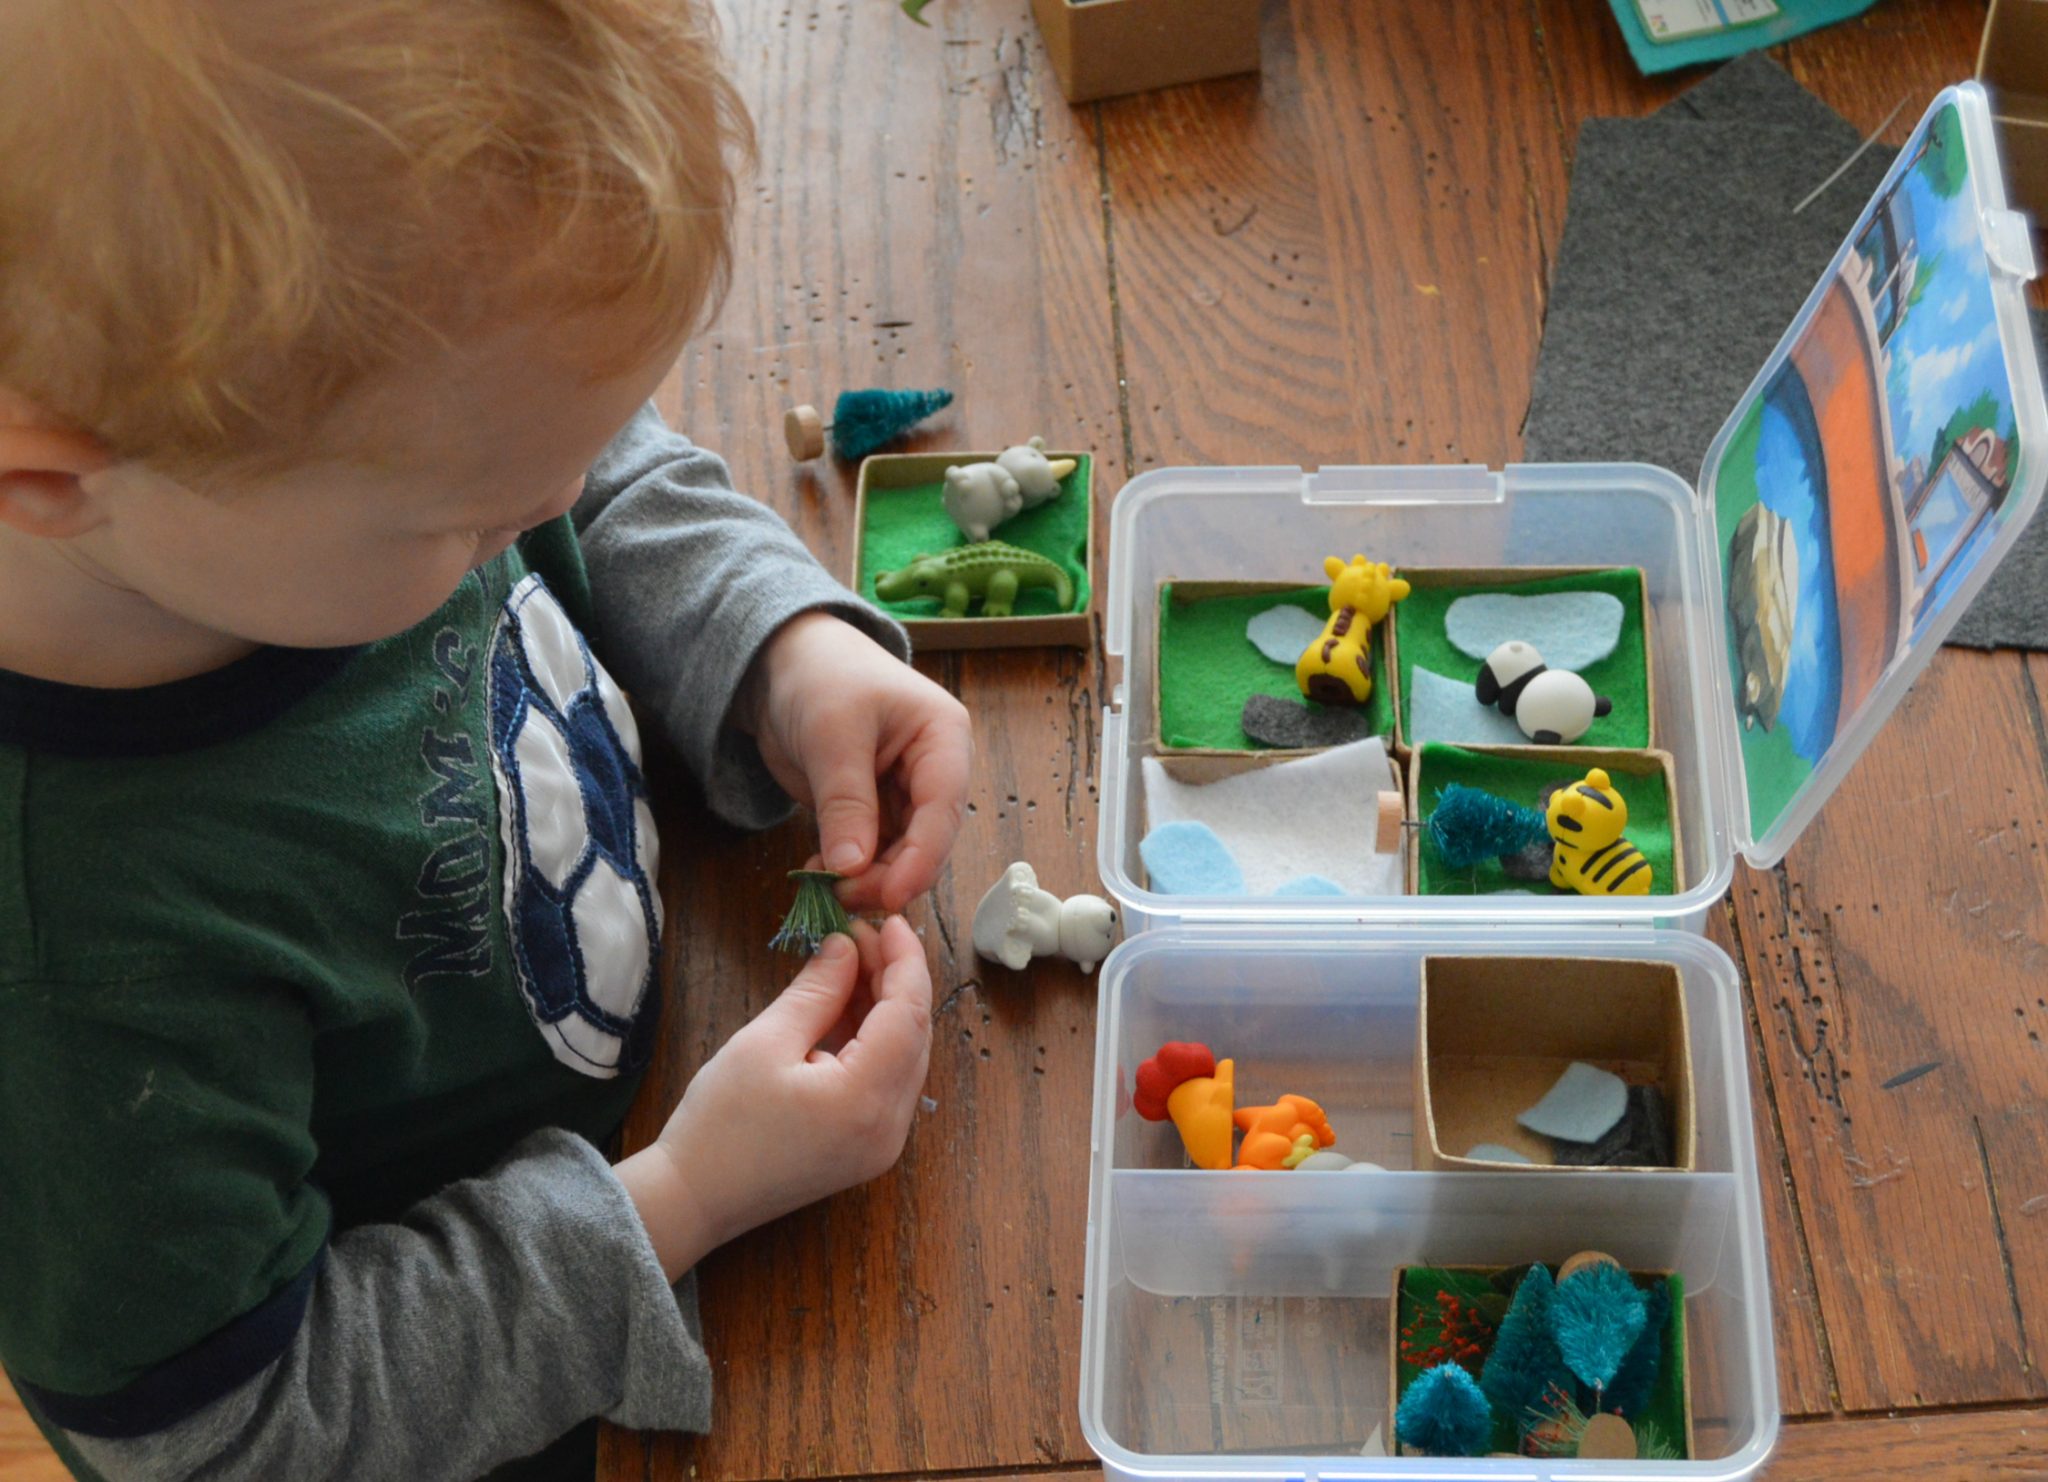
Time for play! My toddler took to it right away. In fact, I’ve created a monster, and we have to “play animals” daily now. He’s literally playing with it right now (keeping him busy) while I type this post! I love how it encourages imaginative play, but also really helps shore up those fine motor skills.
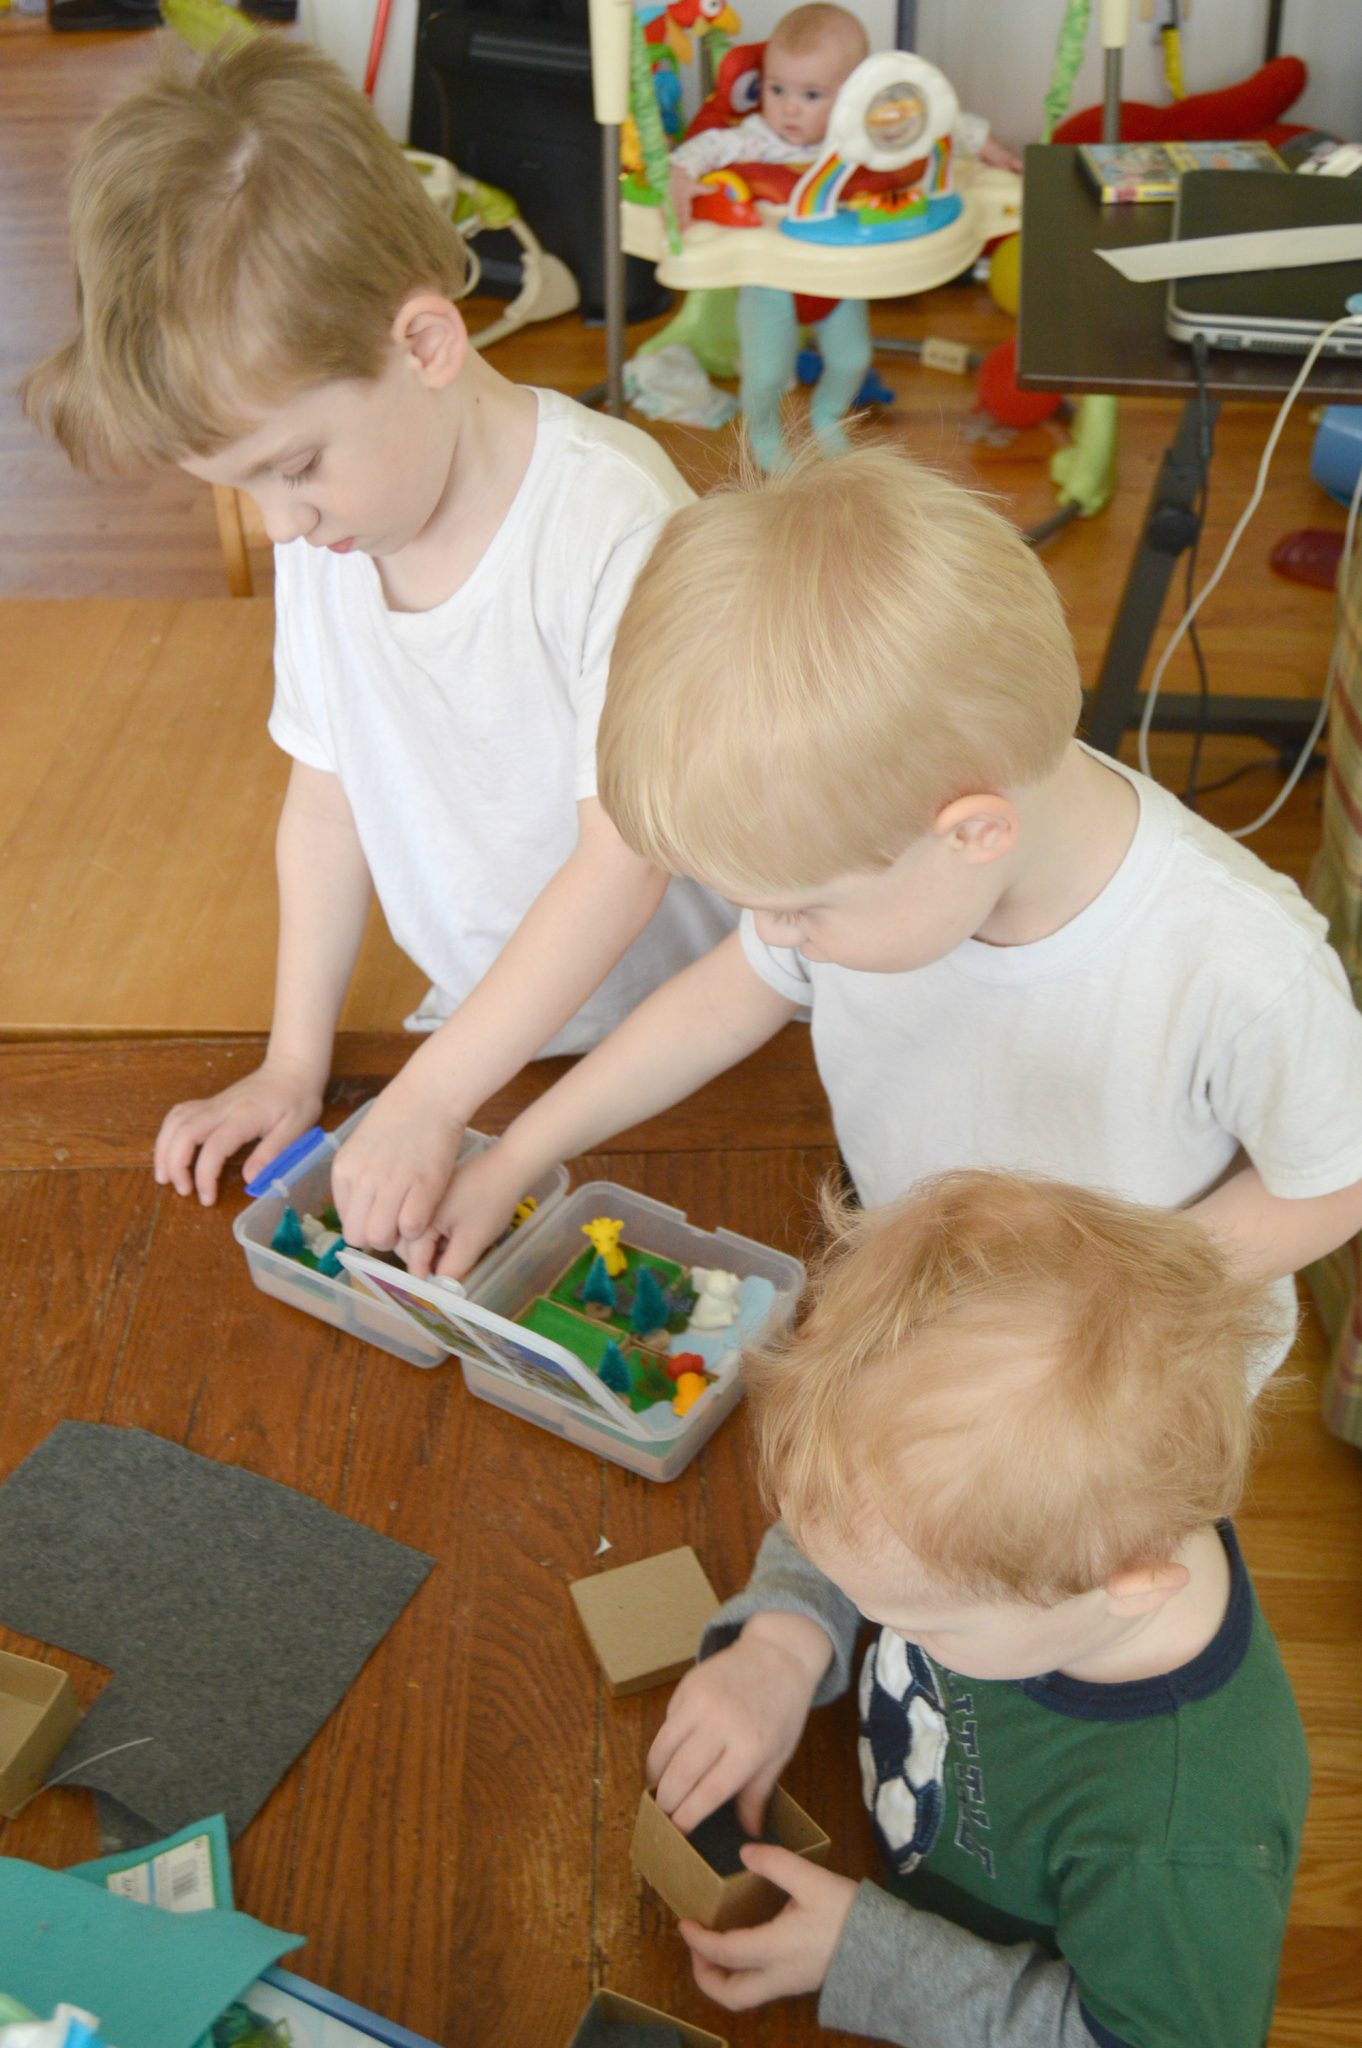
My toddler isn’t the only one who can’t get enough. This picture makes me smile, because it not only shows my three boys (elementary, preschool, toddler) playing with the zoo, but Miss Claire Bear has a little cameo in the background. As you can see, life is never dull!
I wanted to include a picture of one setup of “the zoo”. The boys are constantly rearranging and redesigning it, and every time there’s a new story that goes with it!
I love projects that are quick and easy, but have lots of open ended play and keep my kiddos busy even for a little bit! I have a feeling this zoo will be making its appearance on our Texas road trip this summer . 😉
Want some more busy activities for kids? Be sure to check out the other Craft Lightening projects!


This is a fabulous idea! Thanks for joining!
My boys would absolutely love this! It is so fun!