
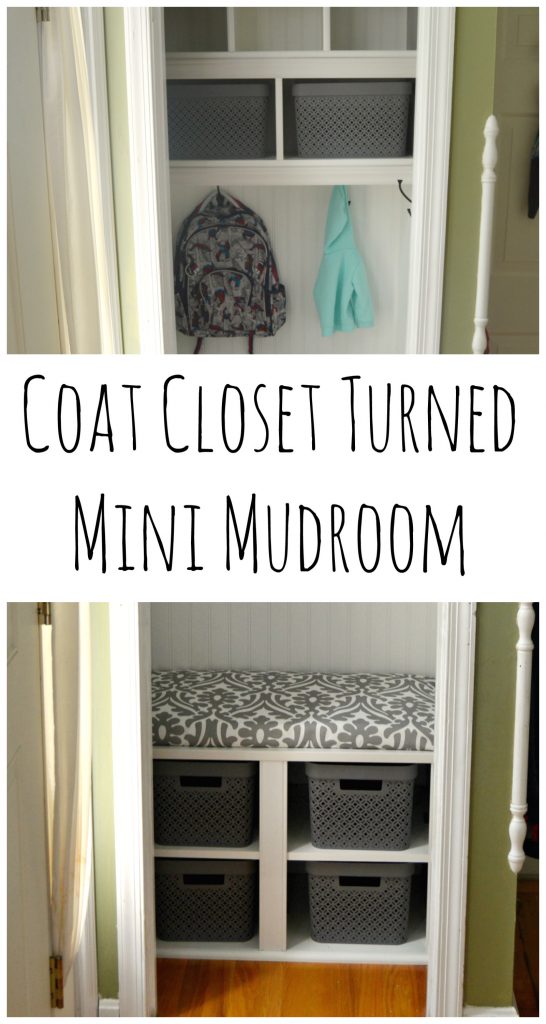
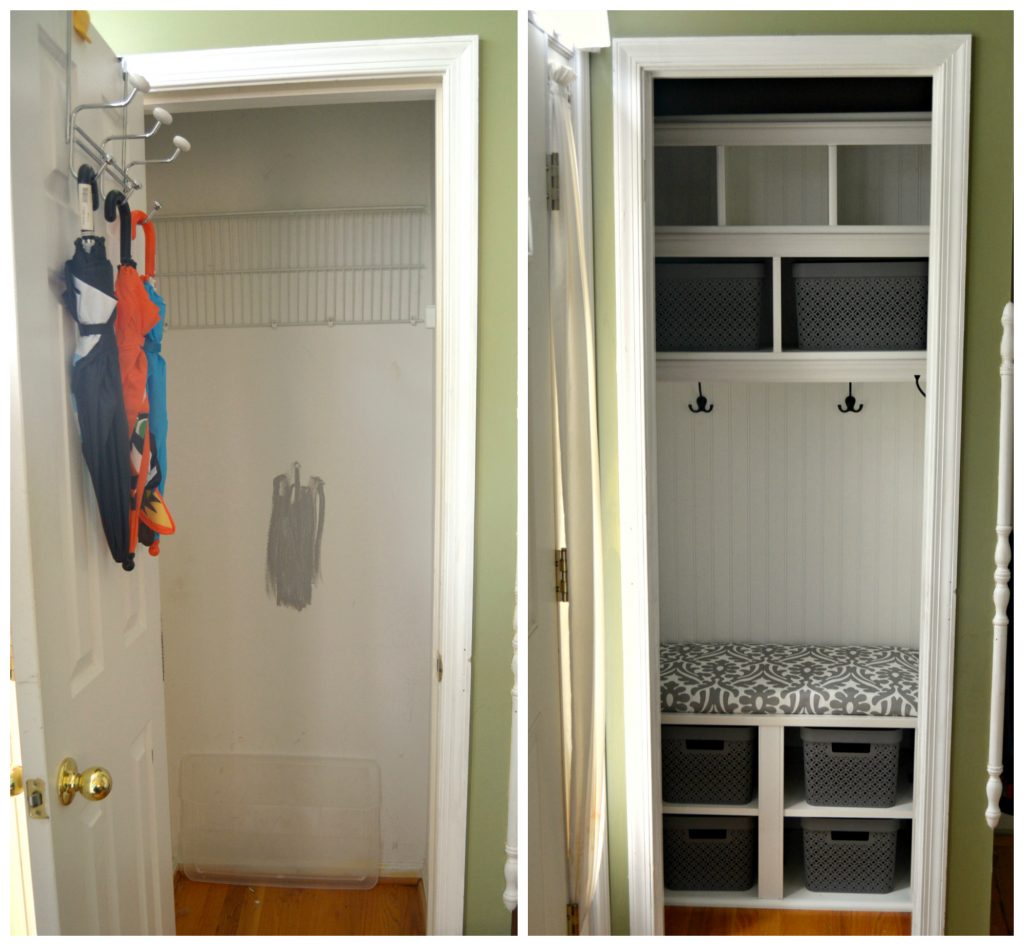
Coat Closet Turned Mini Mudroom
When you have 4 kids in 5 years, in a house that’s better suited for a family of 4, it tends to get a little crowded. Knowing that we’ll be in this house for a few more years, I (Erin) am starting to look around and see spaces that could be repurposed and better serve our family of 6. With two in school now, and four in footwear, we have quickly run out of space for book bags, shoes, and coats. I explored Pinterest for a bit, drooling over giant mudrooms, when I stumbled upon a few people that turned corners and closets into “mini” mudrooms. The wheels starting turning, and I took a little look at my own coat closet.
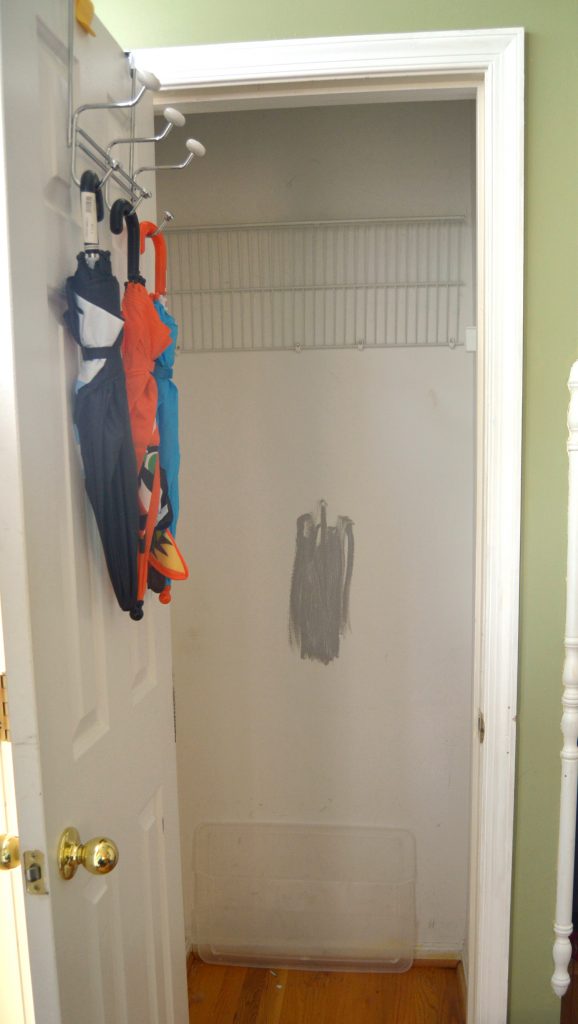
I’m sure many of you have this kind of space. A small closet by the front door, with a bunch of coats (many of which you don’t use), and a jumble of shoes and other odds and ends stuffed in the bottom (I believe I even found a kite and some random roller blades). I looked at my closet, and wondered if I could turn it into the mudroom of my dreams, even though it was a super tiny space.
Materials:
-Paint
-Beadboard Panels
-Laminate (Commercial Grade) Particle Boards for Bench (Measurements based on your space and design)
-Laminate Shelving Boards for Upper Shelves (Measurements based on your space and design)
-1 8-foot 1×2 (Hold Up Shelving)
-Toggle Bolts (For Shelving)
-Brackets (For Bench)
-Particle Board Screws
-Hooks
-Molding/Trim (dependent on width of bench and shelving materials, as well as personal taste)
-Caulk/Liquid Nail (We used the Liquid Nails that was adhesive and caulk in one)
Tools That We Used: (Obviously you don’t have to have all these, use what you have!)
–Miter Saw
-Circular Saw
-Power Drill
-Oscillating Saw
-Hammer
-Brad Gun
*Before I go any further, I have to give a huge shout-out to my husband. I’m the idea girl, as well as the crafty one, but Steve is the better carpenter and the math guy, and without him, this project would never have been done!*
Step 1: Remove the closet door, remove baseboards, and give your closet a new coat of paint!
We removed the door for a couple of reasons. First, it gave it a more “open” feel, and let the mud closet become part of the house, instead of hidden behind a door. Second, our coat closet door and our front door open right into each other, and kept causing traffic jams. I chose a beautiful gray that allowed the space to be updated, but also be neutral enough to go with the rest of the house.
Step 2: Cut and glue the beadboard panels.
Our beadboard measurements were based on shelf placement. We wanted the top of the side panels to match the bottom of the lowest shelf. The top of the back panel would correspond with the top of the highest shelf. We used the brad gun and Liquid Nail to attach the panels.

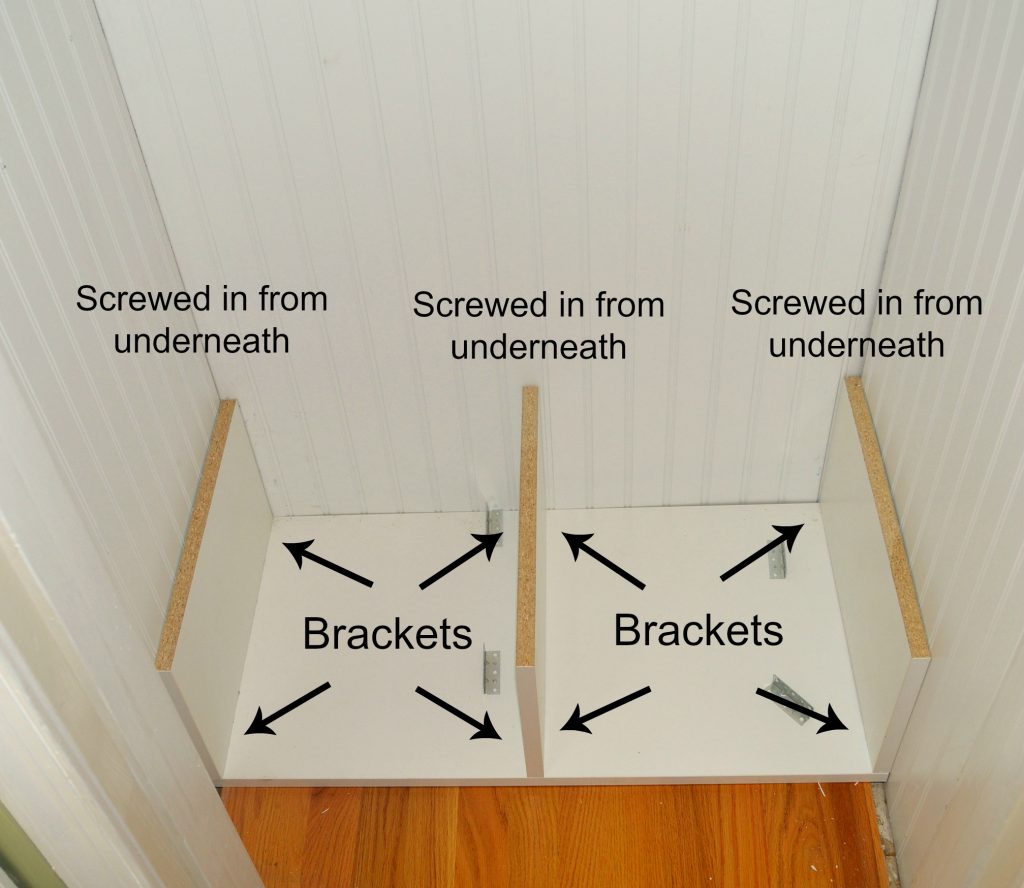
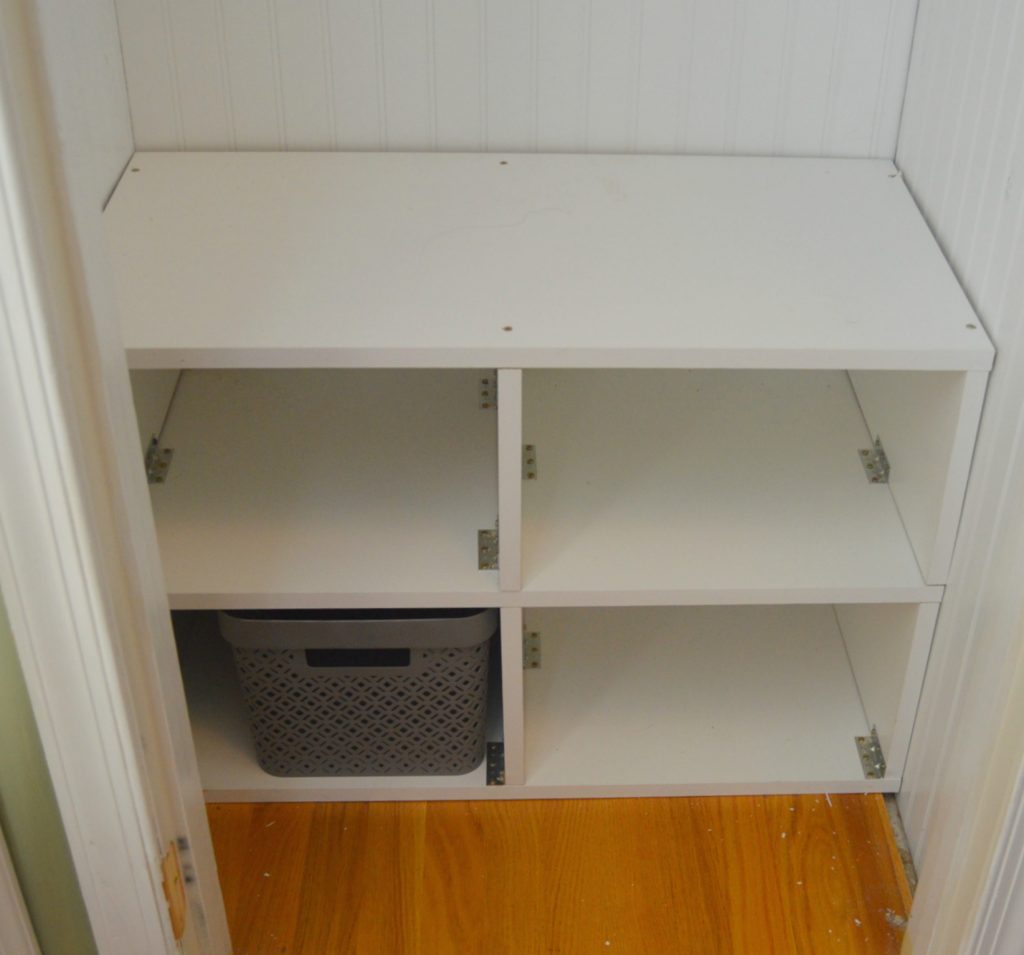
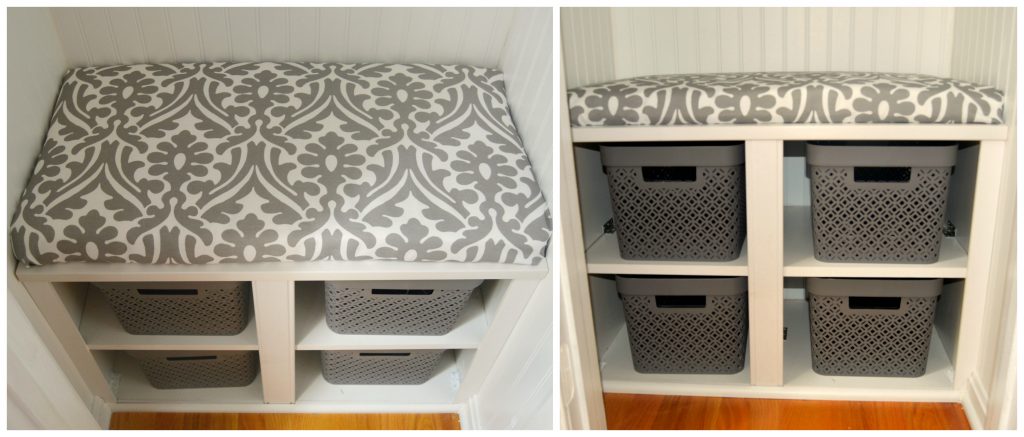
Step 3: Assemble the bench
Our bench measurements were based on the bins we bought (I needed four bins, one for each kid’s shoes and socks). Our bench height was around 20″, a little tall for the boys at the moment, but they’ll grow into it. 😉 You’ll need three pieces of the laminate particle board that measure the width of your closet (bottom, middle, and top), 4 side pieces, and two middle dividers. Because of the size of our closet, the bench had to built inside of it. The sides and middle were screwed in from the bottom (particle board screws!), and the brackets added extra support.
Then the middle board was screwed on and we waited patiently while the inspector made sure things were up to code.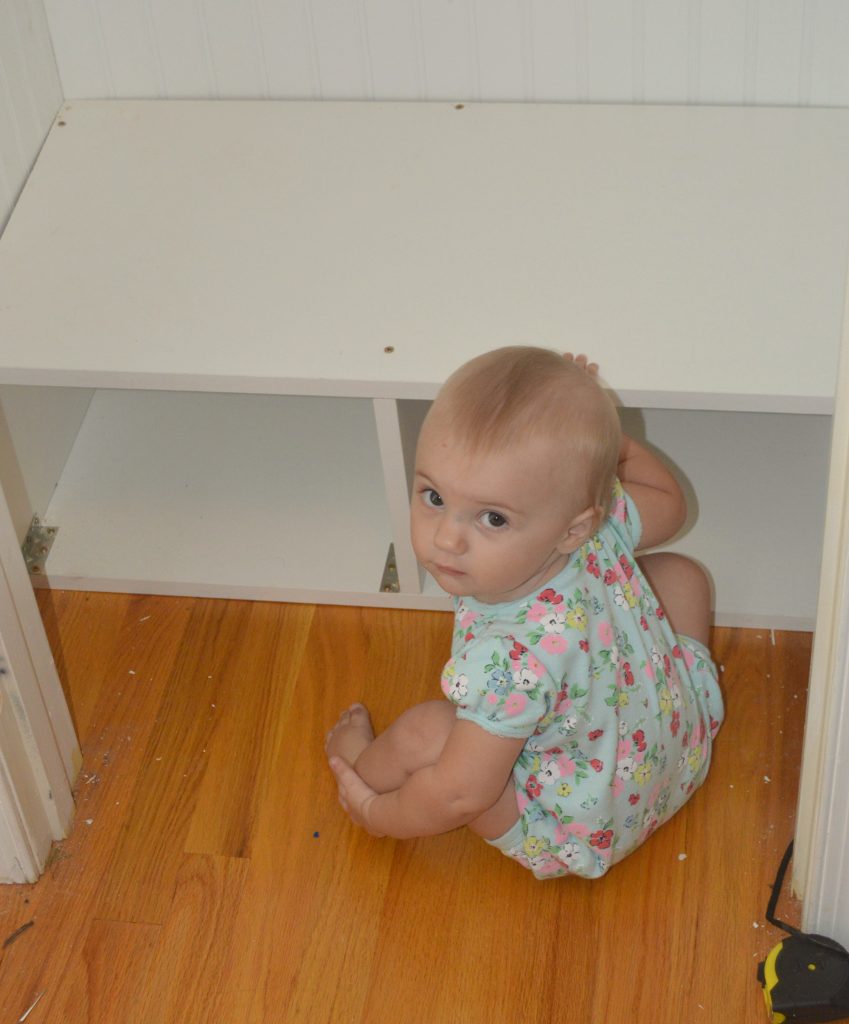
After the bottom half of the bench passed inspection, the upper sides and middle pieces were stabilized with brackets, and the top board was screwed on (which also reinforced the sides and middle). Fun note. Bracket placement is really up to you, but I made my husband scoot them back because I didn’t want them to be glaringly obvious. I ended up painting the bottom ones white to help hide them a bit. Later on, the trim will hide them even better!
PS. Bins are from Target, the mecca of good bins.
PSS. There are a ton of ways to make a bench (so sayeth Pinterest), this was just the way we decided to go!
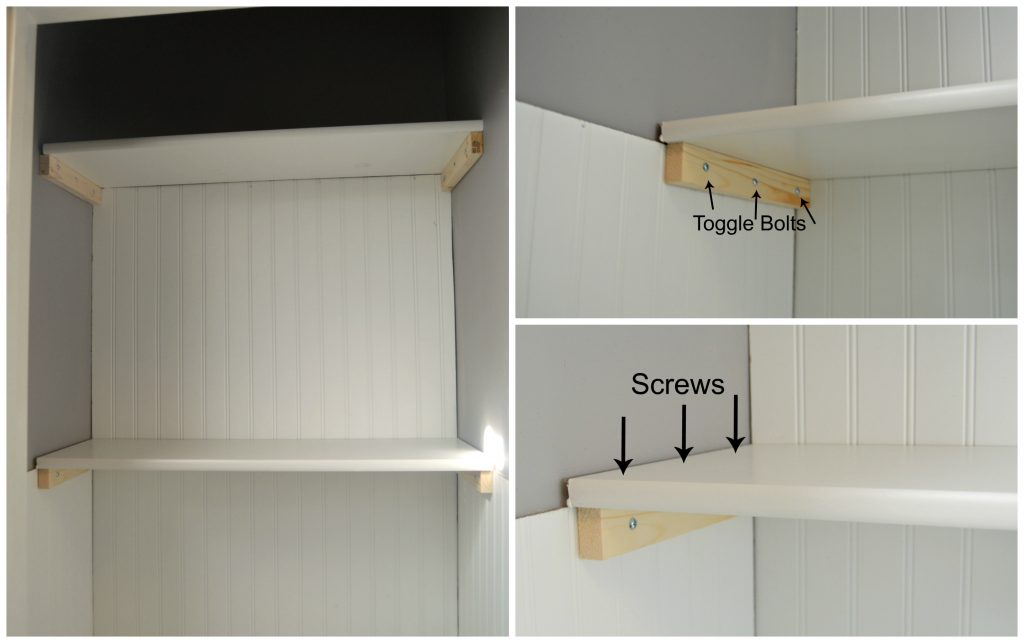
Step 4: Assemble the shelves
So just like the bench, there are a ton of ways to make shelves (google to your heart’s content), but we ultimately decided to go this direction, based on what the shelves would be used for. We cut three laminate shelf boards the width of our closet. Fun fact, our closet measured differently in all three areas, so double and triple check your measurements! The 1×2 board was cut into 6 pieces, matching the depth of the shelf (ours was an 11″ depth). The wood pieces were attached by toggle bolts (designed to support a lot of weight) and then the shelf boards were screwed in from the top. We did the top and bottom first, and then the middle shelf.
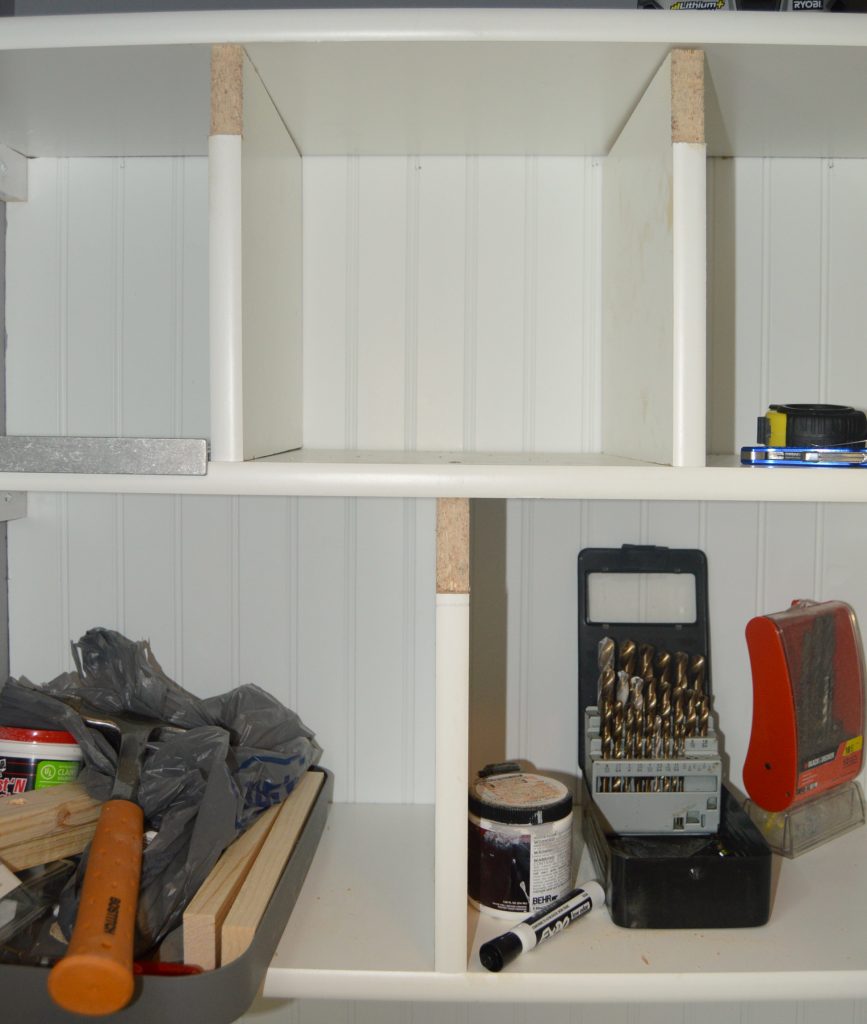
I wanted the shelves to have a cubby appearance, so we cut one of the shelf boards into dividers. I went with two sections on the bottom, and three on the top, because it added some visual interest, but you can divide them however you’d like, or not at all! The dividers were screwed in from the top and the bottom.
If you’re wondering why there are cut outs on the dividers, it’s because we realized that the trim we picked wouldn’t be able to go flush against the dividers (the white edges of the dividers were rounded, not flat), so while using an oscillating saw, we were able to shave off the front, and the trim would be able to lay flush against it.
PS. I painted all the 1×2 pieces white (probably should have done it before screwing them to a wall, oh well) but it let the pieces blend in a bit better, just like the bench brackets.
Step 5: Add trim to the bench, shelves, and beadboard. Caulk away!
I love trim and molding. I feel like it really elevates the look of a project, and also does a great job of hiding any of those pesky little mistakes. We attached trim pieces to the front of the three shelves with Liquid Nails, as well as the top of the beadboard on the side walls.
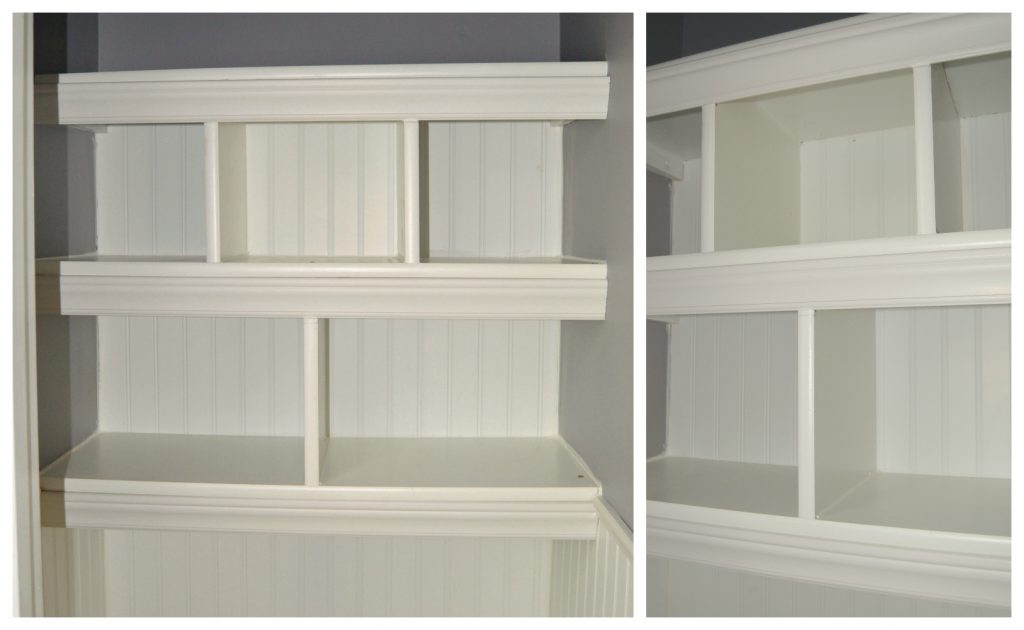
The bench trim was a little trickier because of where the bench and floor met. The side trim was a lattice strip, that was cut and fitted with the new baseboards. A small piece of trim went all away around the bottom of the baseboards and bench bottom, tying it all together. We also used a trim piece down the middle of the bench, and across the top edge of the bench.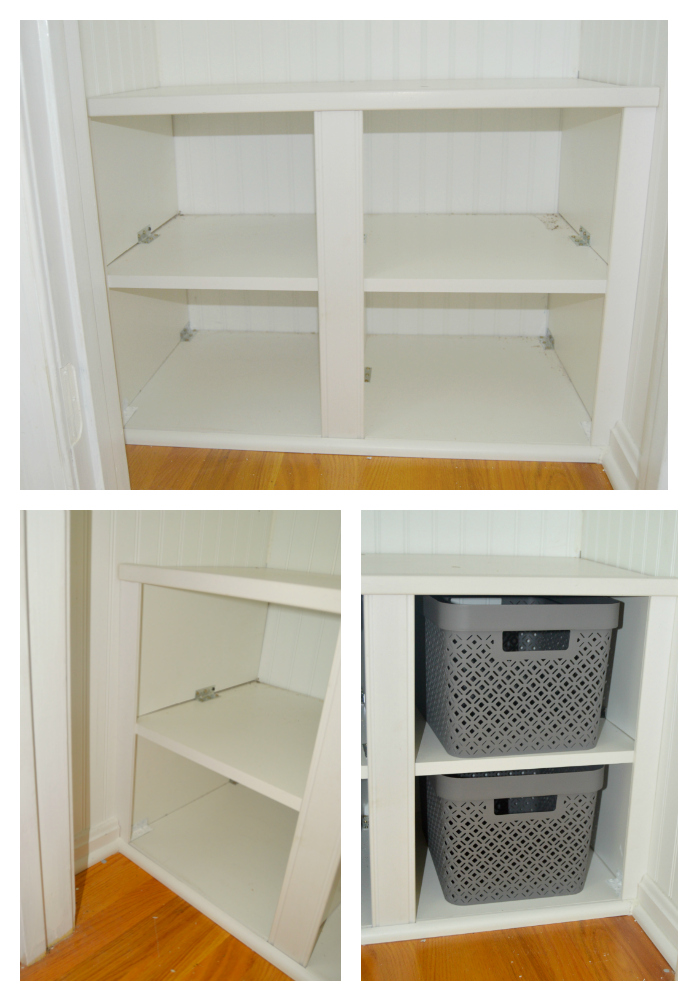 When all the trim is in place, use caulk to fill in the gaps, especially where the shelving meets the wall. We also put beads of caulk on the underside of the trim, just to reinforce it. We caulked where the beadboard panels met in the corners to give it a nice finished look.
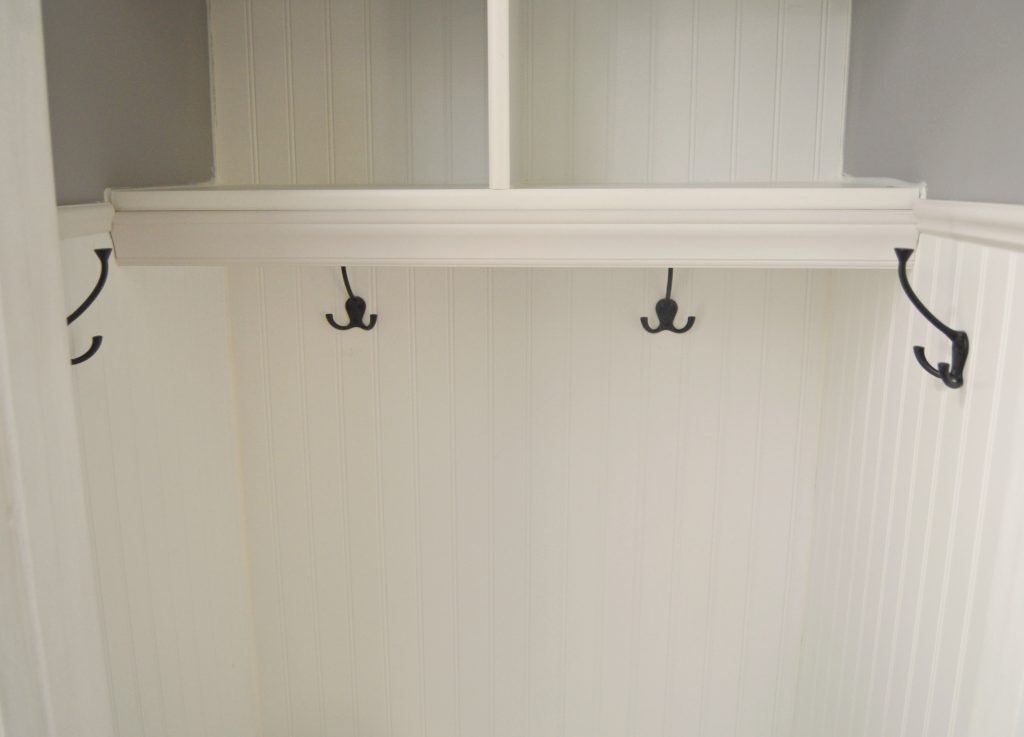
Step 6: Attach hooks
I went with three-pronged hooks to get as much use out of them as possible (bags, coats, umbrellas), and did four of them because, well, four kids. (If you’re wondering where guest coasts can go, we have hooks that go over the door that leads to the garage.)
Optional: Make a cushion for the bench.
This is just a personal choice, but I wanted a cushion to finish off the look. There are so many tutorials on this, so I won’t go into a lot of detail of how I did it, but it’s a sheet of leftover beadboard, a foam mattress pad (Walmart, 10 bucks), some batting, and a piece of fabric (I went with outdoor duck canvas). I used this tutorial from Old House to New Home as a guide.

I am beyond in love with how this mini mudroom turned out. Not only does it look great, but it’s so functional for our needs. I’ve already put it to use with the start of soccer season, and organizing shin guards and cleats, and the hooks are holding book bags ready for the new school year to begin!
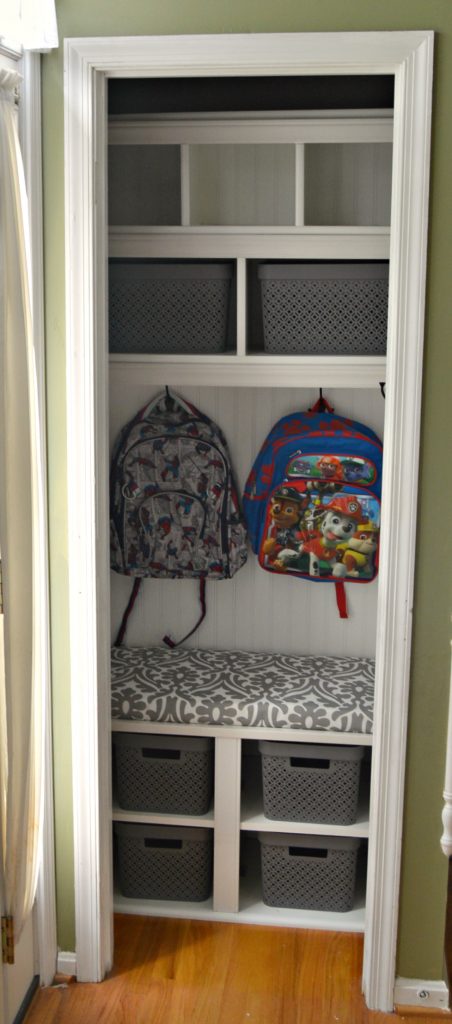
When I look at the before and after shots, I wonder why I didn’t think of this sooner! I’m already looking at other spaces in the house (I’m looking at you Kitchen) that can function better with a little bit of re-imagining. What about you? Are there any small spaces in your home that could be re-purposed or updated to fit the needs of your family a little bit better?


I’ve been thinking of doing something similar to this in my coat closet for years. Mine is nice and wide, but with 6 kids we can easily use the wider space. I love the beadboard look. Great job!
Thanks Amy! The beadboard wipes off so easily (i have it in other parts of the house), so with lots of kids (as you know), it was a no-brainer. Ha! I really wish I had done this sooner, it adds so much!
This looks great Erin!
Thanks Ginger!
That looks great and super functional.
I especially love that you took off the door because it just never made sense that the closet door and the front door opened into each other.
Well done!