
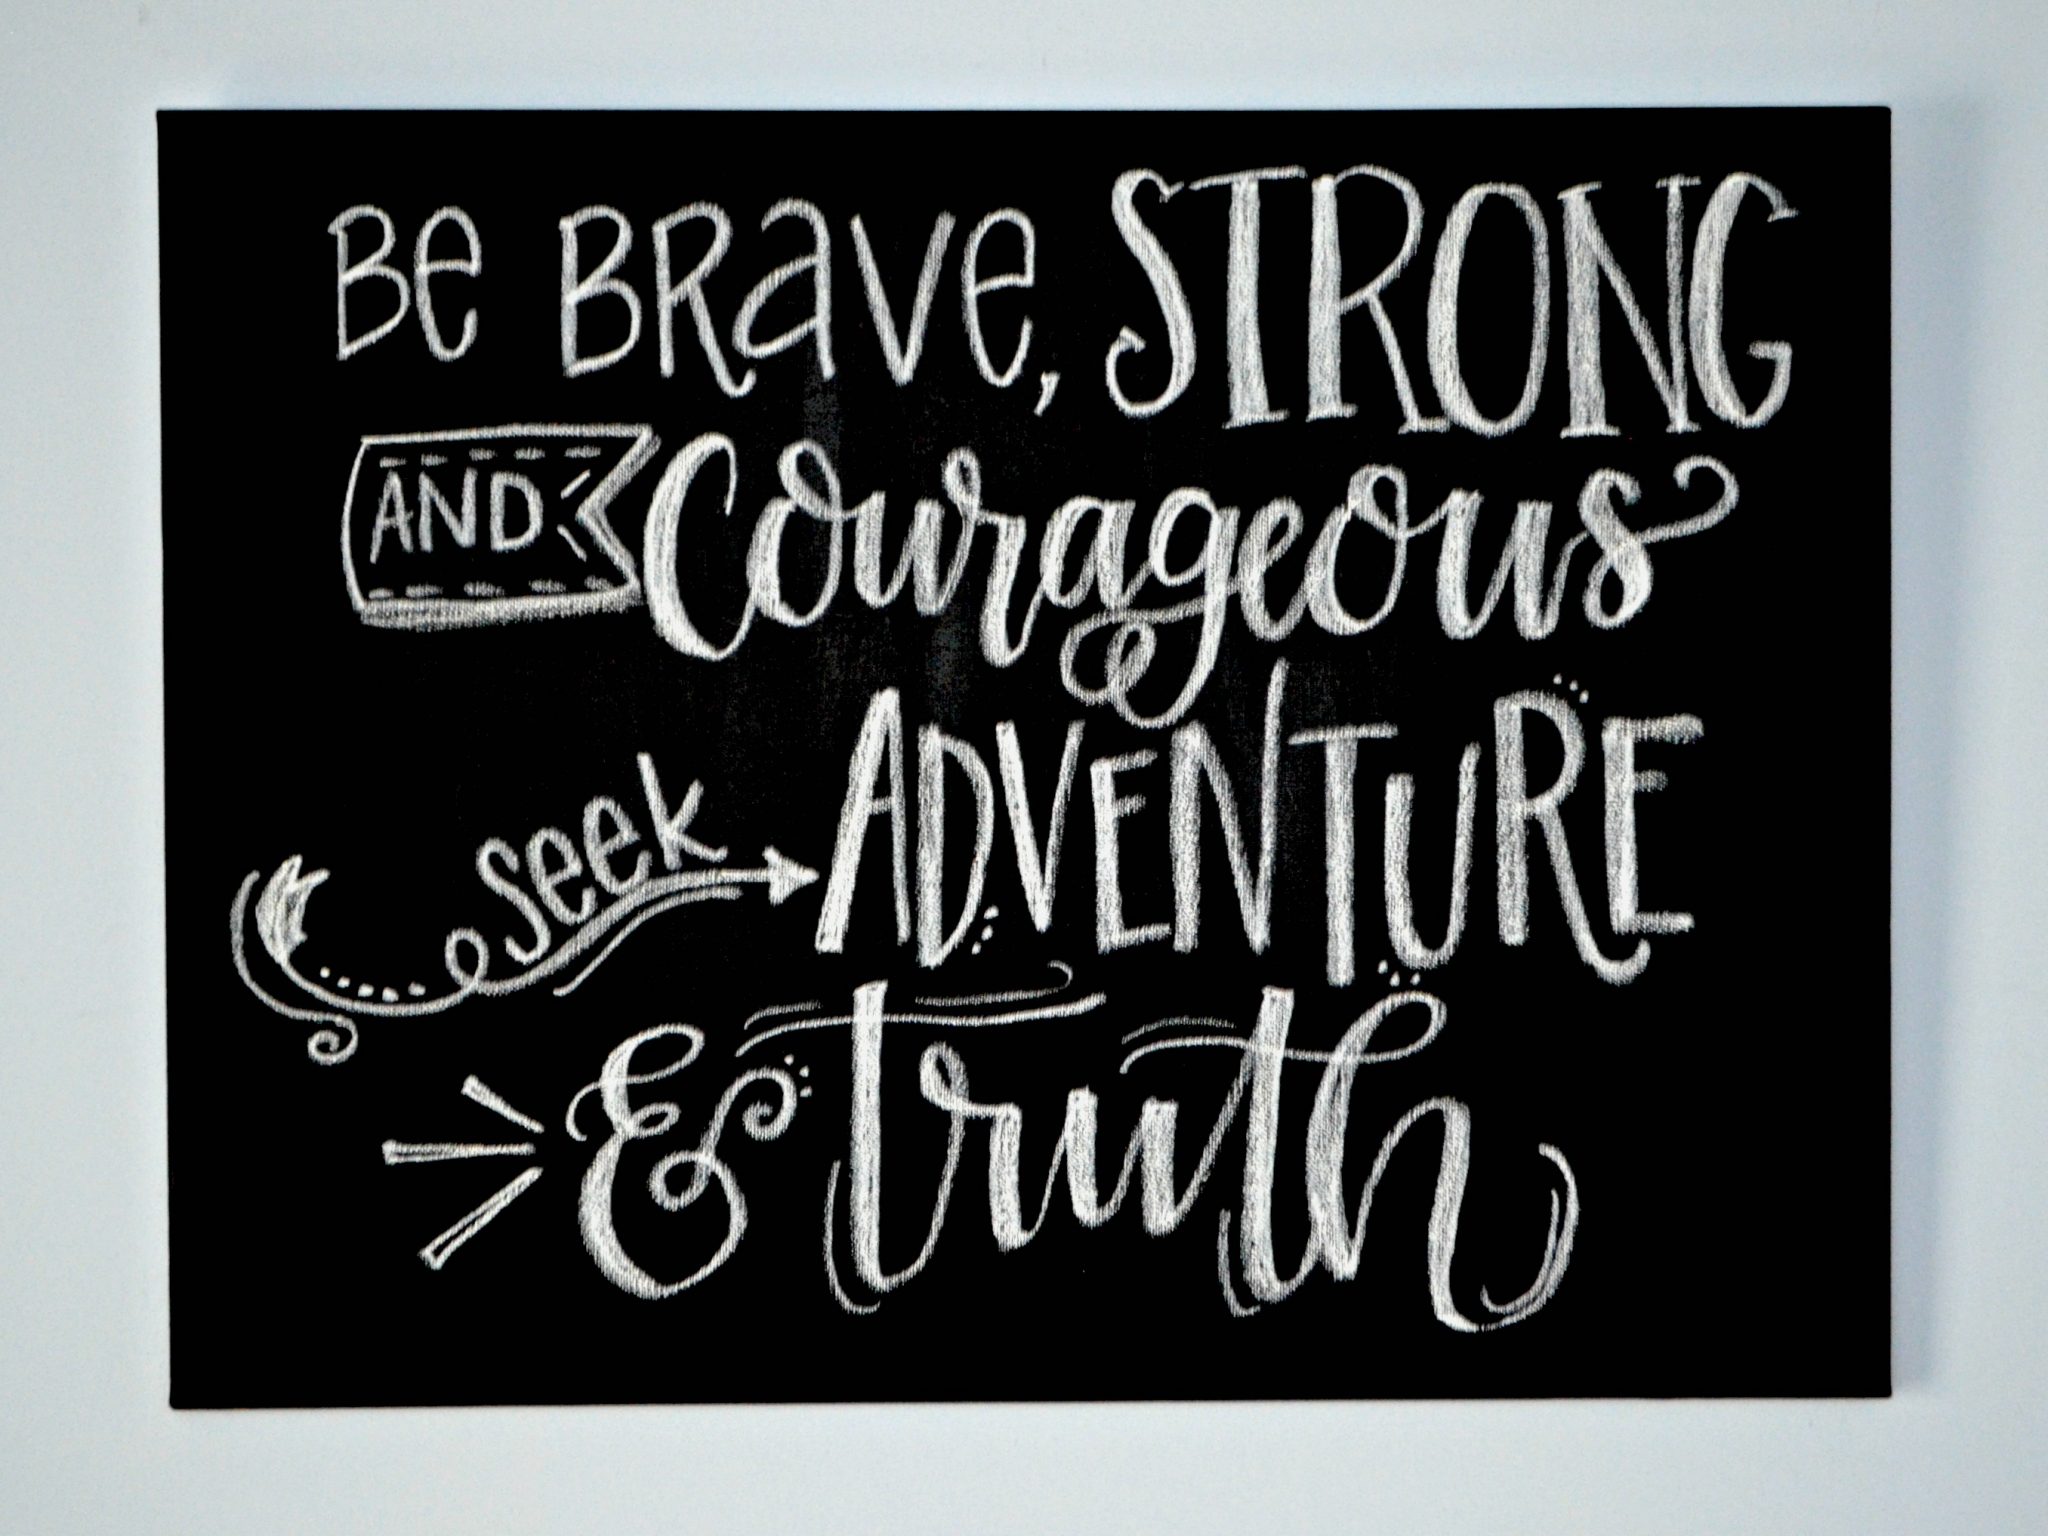
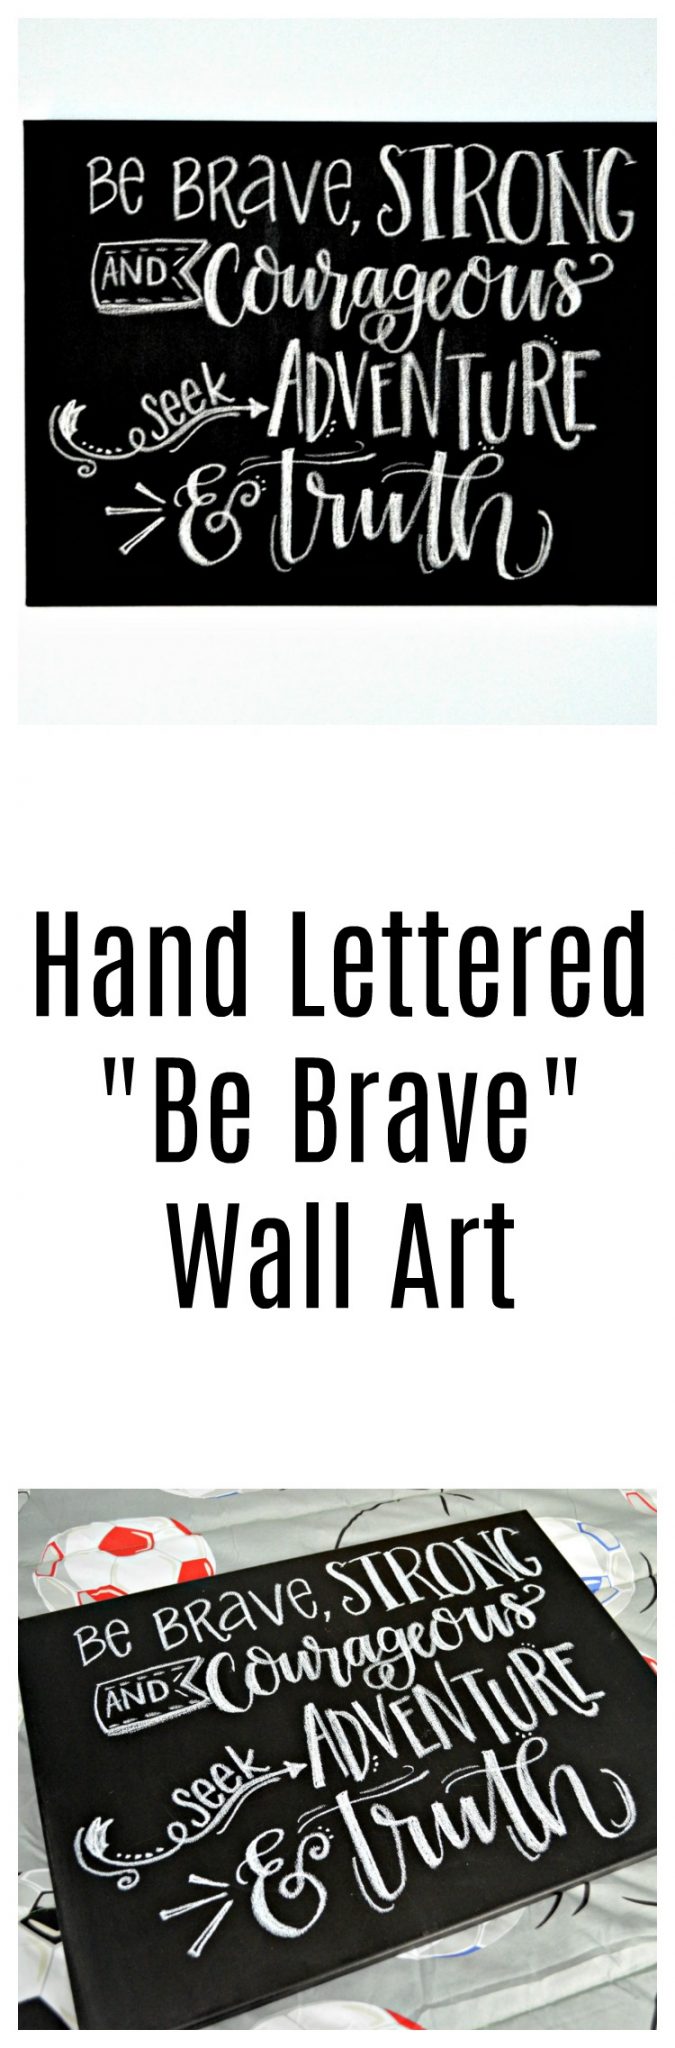
Hand Lettered “Be Brave” Wall Art
In case you haven’t heard the news, the Artsy Family is growing in number as we adopt a sweet 10 year old boy from China! We are about a month and a half from traveling to bring him home, so we’re hard at work getting his bedroom ready. Last week, I shared the upcycled Alphabet Corner Desk I painted for him, as well as the little Desk Chair Makeover to go with it. Today, I want to show you the piece of hand lettered wall art I created for over his bed. Take a look…
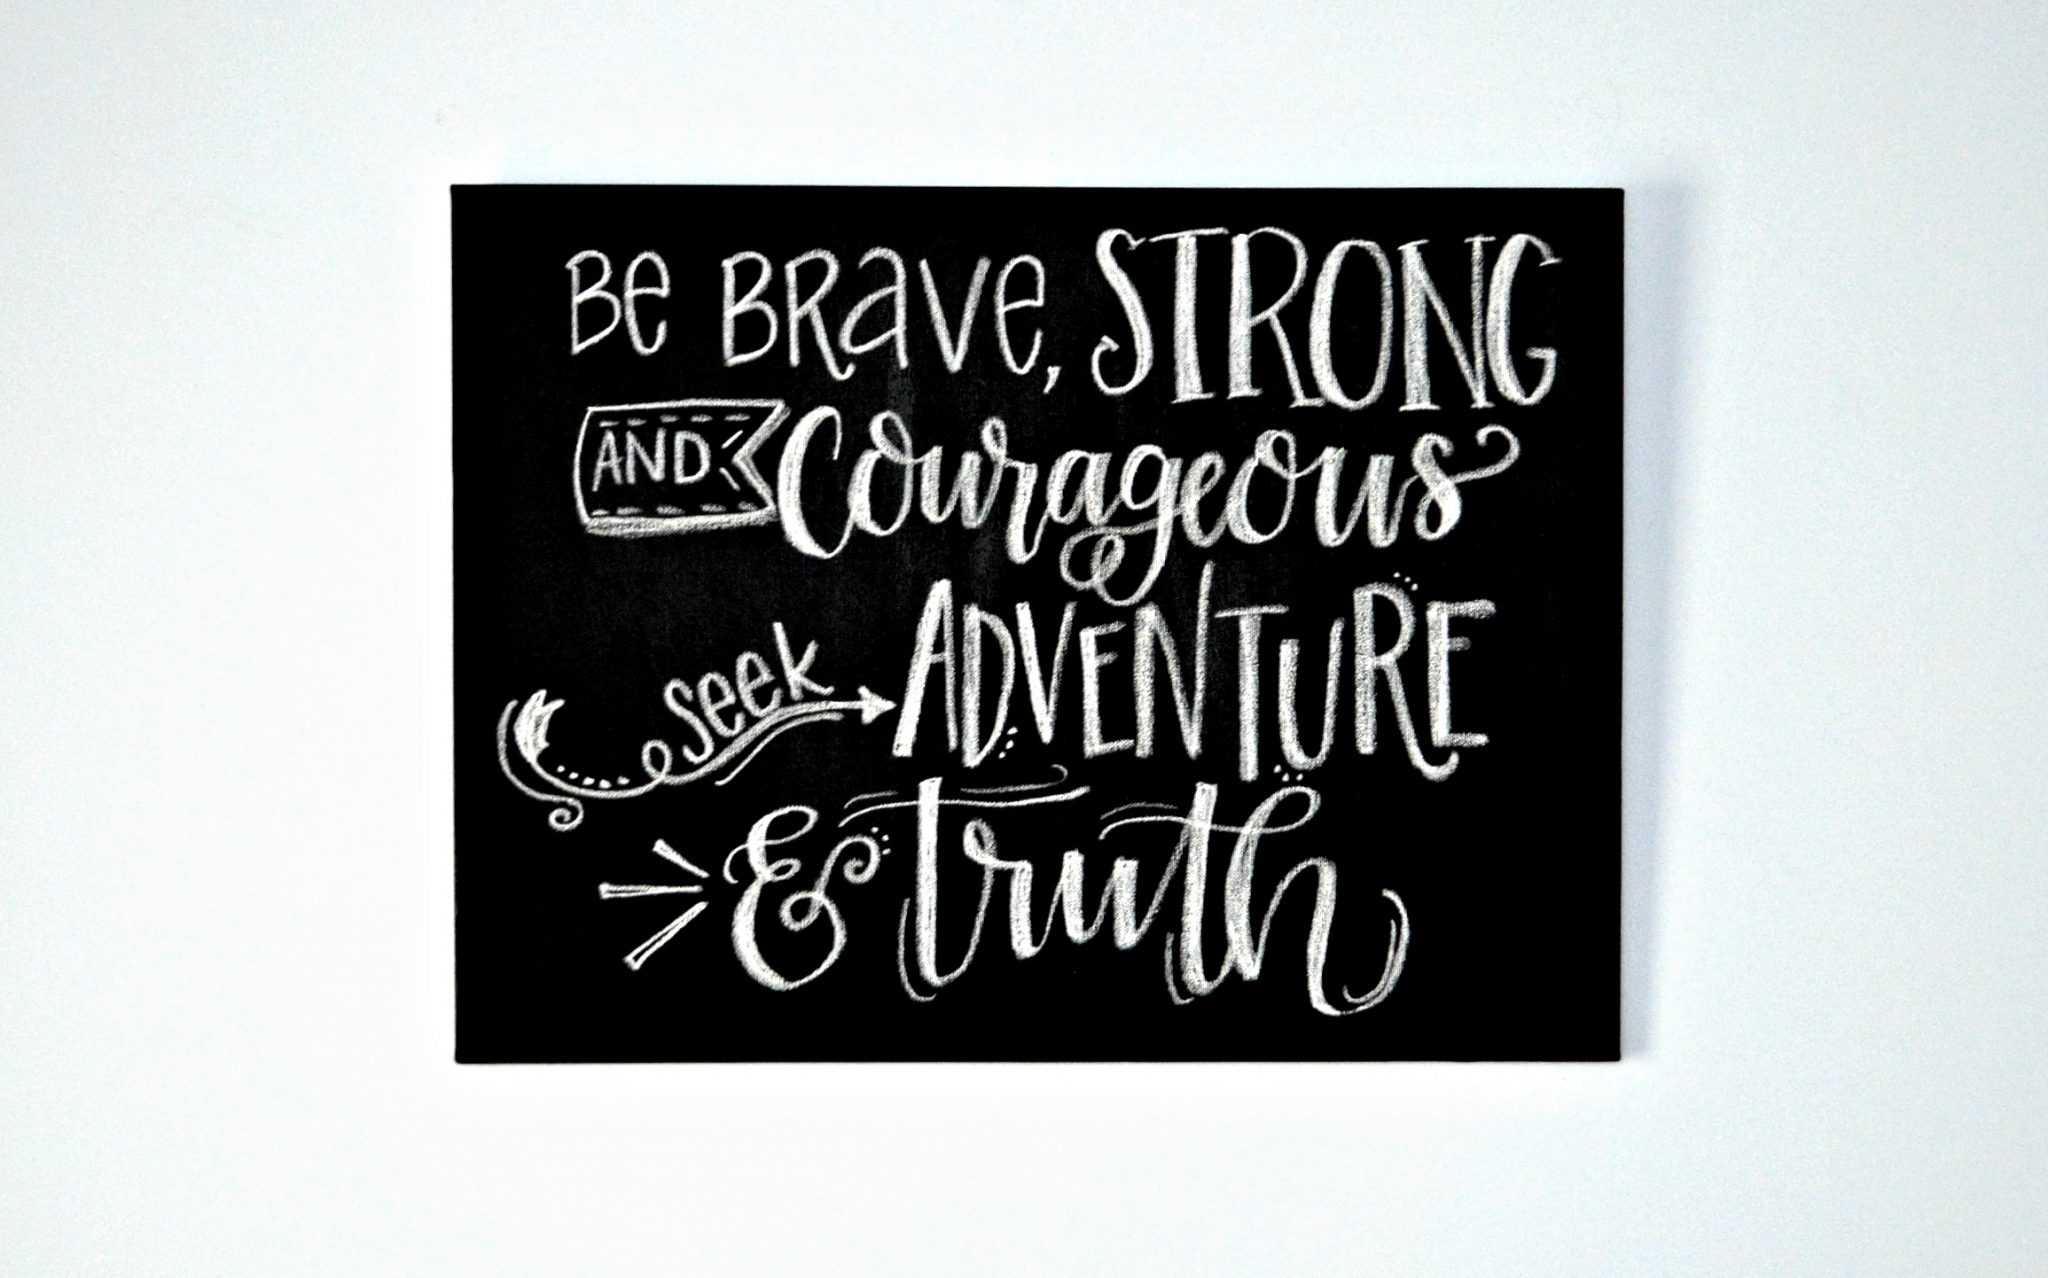
Let me give you a little bit of background for why I chose to create this. I browsed kids’ wall art in Hobby Lobby, on Amazon, and several other places, but couldn’t find exactly what I wanted. I needed something pretty large, but didn’t want to spend a fortune, and I wanted something that expressed our hopes for him and would grow with him over the years. I asked for suggestions about quotes, and my best friend Erin shared this one with me. She saw this phrase as a vinyl decal on Wild Eyes Signs and as soon as I read it, I knew it was perfect for “Scout.”
He is literally one of the bravest, strongest people I know.
Can you imagine leaving your country, your culture, your friends, and everything you have ever known at ten years old and following a family of strangers halfway across the world? Imagine going to live in a brand new place when you’re not fluent in the language or familiar with the experiences of daily life there. And yet, he’s willing to do all of those things to become a part of our forever family. Bravest kid I know.
Here’s how I created the sign to celebrate that courage.
You’ll need:
a large canvas
FolkArt Multi-Surface Paint – Licorice
white chalk marker
pencil
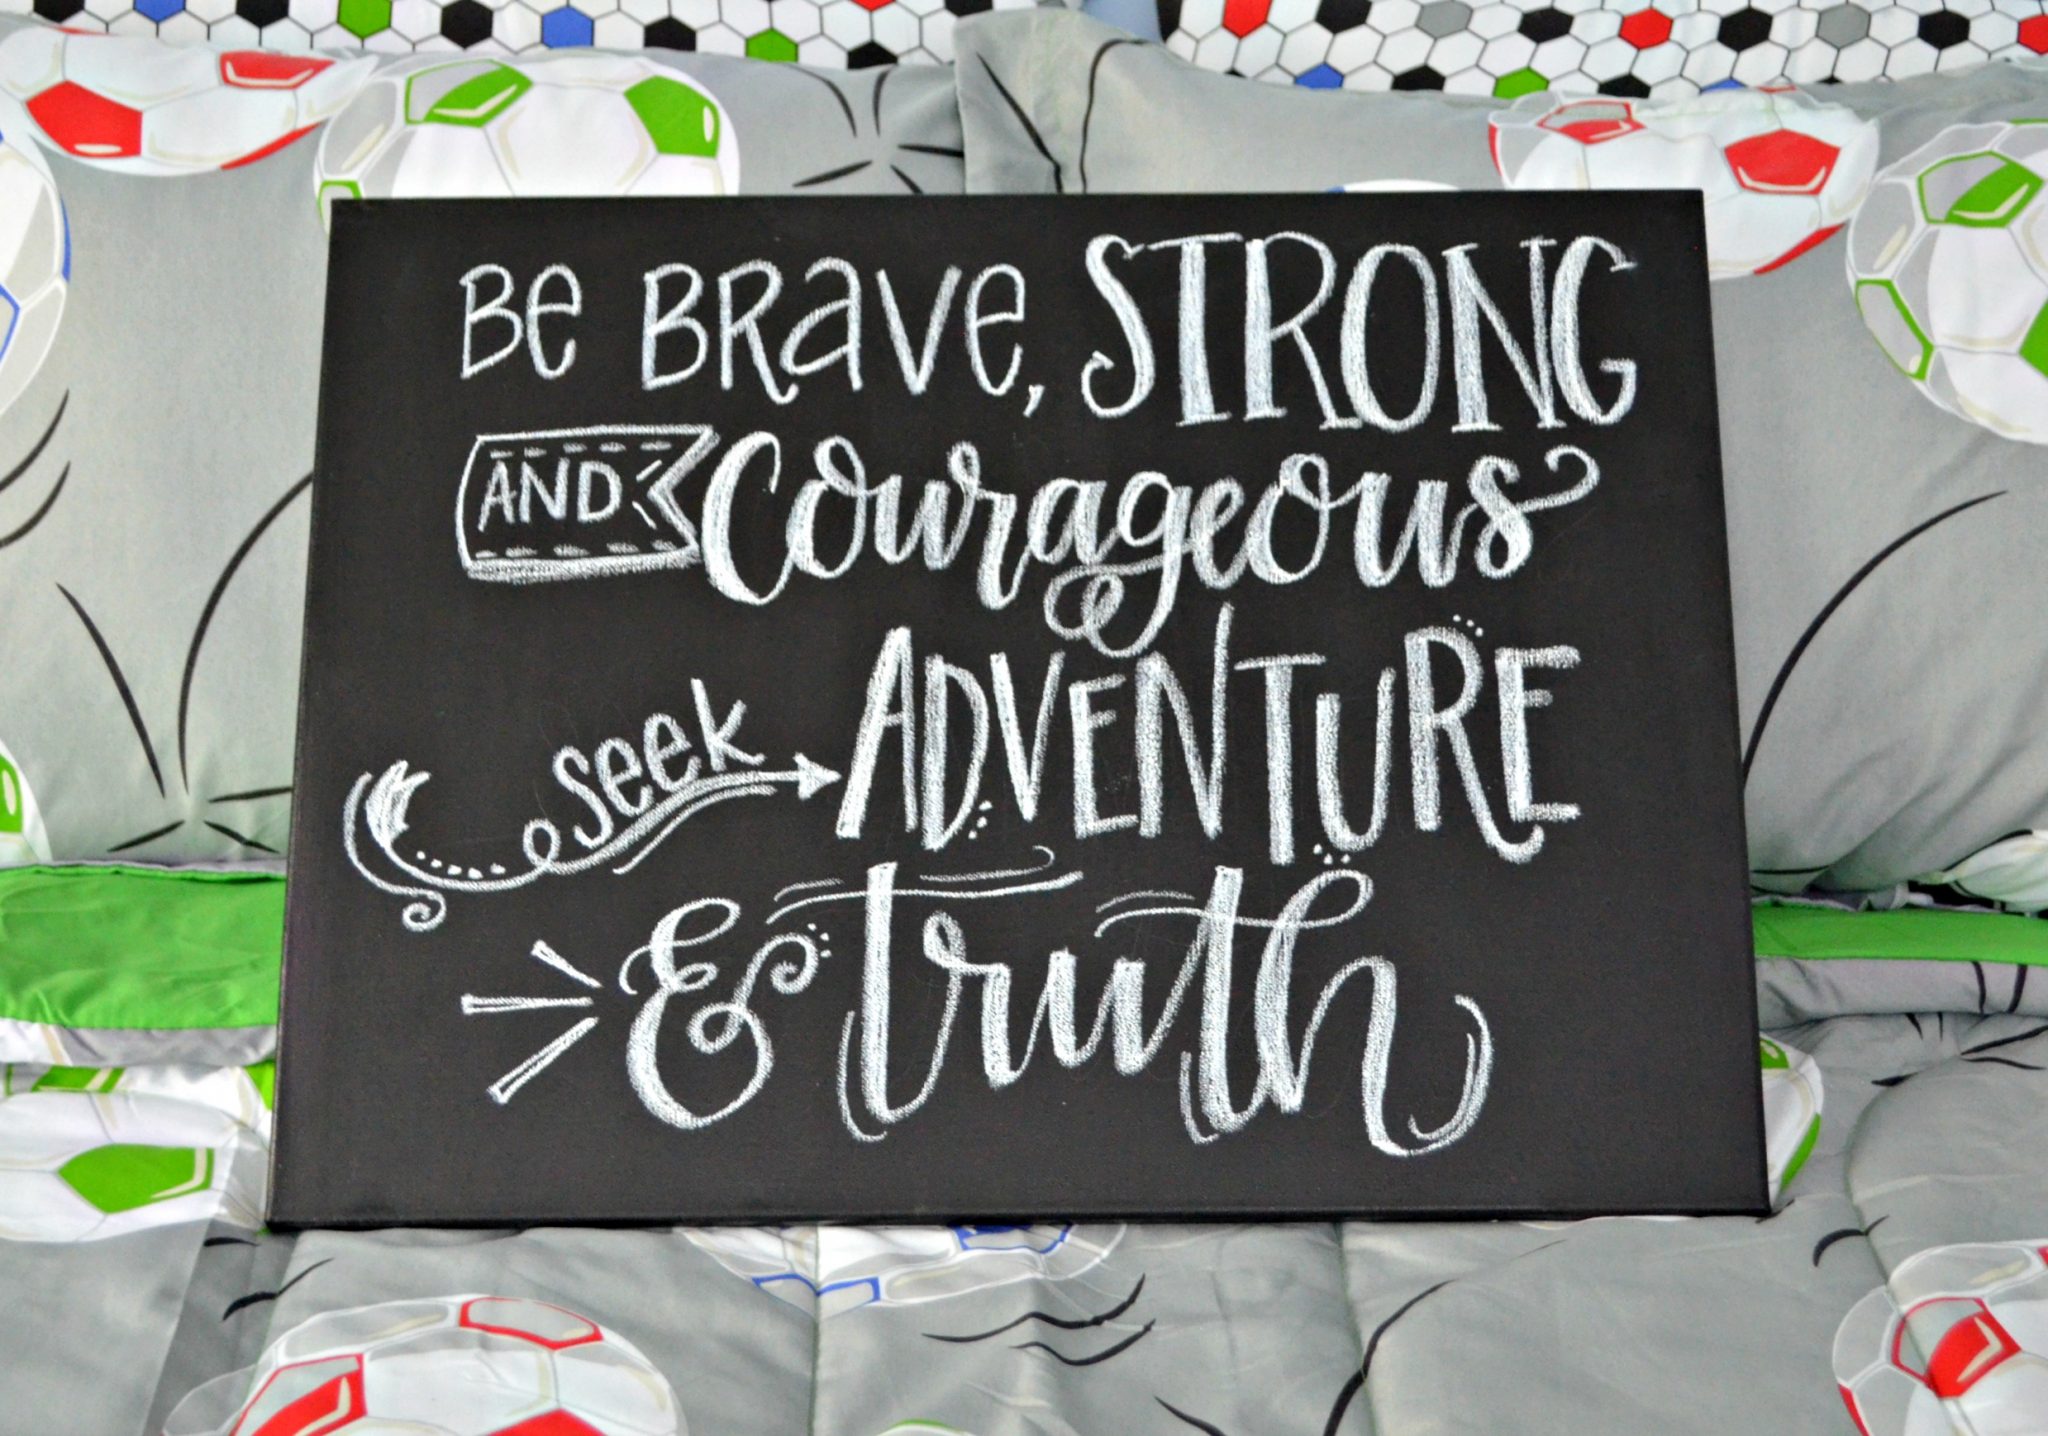
Step 1: Paint your canvas black.
You can also buy a black canvas, but since I happened to have a white one on hand, I gave it a coat of black paint and let it dry totally before moving on to the lettering.
Step 2: Sketch your design.
You’ll want to sketch your basic layout on a piece of scrap paper first to help you space your words and choose what fonts and embellishments you want to use. Then, lightly sketch it onto the painted canvas to make sure your words fit.
*Pro tip* I didn’t want to have to worry about keeping all my letters straight, so I used the bounce lettering technique, which makes my letters different heights on purpose.
Step 3: Trace over your sketch with a white chalk or paint marker.
Because most chalk/paint pens are not brush tip, I used the faux calligraphy technique for my lettering.
That’s it! Now you have a beautiful and personal piece of hand lettered wall art! For tips on how to do the actual lettering, visit my Basic Hand Lettering post and be sure to pick up a copy of my book, Hand Lettering for Relaxation!
I can’t wait to see what “Scout” thinks of the sign and of his new room! Stay tuned for more updates on the furniture and walls and to see the full room reveal coming soon.


Hi Amy! I just found your blog via Pinterest. I am a beginning artist and beginning minimalist. I searched Pinterest looking for one hand lettering artist to follow when I found you. I loved your writing style and your art. What fun to find out on your blog this morning that you also love Jesus and are adopting from China. Our youngest daughter is adopted from China as well. I just wanted to say thanks for doing what you do and I’ll be praying for your son and your family!