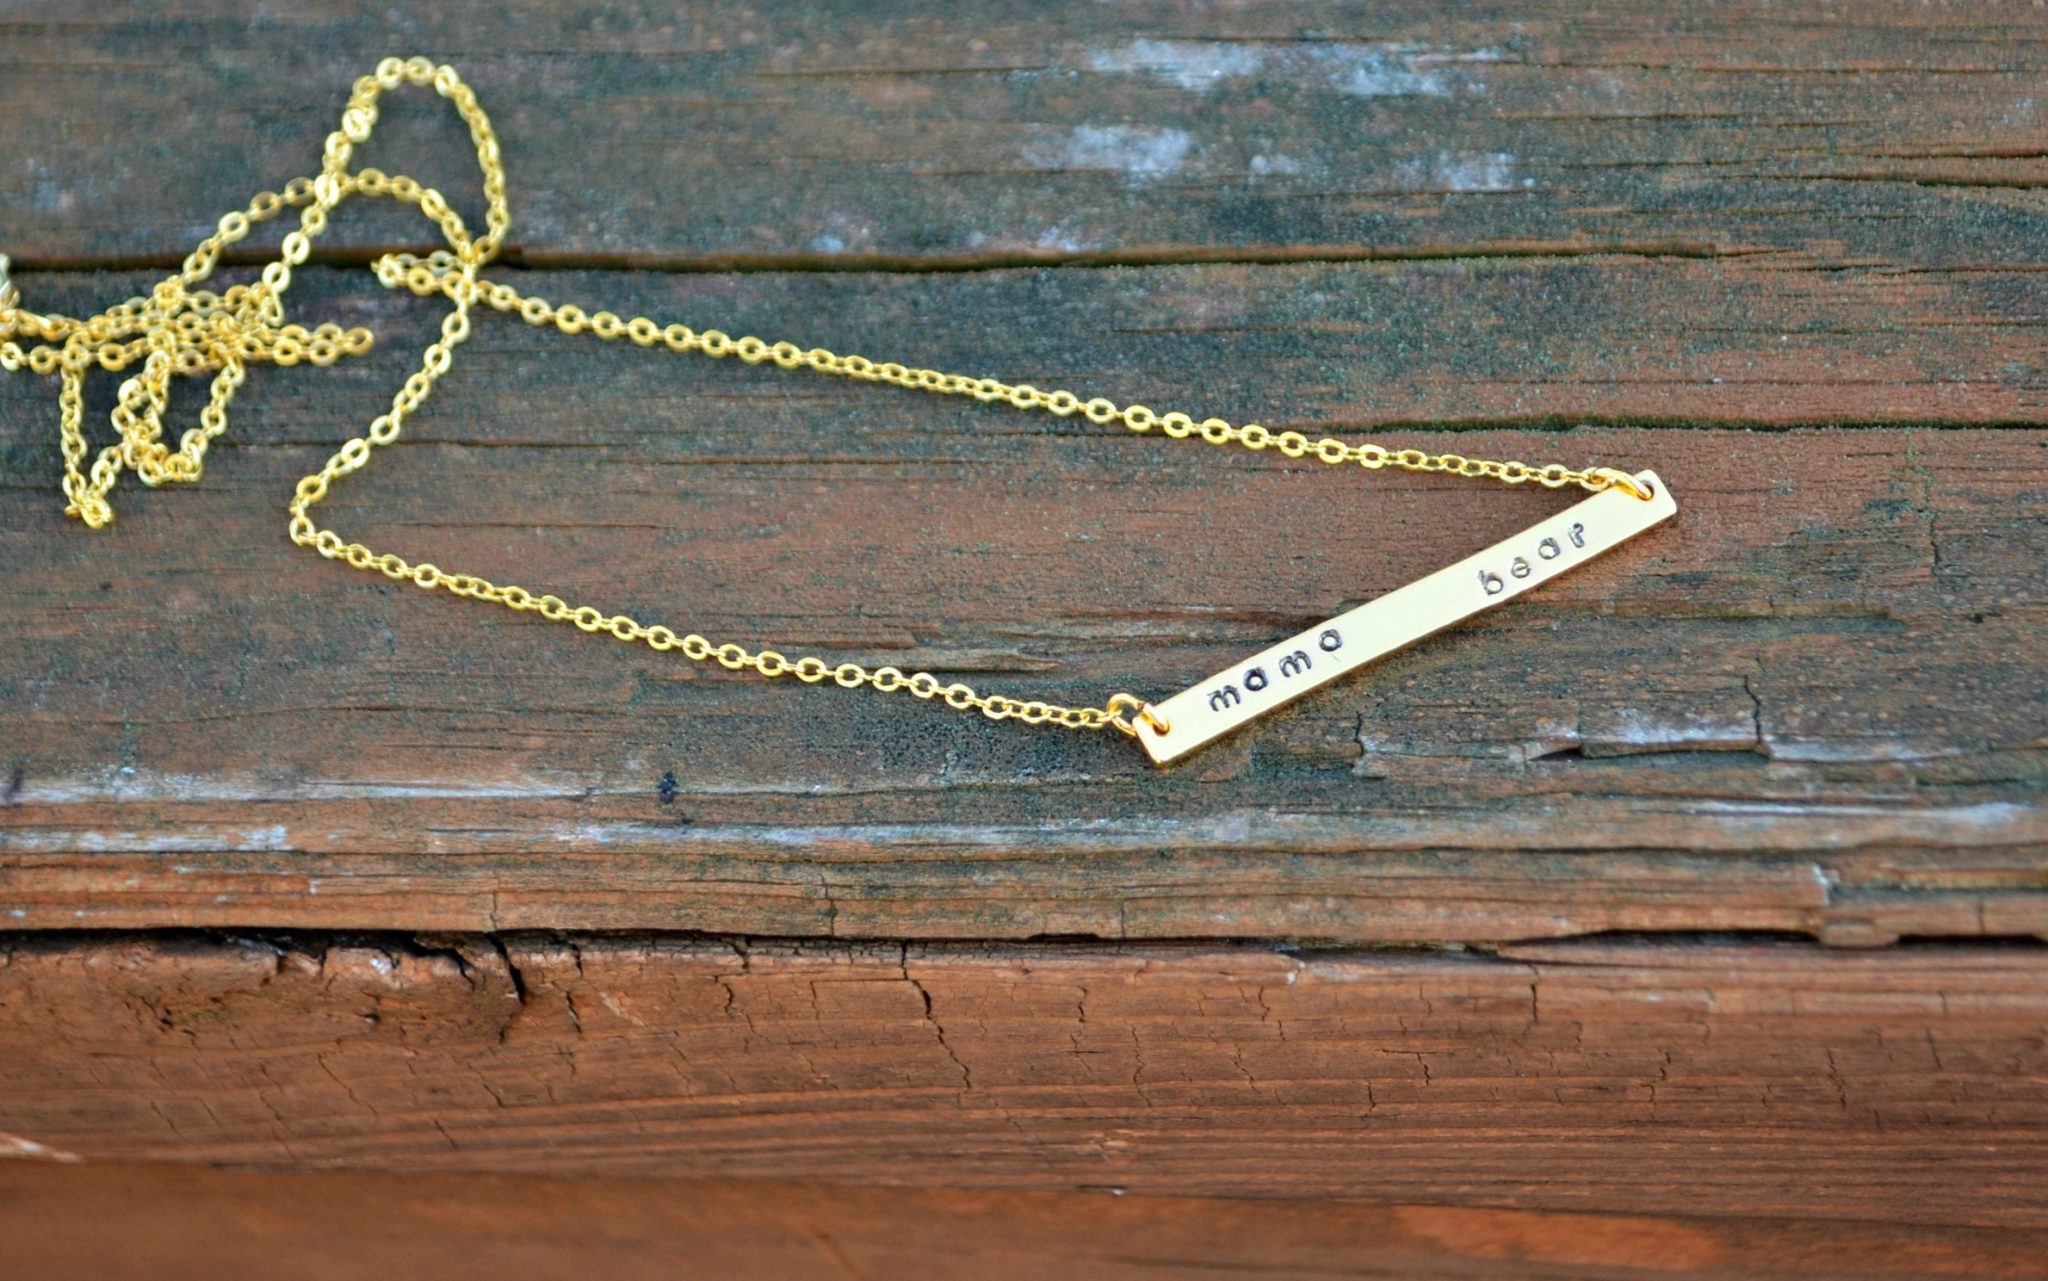
Mama Bear Bar Necklace
Thanks to ImpressArt for sponsoring today’s post; all opinions are my own.
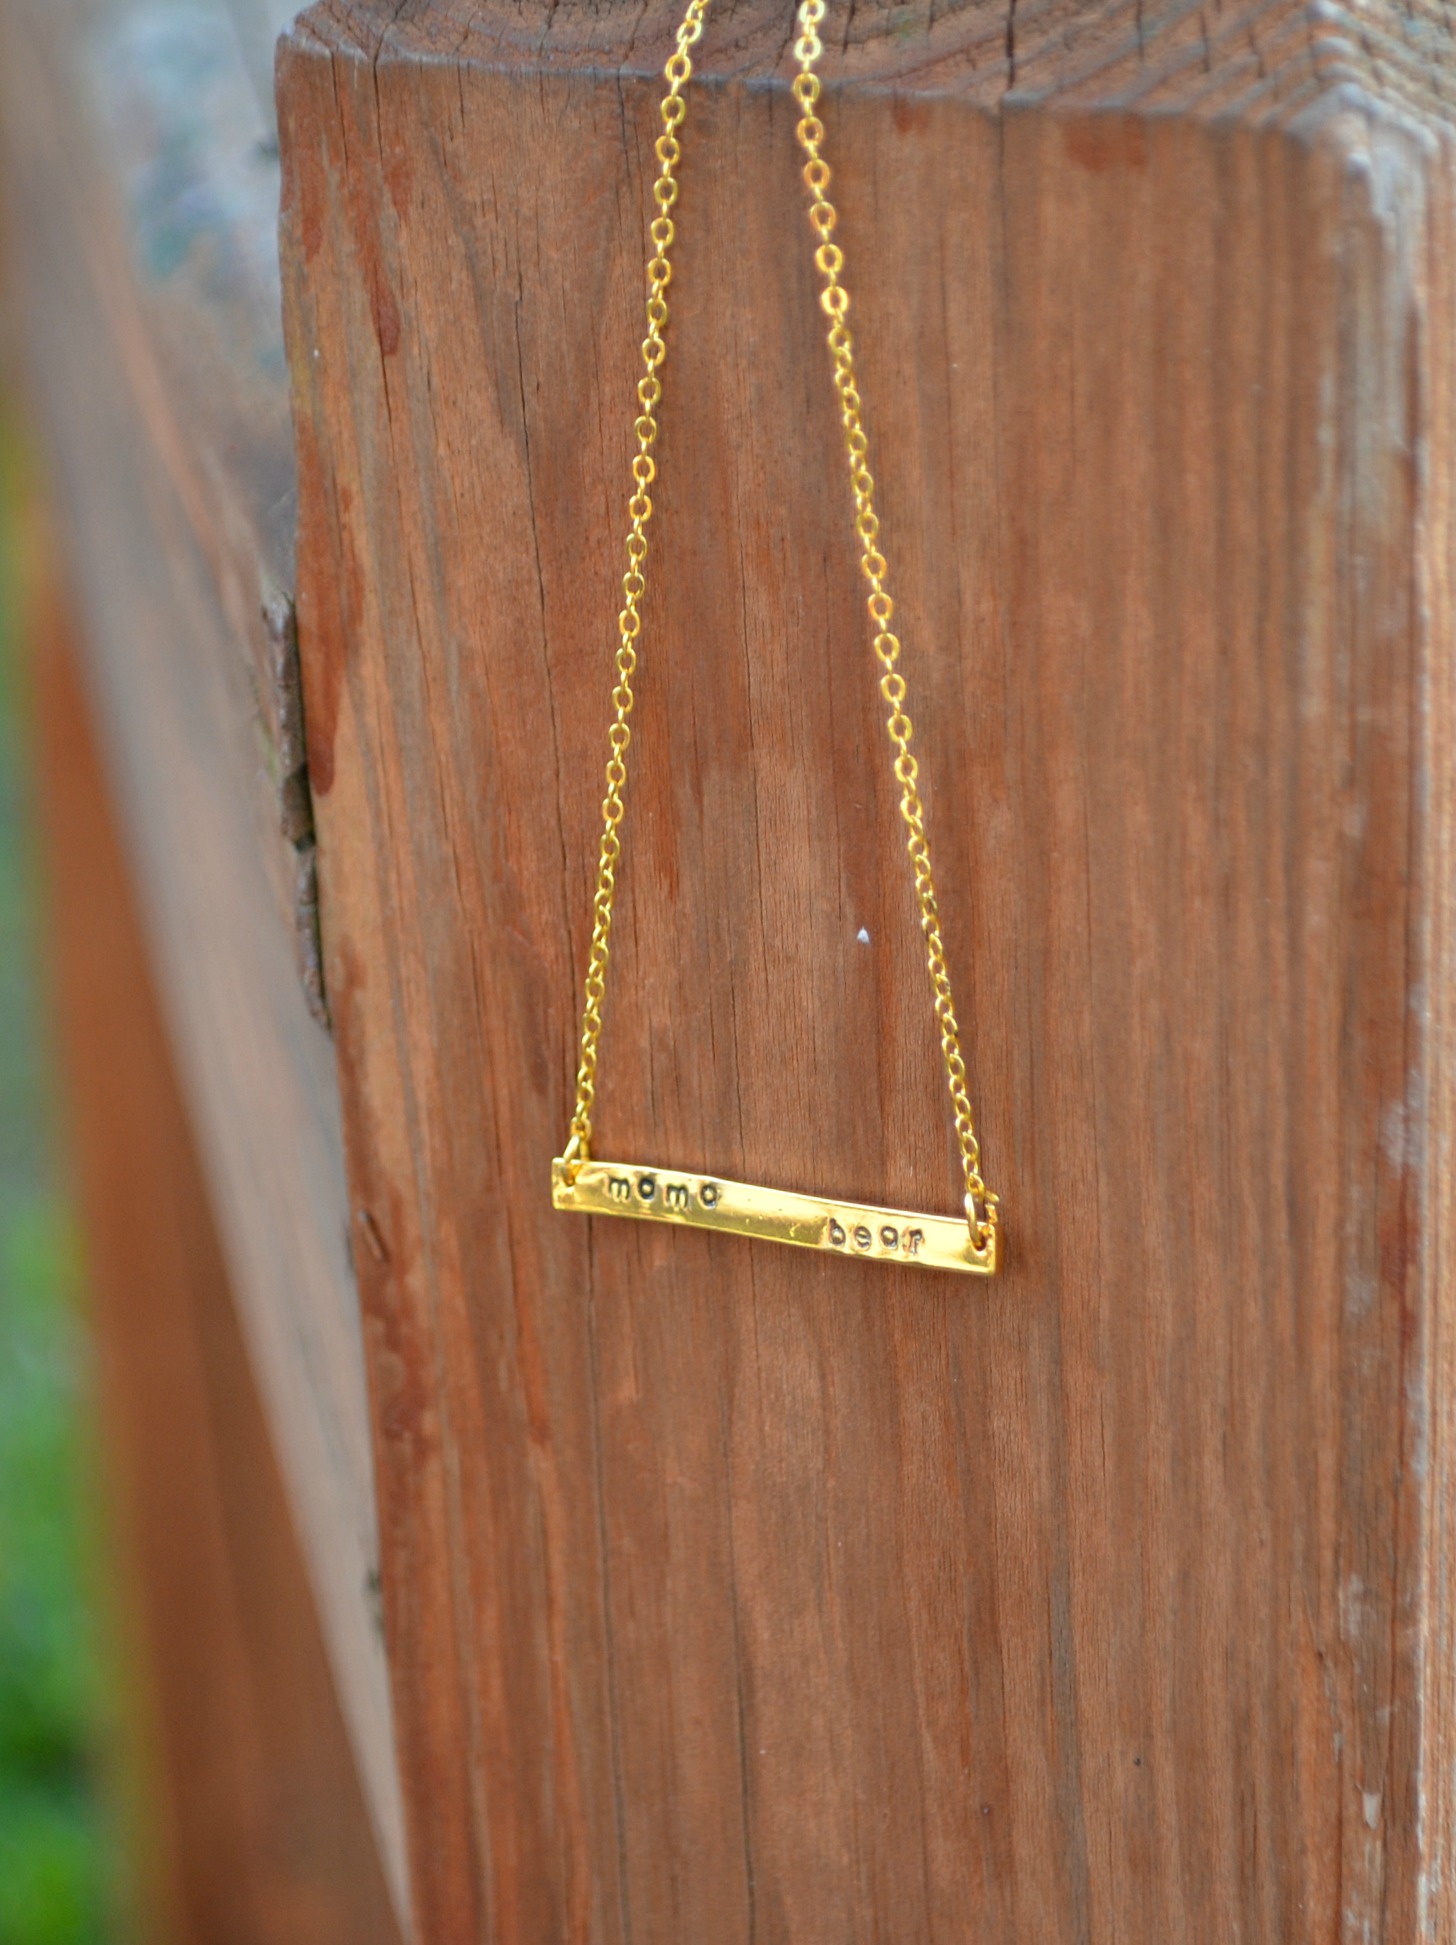
One of my favorite things to create is personal, meaningful jewelry. Throughout the adoption process, hubby has been lovingly calling me a “mama bear” because I’ve been doing whatever it takes to advocate for our son. I’ve been persistent and made sure things moved as quickly as possible on our end, even when it meant doing things I hate like confronting our home study agency about not meeting the promised timeline. I thought it would be fun to make myself a little necklace as a reminder of how much I’ll do and fight for both of my sons. Here’s how I did it in less than ten minutes and you can too!
You’ll need:
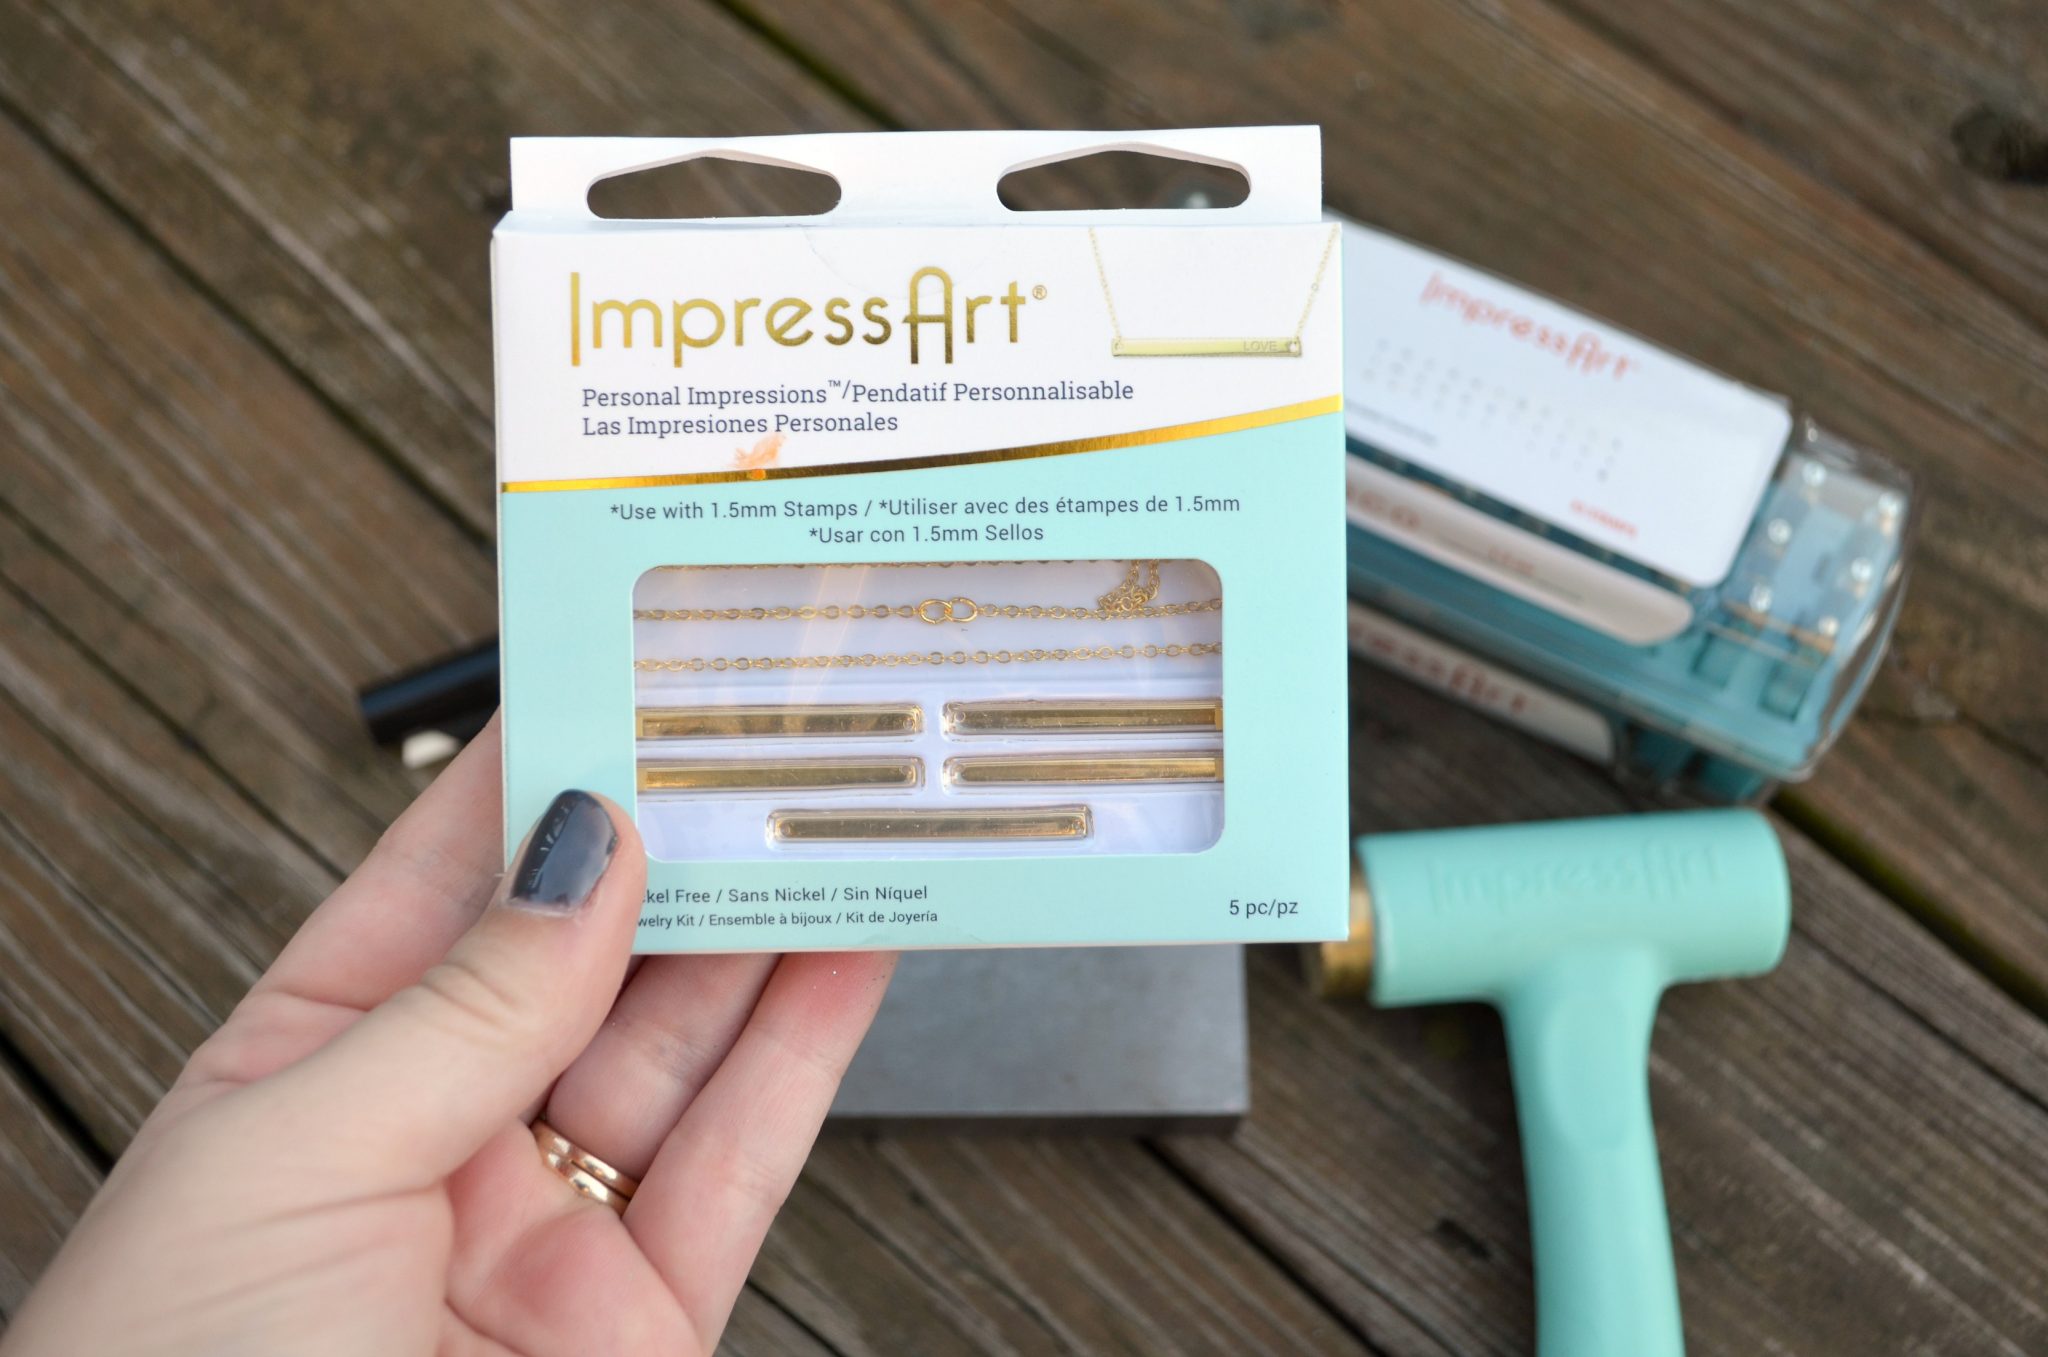
ImpressArt Personal Impressions: Large Rectangle Gold Plated
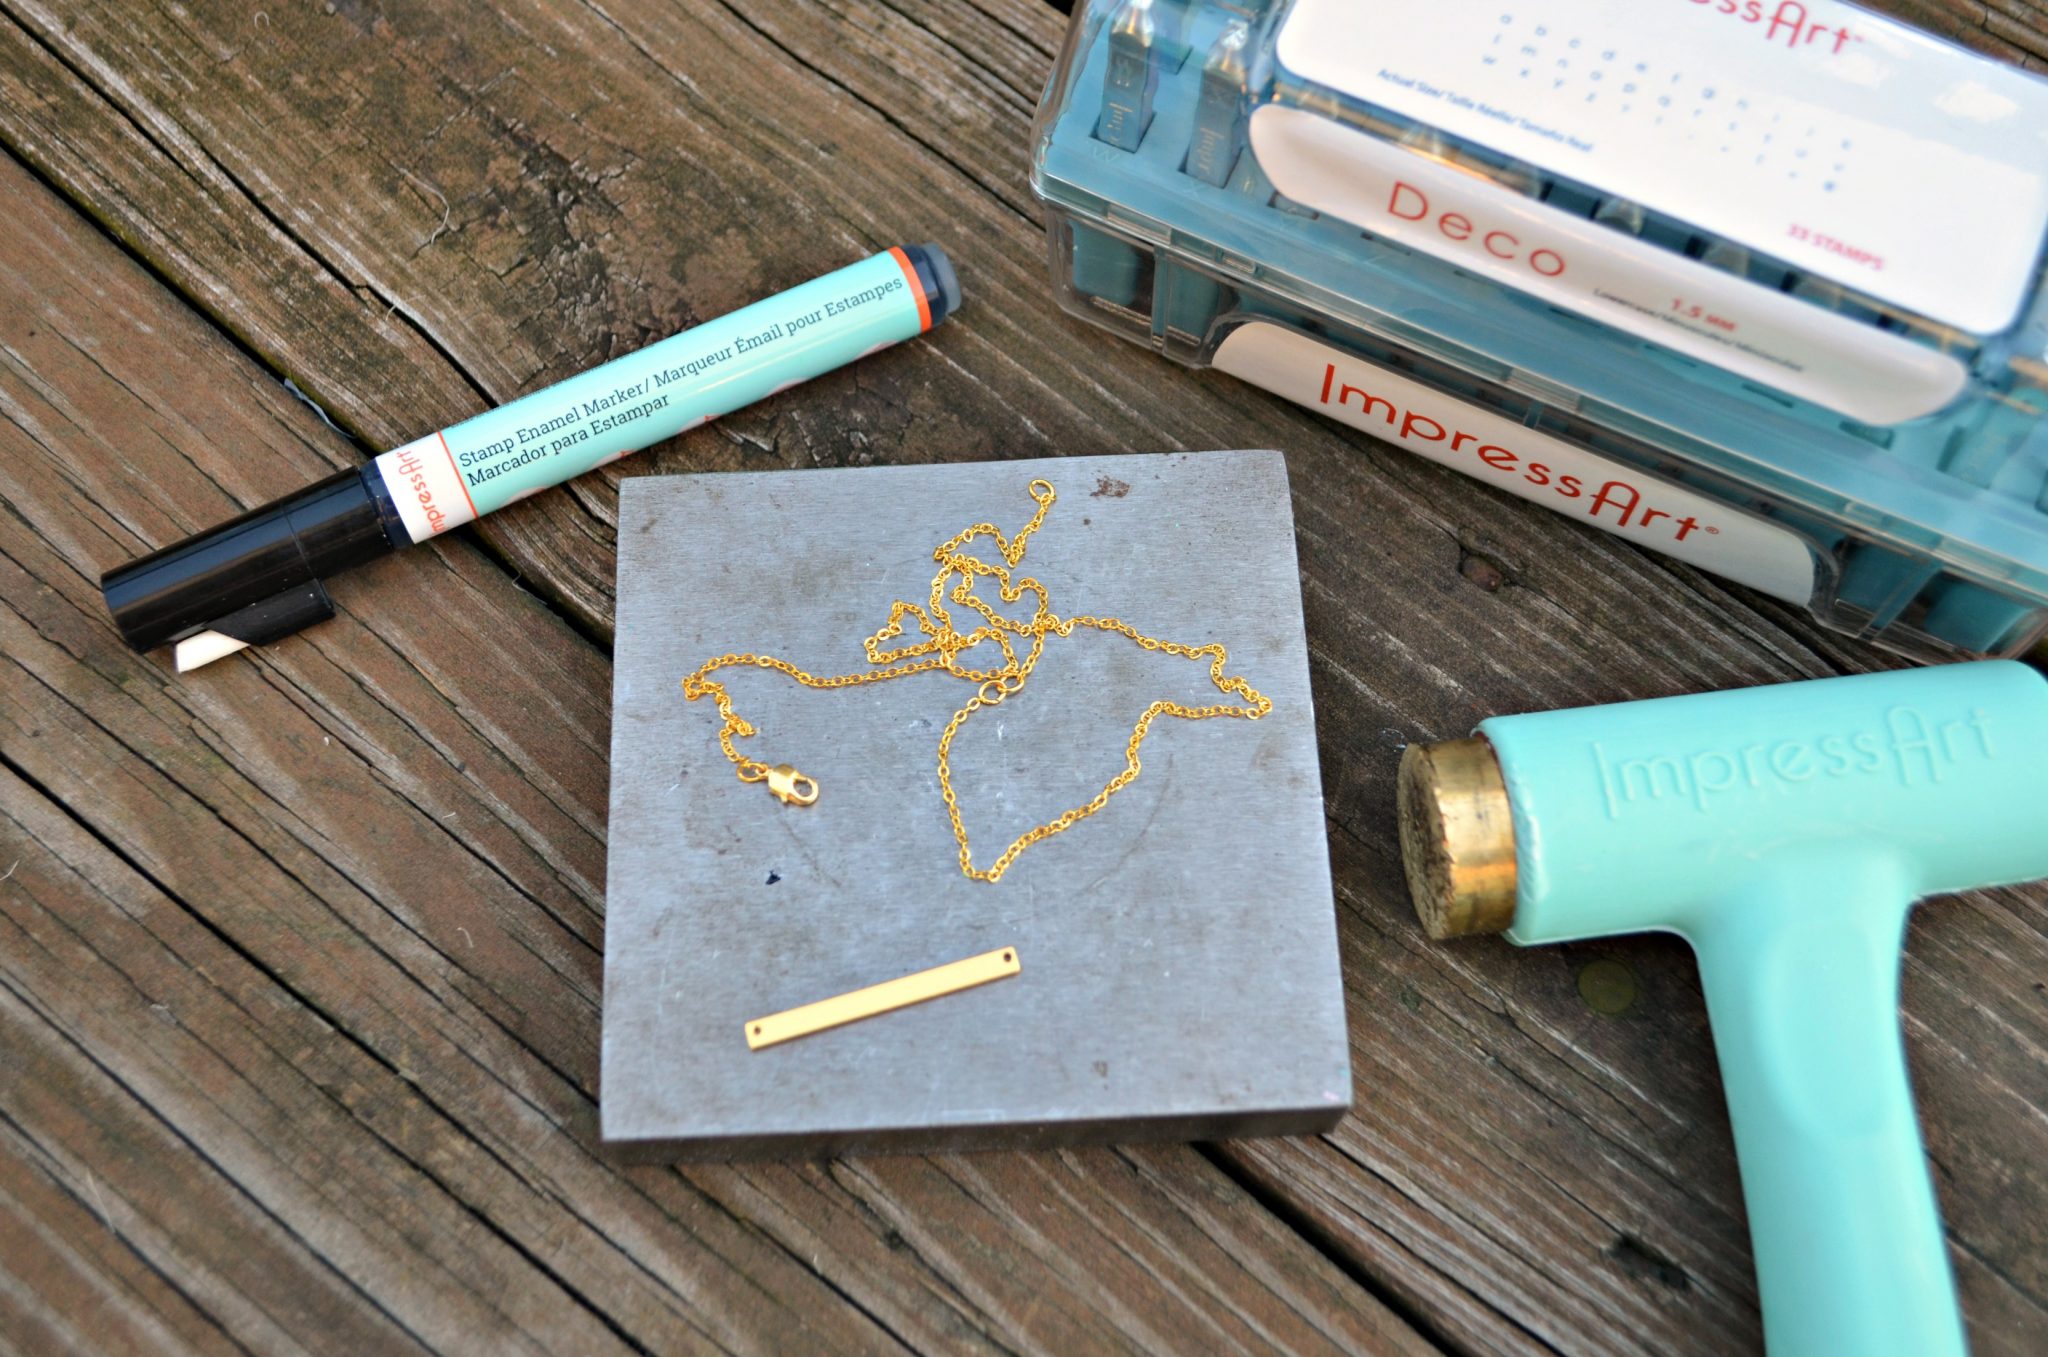
1.5 mm alphabet stamps – I used Deco lowercase
Steel Stamping Block
Metal Stamping Hammer
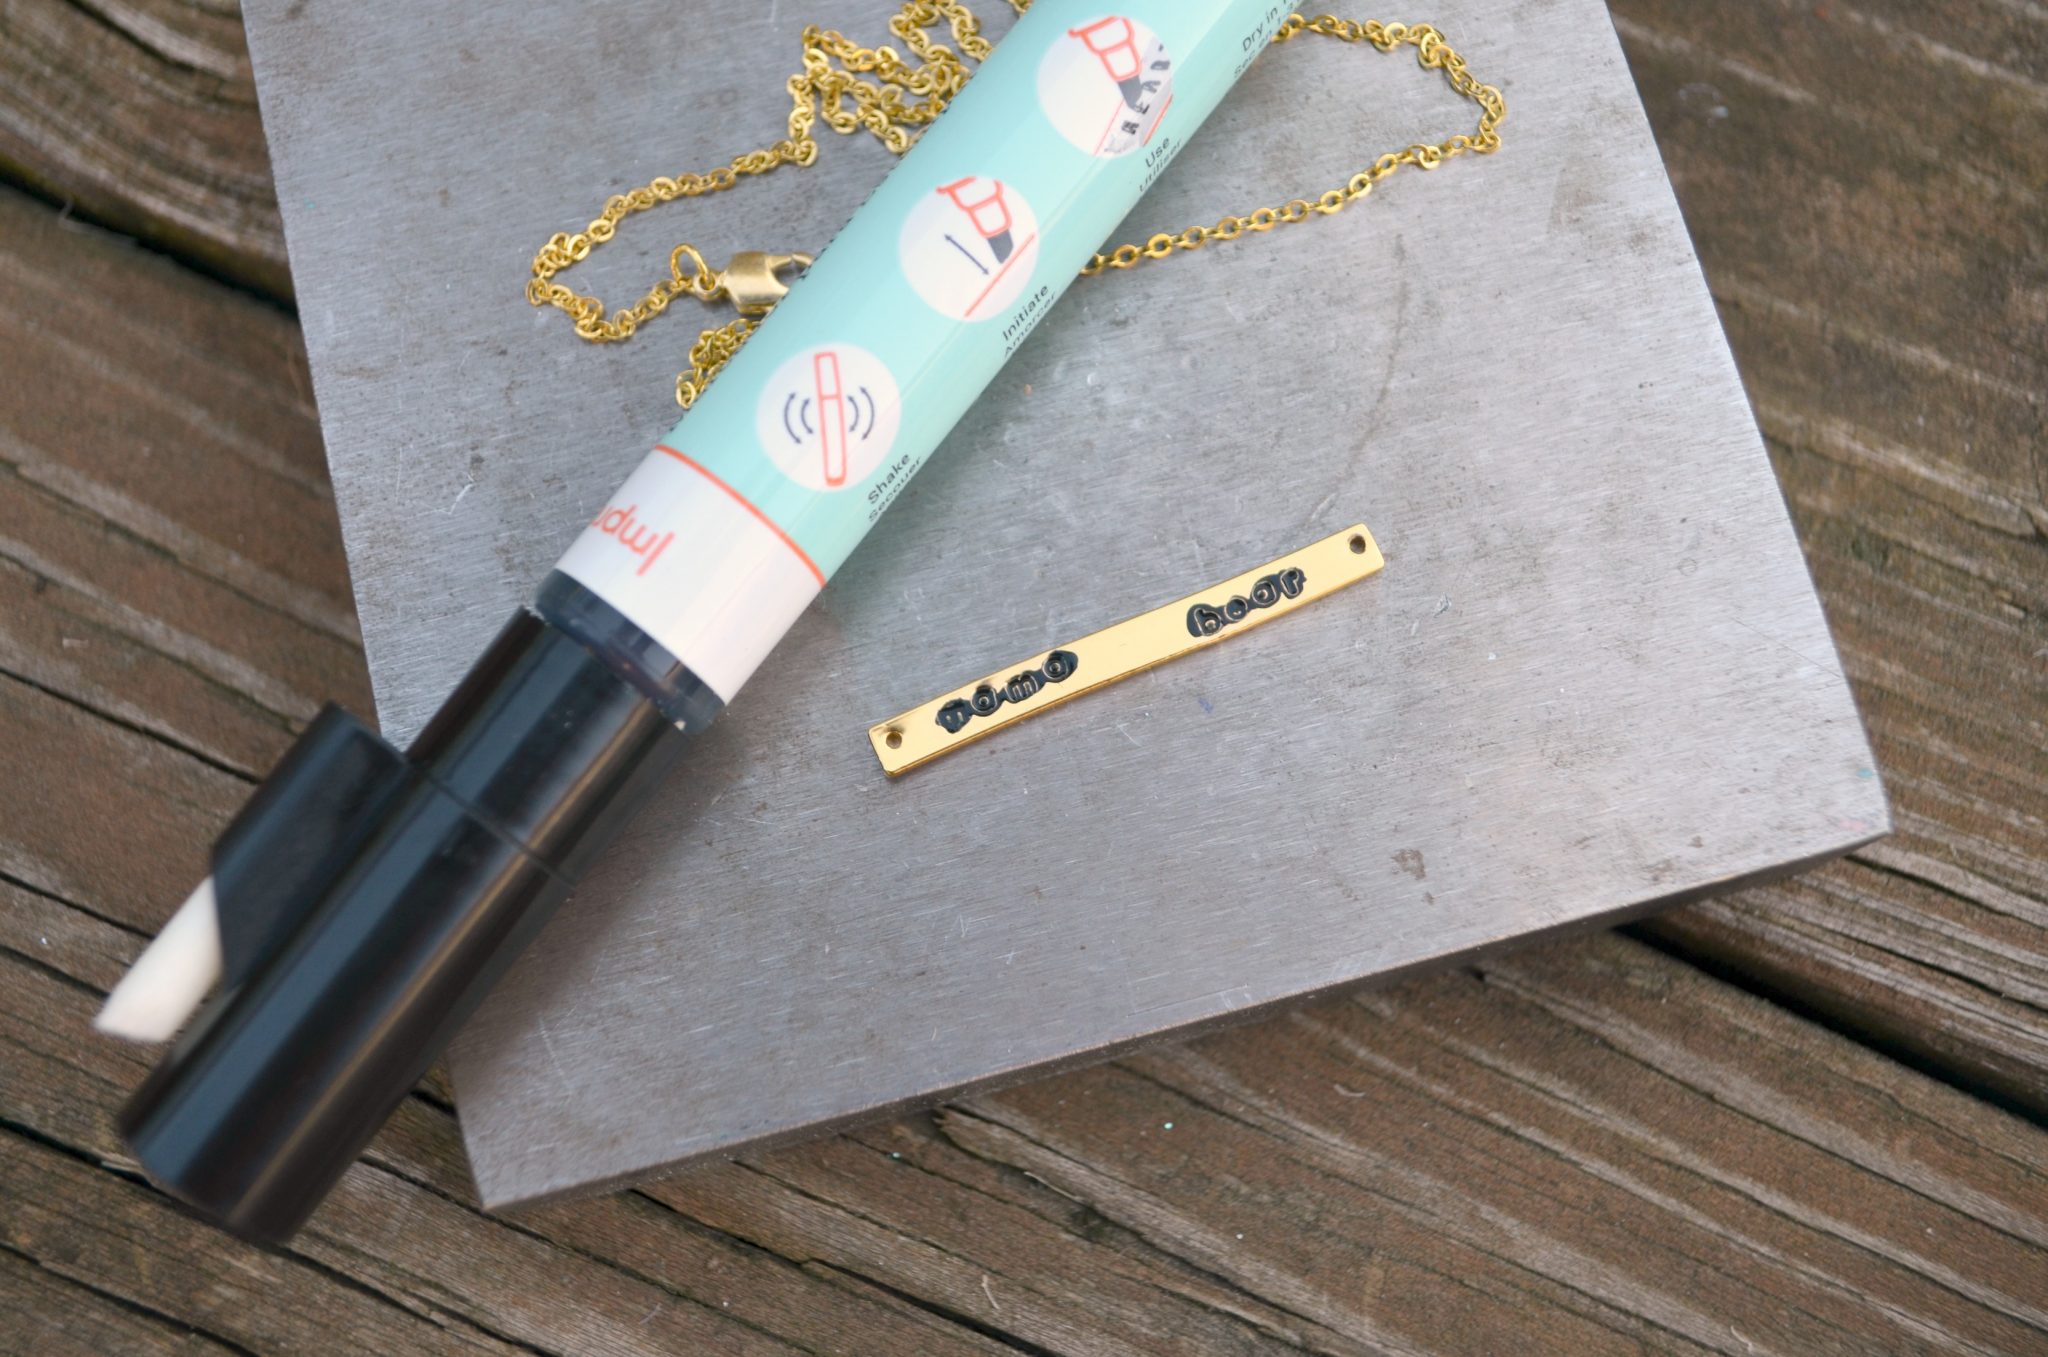
Stamp Enamel Marker
Soft lint-free cloth or paper towel
Needle nose pliers
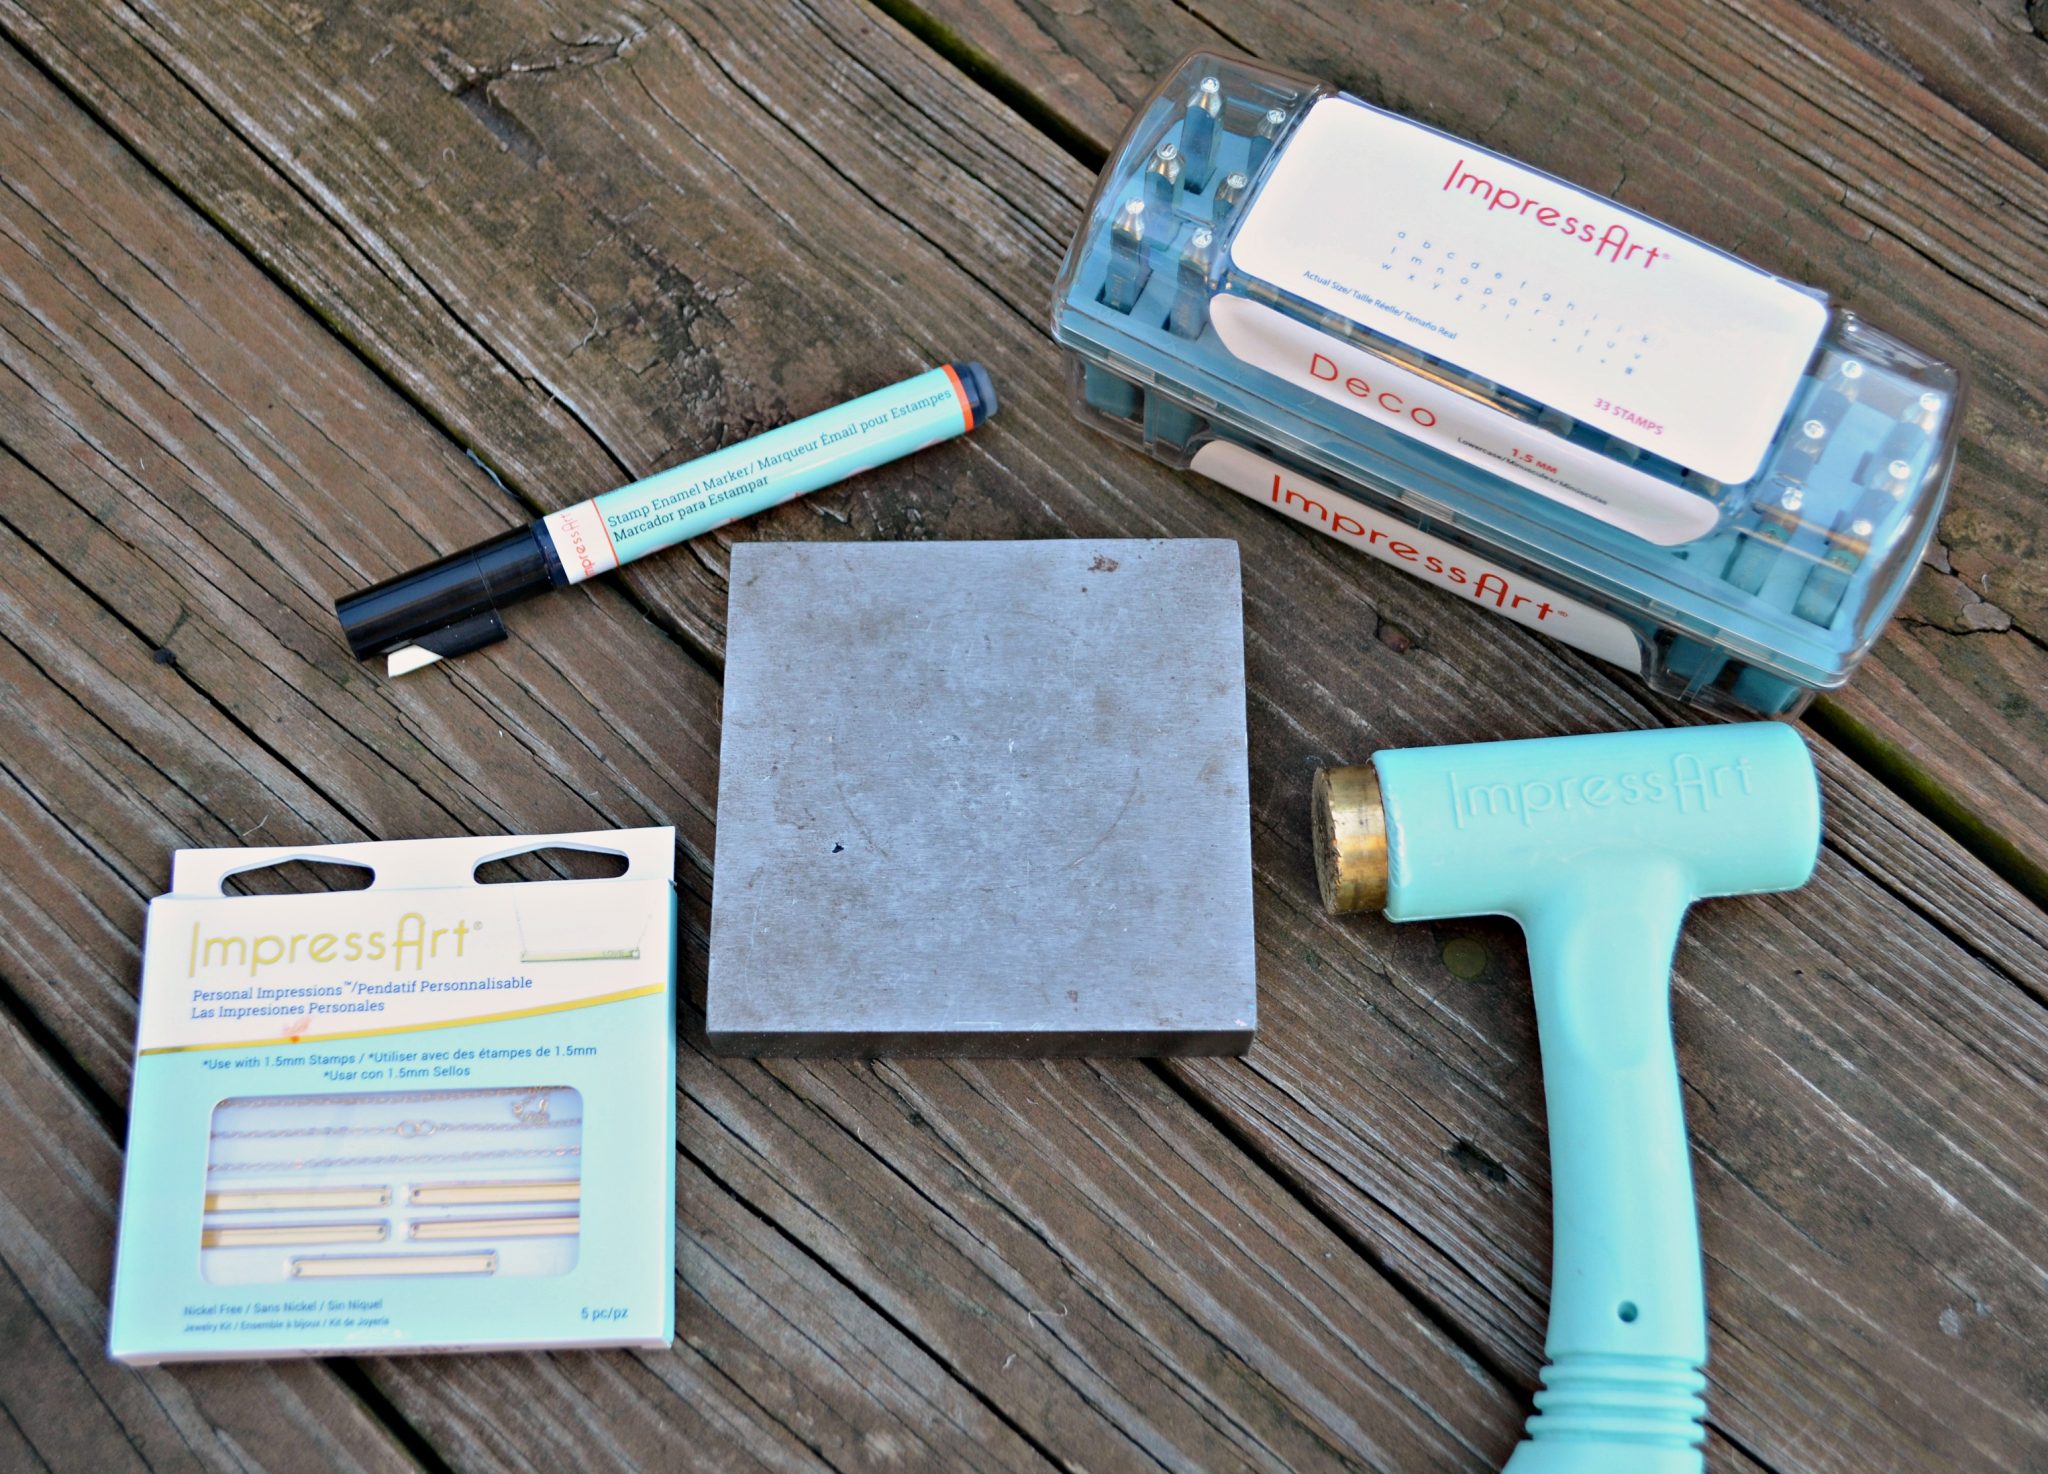
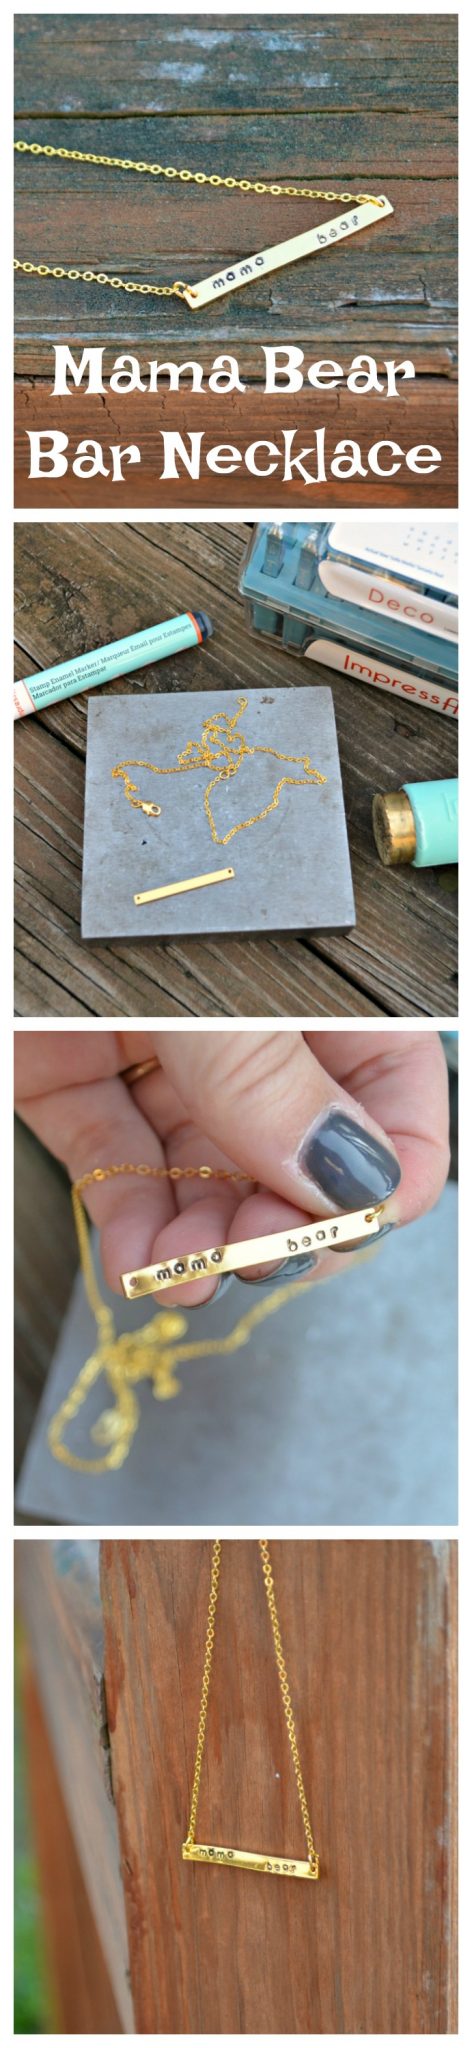
I specifically wanted a bar style necklace, and I’m a huge fan of the Personal Impressions kits. They’re available in different shapes, sizes, and metals, but each one contains everything you need to make five necklaces. You get the stamping blanks themselves, plus a practice one, along with five chains that come complete with all the clasps and jump rings that go with them. All you have to do is stamp your design, then open the jump rings and attach the blank to a chain. It couldn’t be easier, and you get five necklaces for just under $15!
Here’s how I made my necklace.
Step 1: Place your blank on a steel stamping block.
You really do need the block, because steel provides a hard enough surface to allow you to get a good, clean, deep impression. If you try doing this on a table or other surface without a block, you won’t get a great impression and/or you’ll ruin your surface.
Step 2: Line up your alphabet stamps one at a time and give each one a firm tap.
The stamp itself will have an image of the letter on one side. That side should be facing you when you stamp; that’s how you know the letter is right side up. Hold the stamp vertically, touching the blank with the side that has the imprint. Tap on the flat end at the top. One good firm tap should be all it takes.
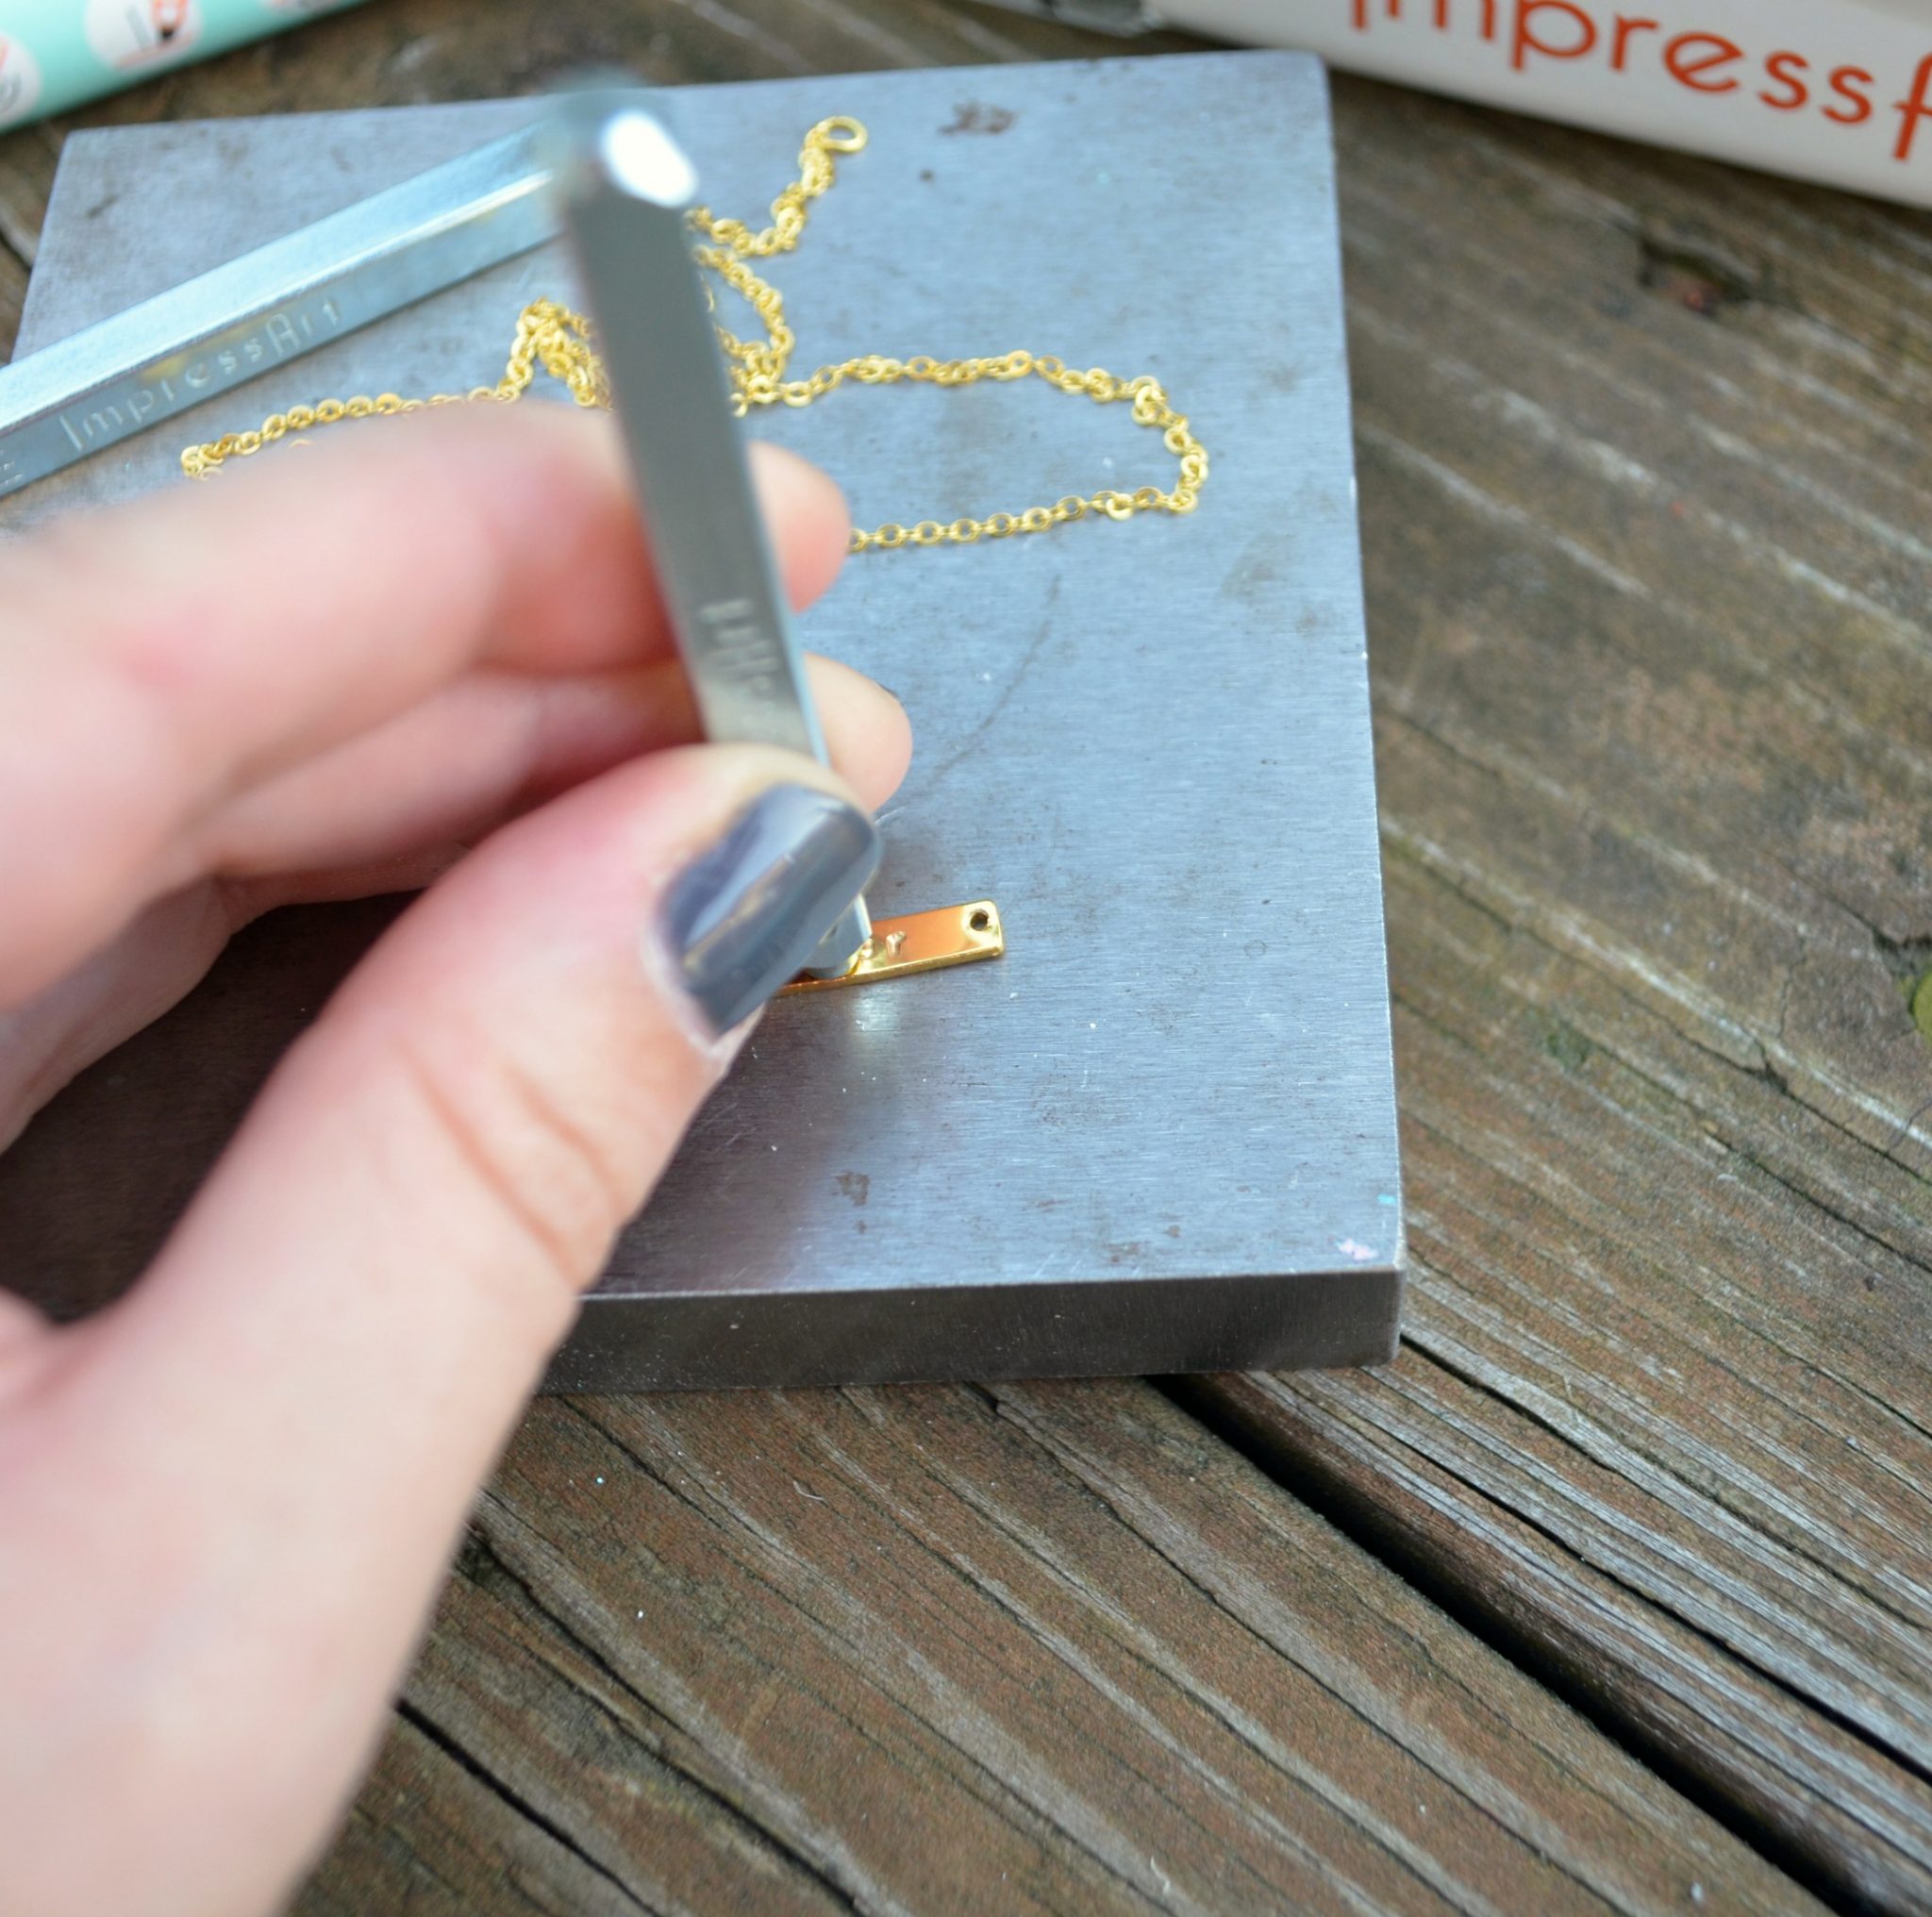
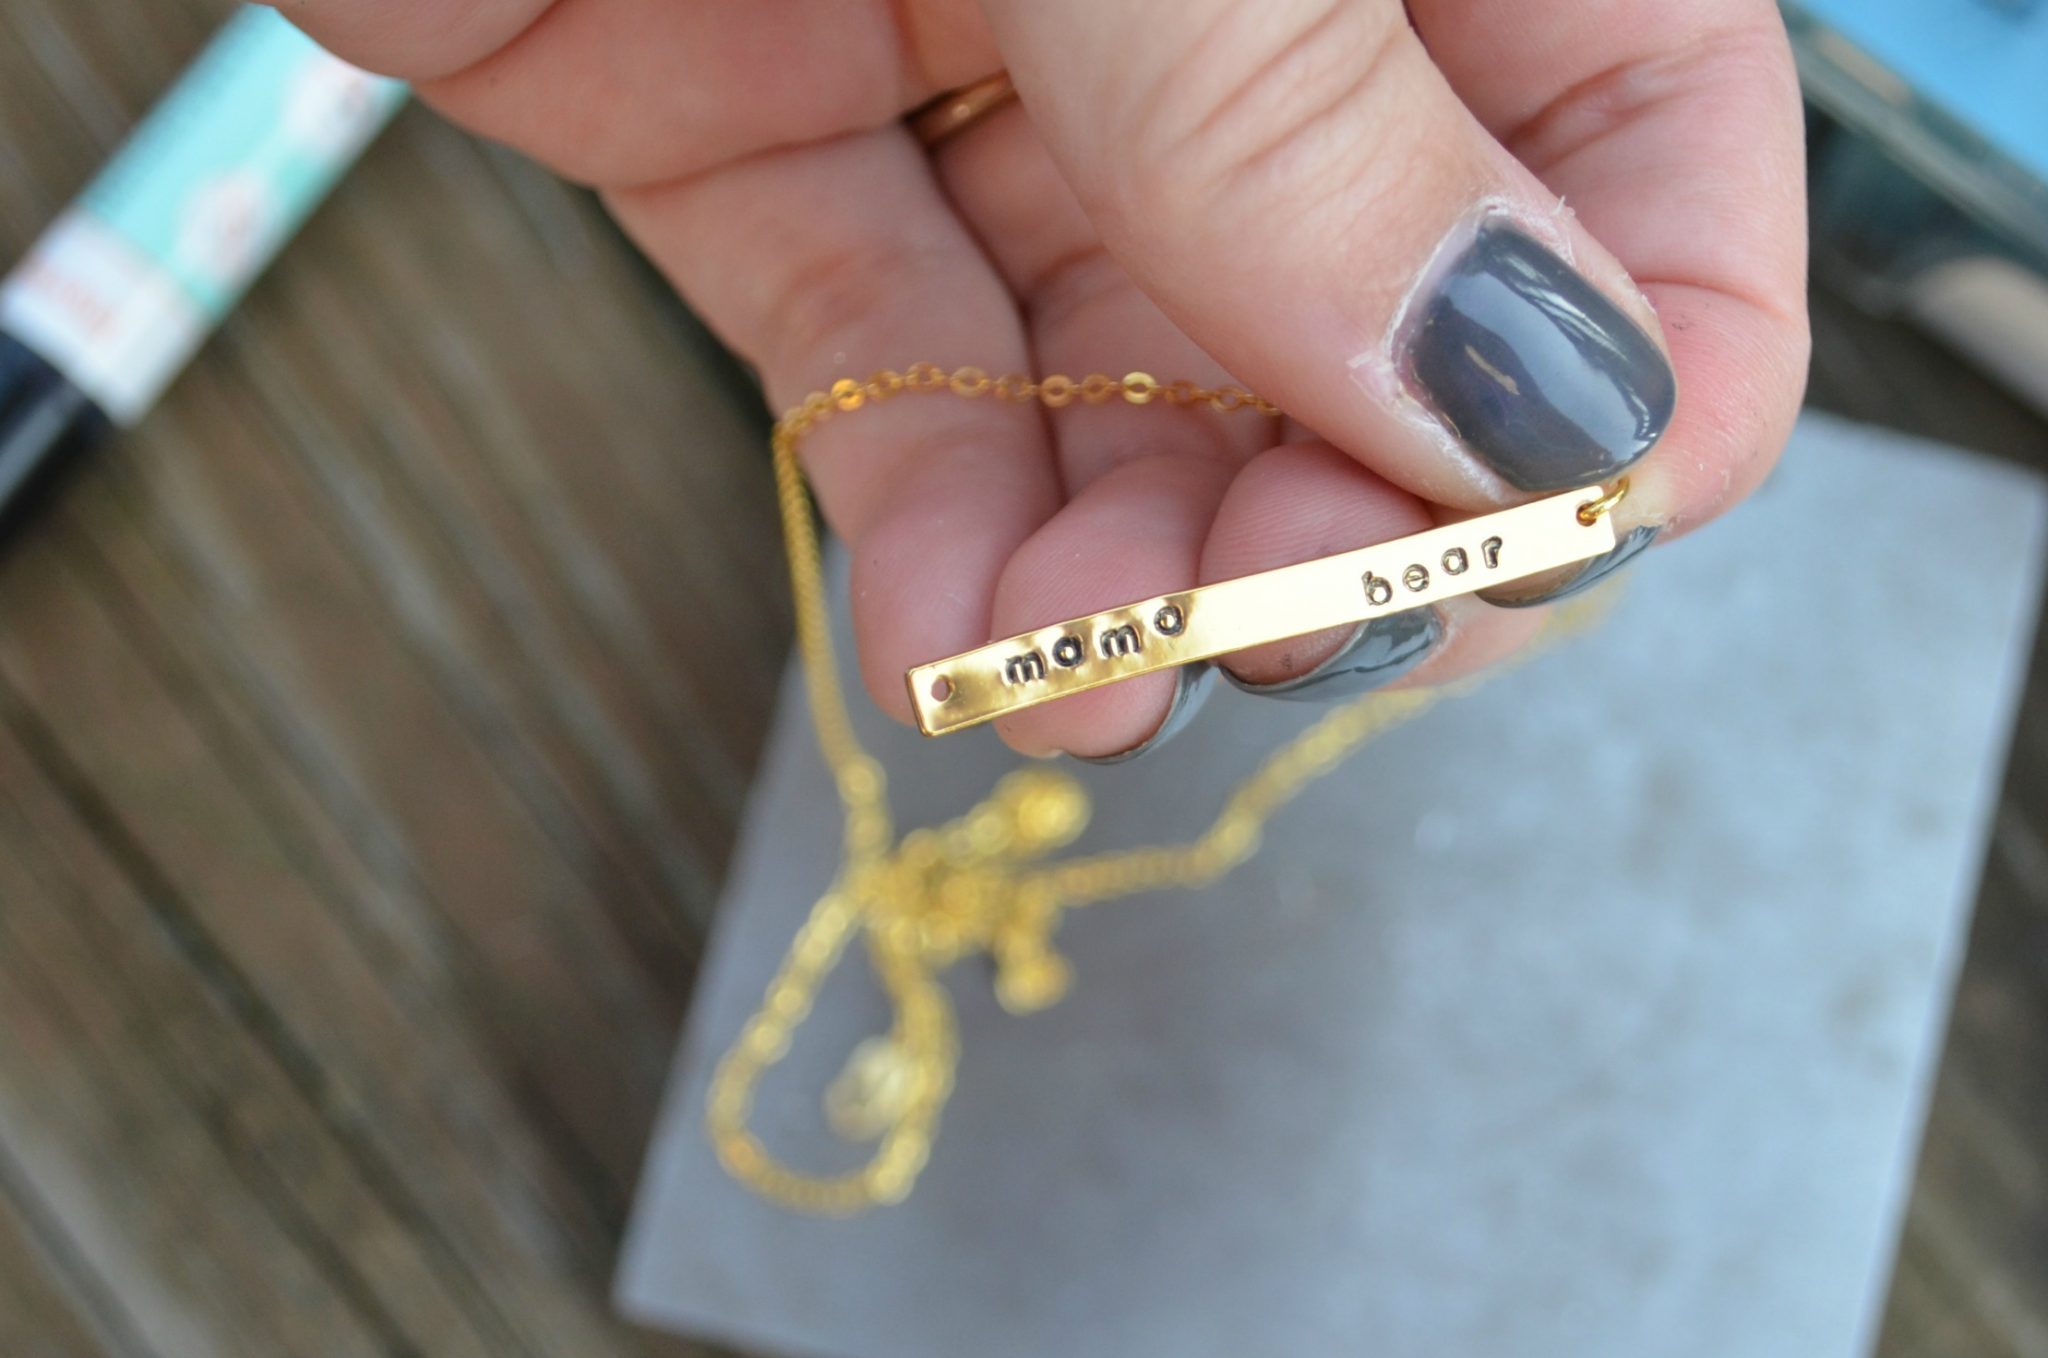
I stamped “mama” on the left, then started from the right and worked backwards for “bear.” Often, I use painter’s tape to hold my blanks in place while I stamp, but this one is so thin and tiny that it wouldn’t really work. I just tried my best to keep the blank from moving while I worked.
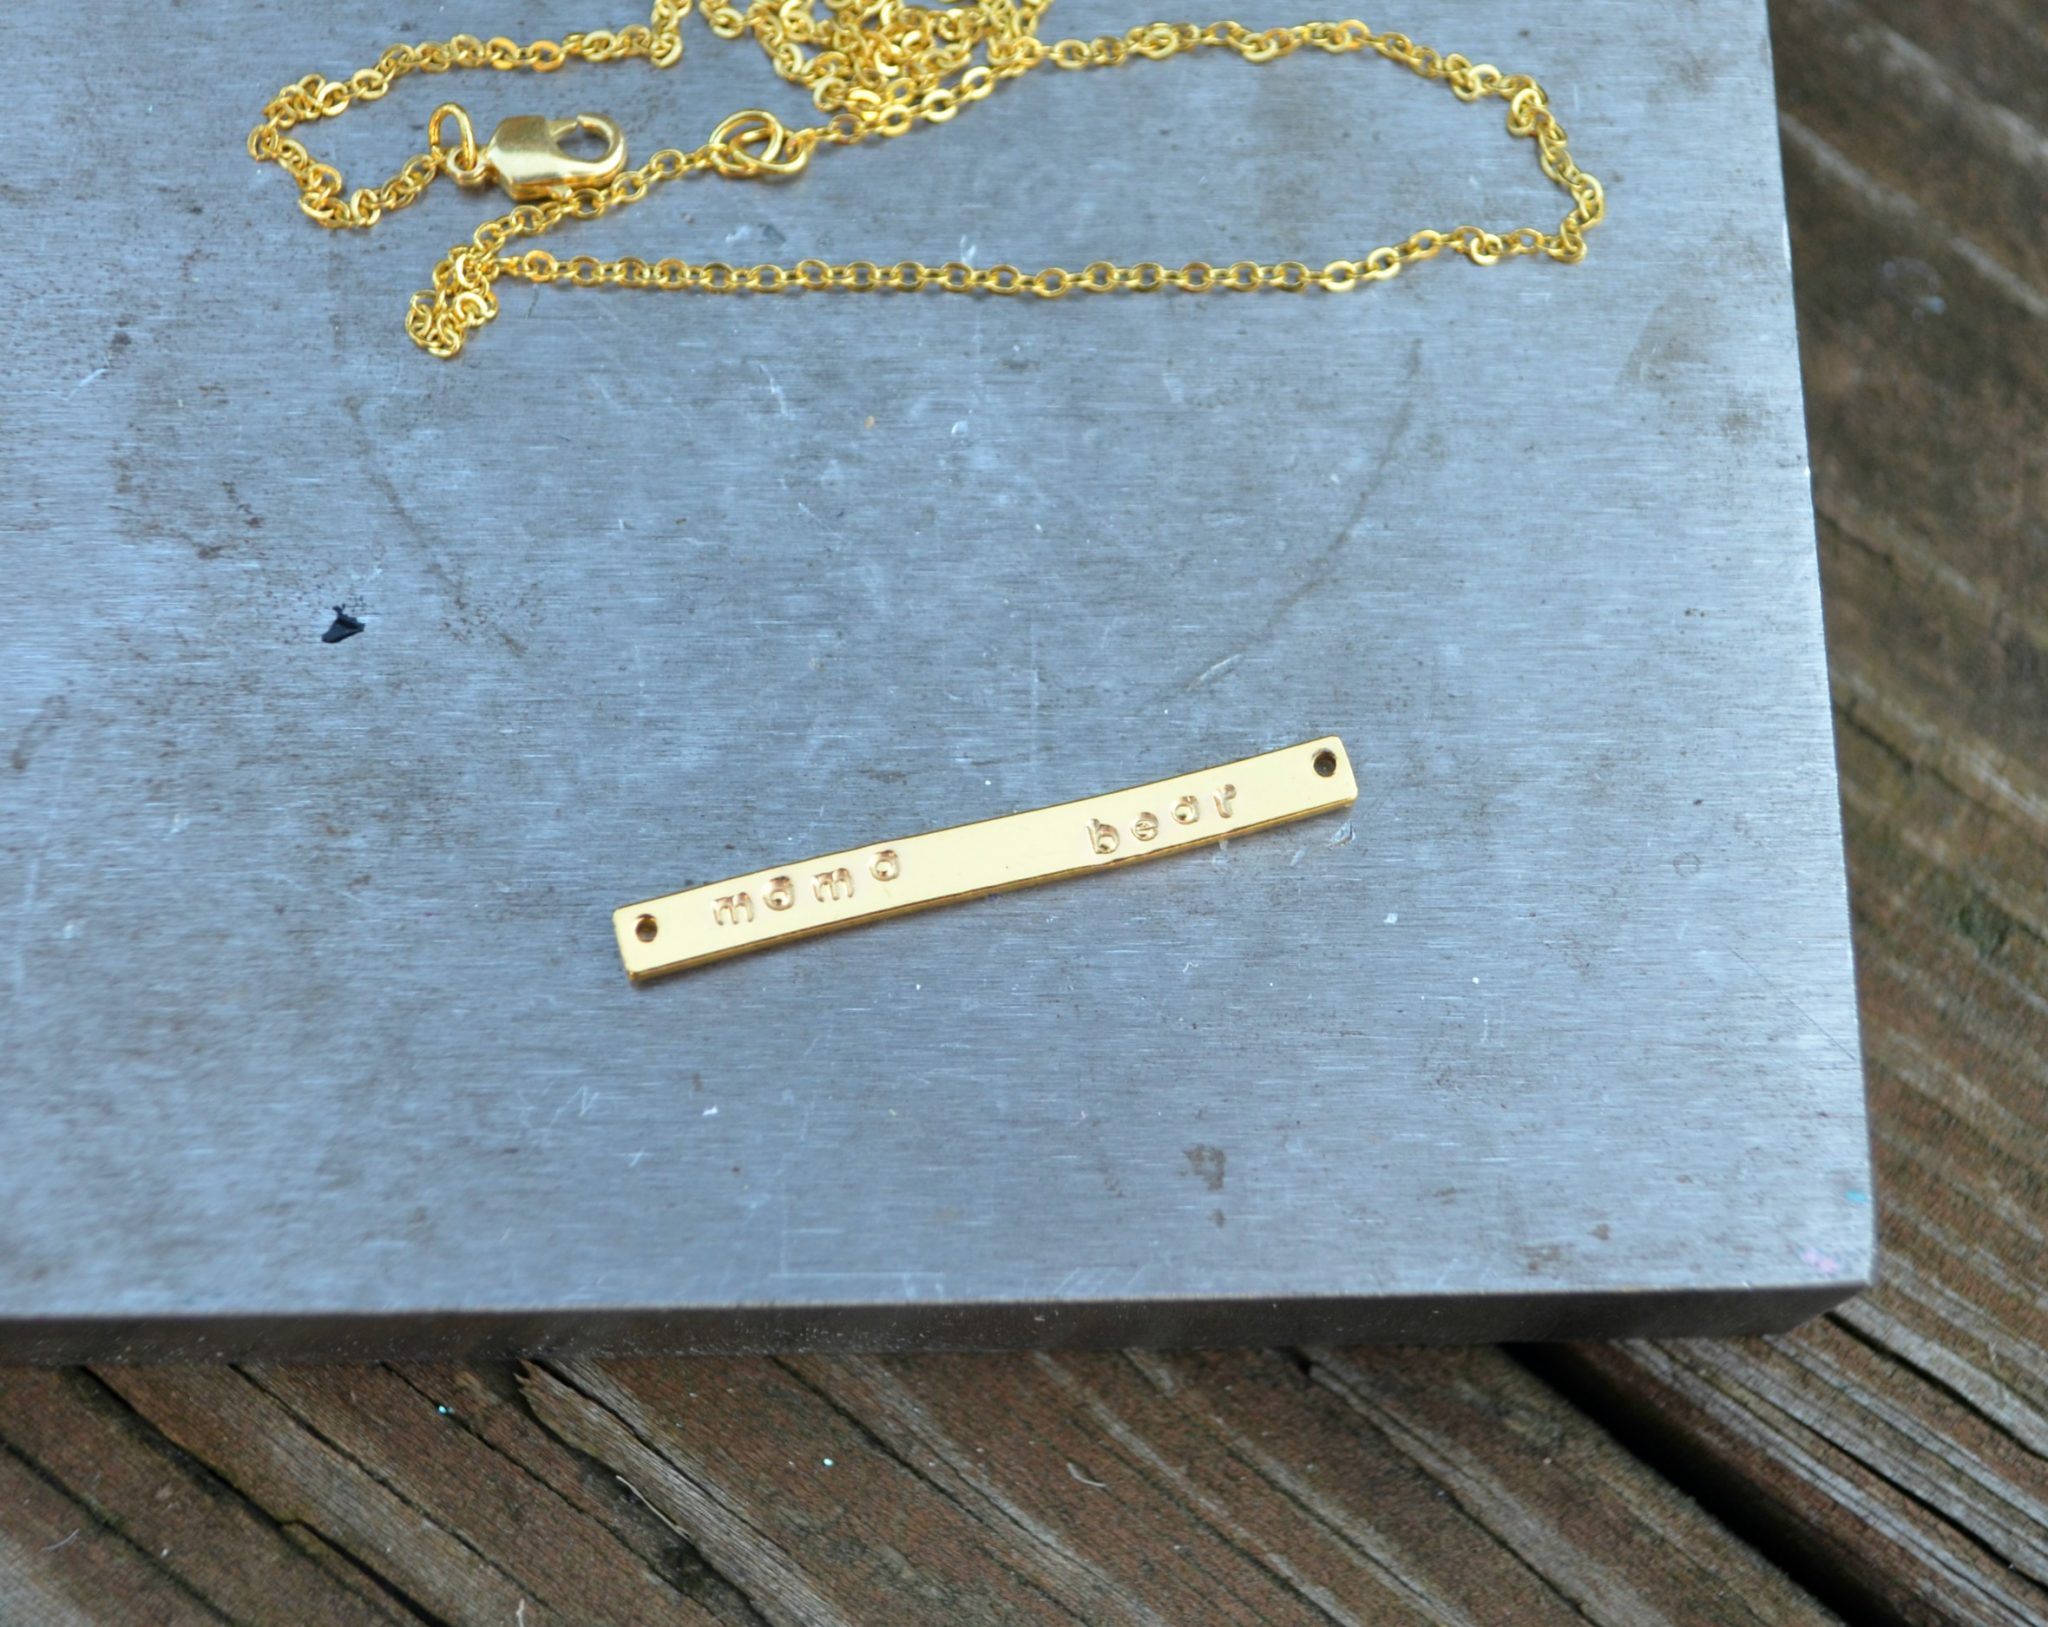
Step 3: Fill in your letters with the Stamp Enamel Marker.
Make sure to get the enamel all the way down in the stamped grooves. Let it sit for about two minutes.
Step 4: Wipe off the excess enamel.
A paper towel or a jewelry cleaning cloth will do the trick nicely. All the extra enamel on the surface will rub right off, but what’s down in the grooves will stay.
Step 5: Attach your chain.
Gently twist the jump rings open with your pliers and attach them to the holes in the blank. You never want to pull the ring ends apart; that will make it impossible to re-shape the jump ring. Instead, twist one end toward you and the other end away. Once the blank is in place, twist the jump rings back into place.
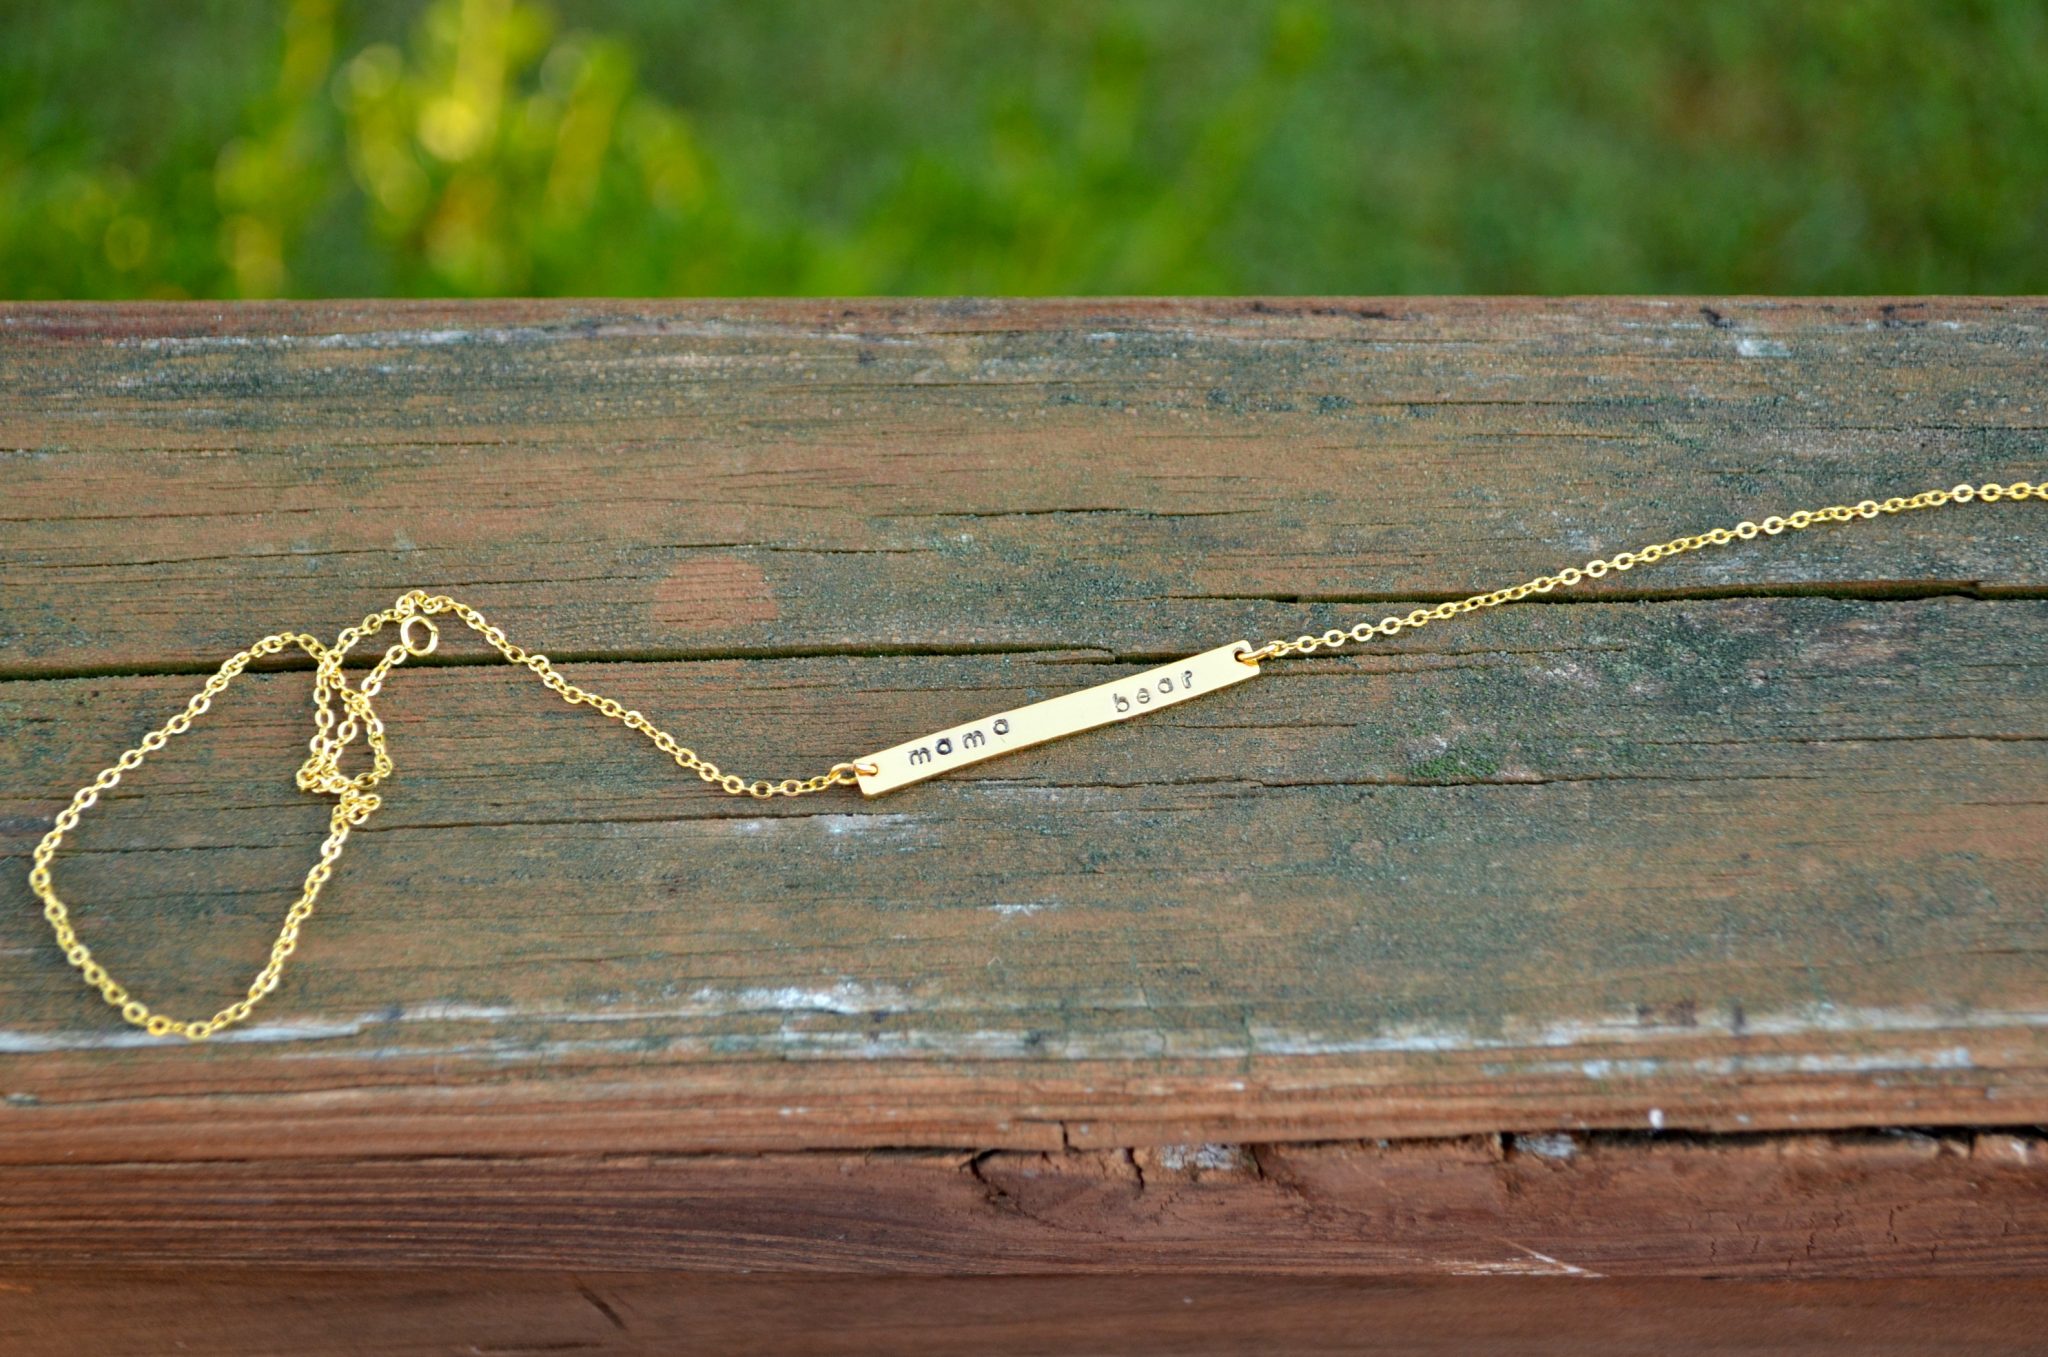
It’s that easy! Now you have a pretty, personalized bar necklace!
What do you think? What would your necklace say?