Painted & Stenciled Corner Table
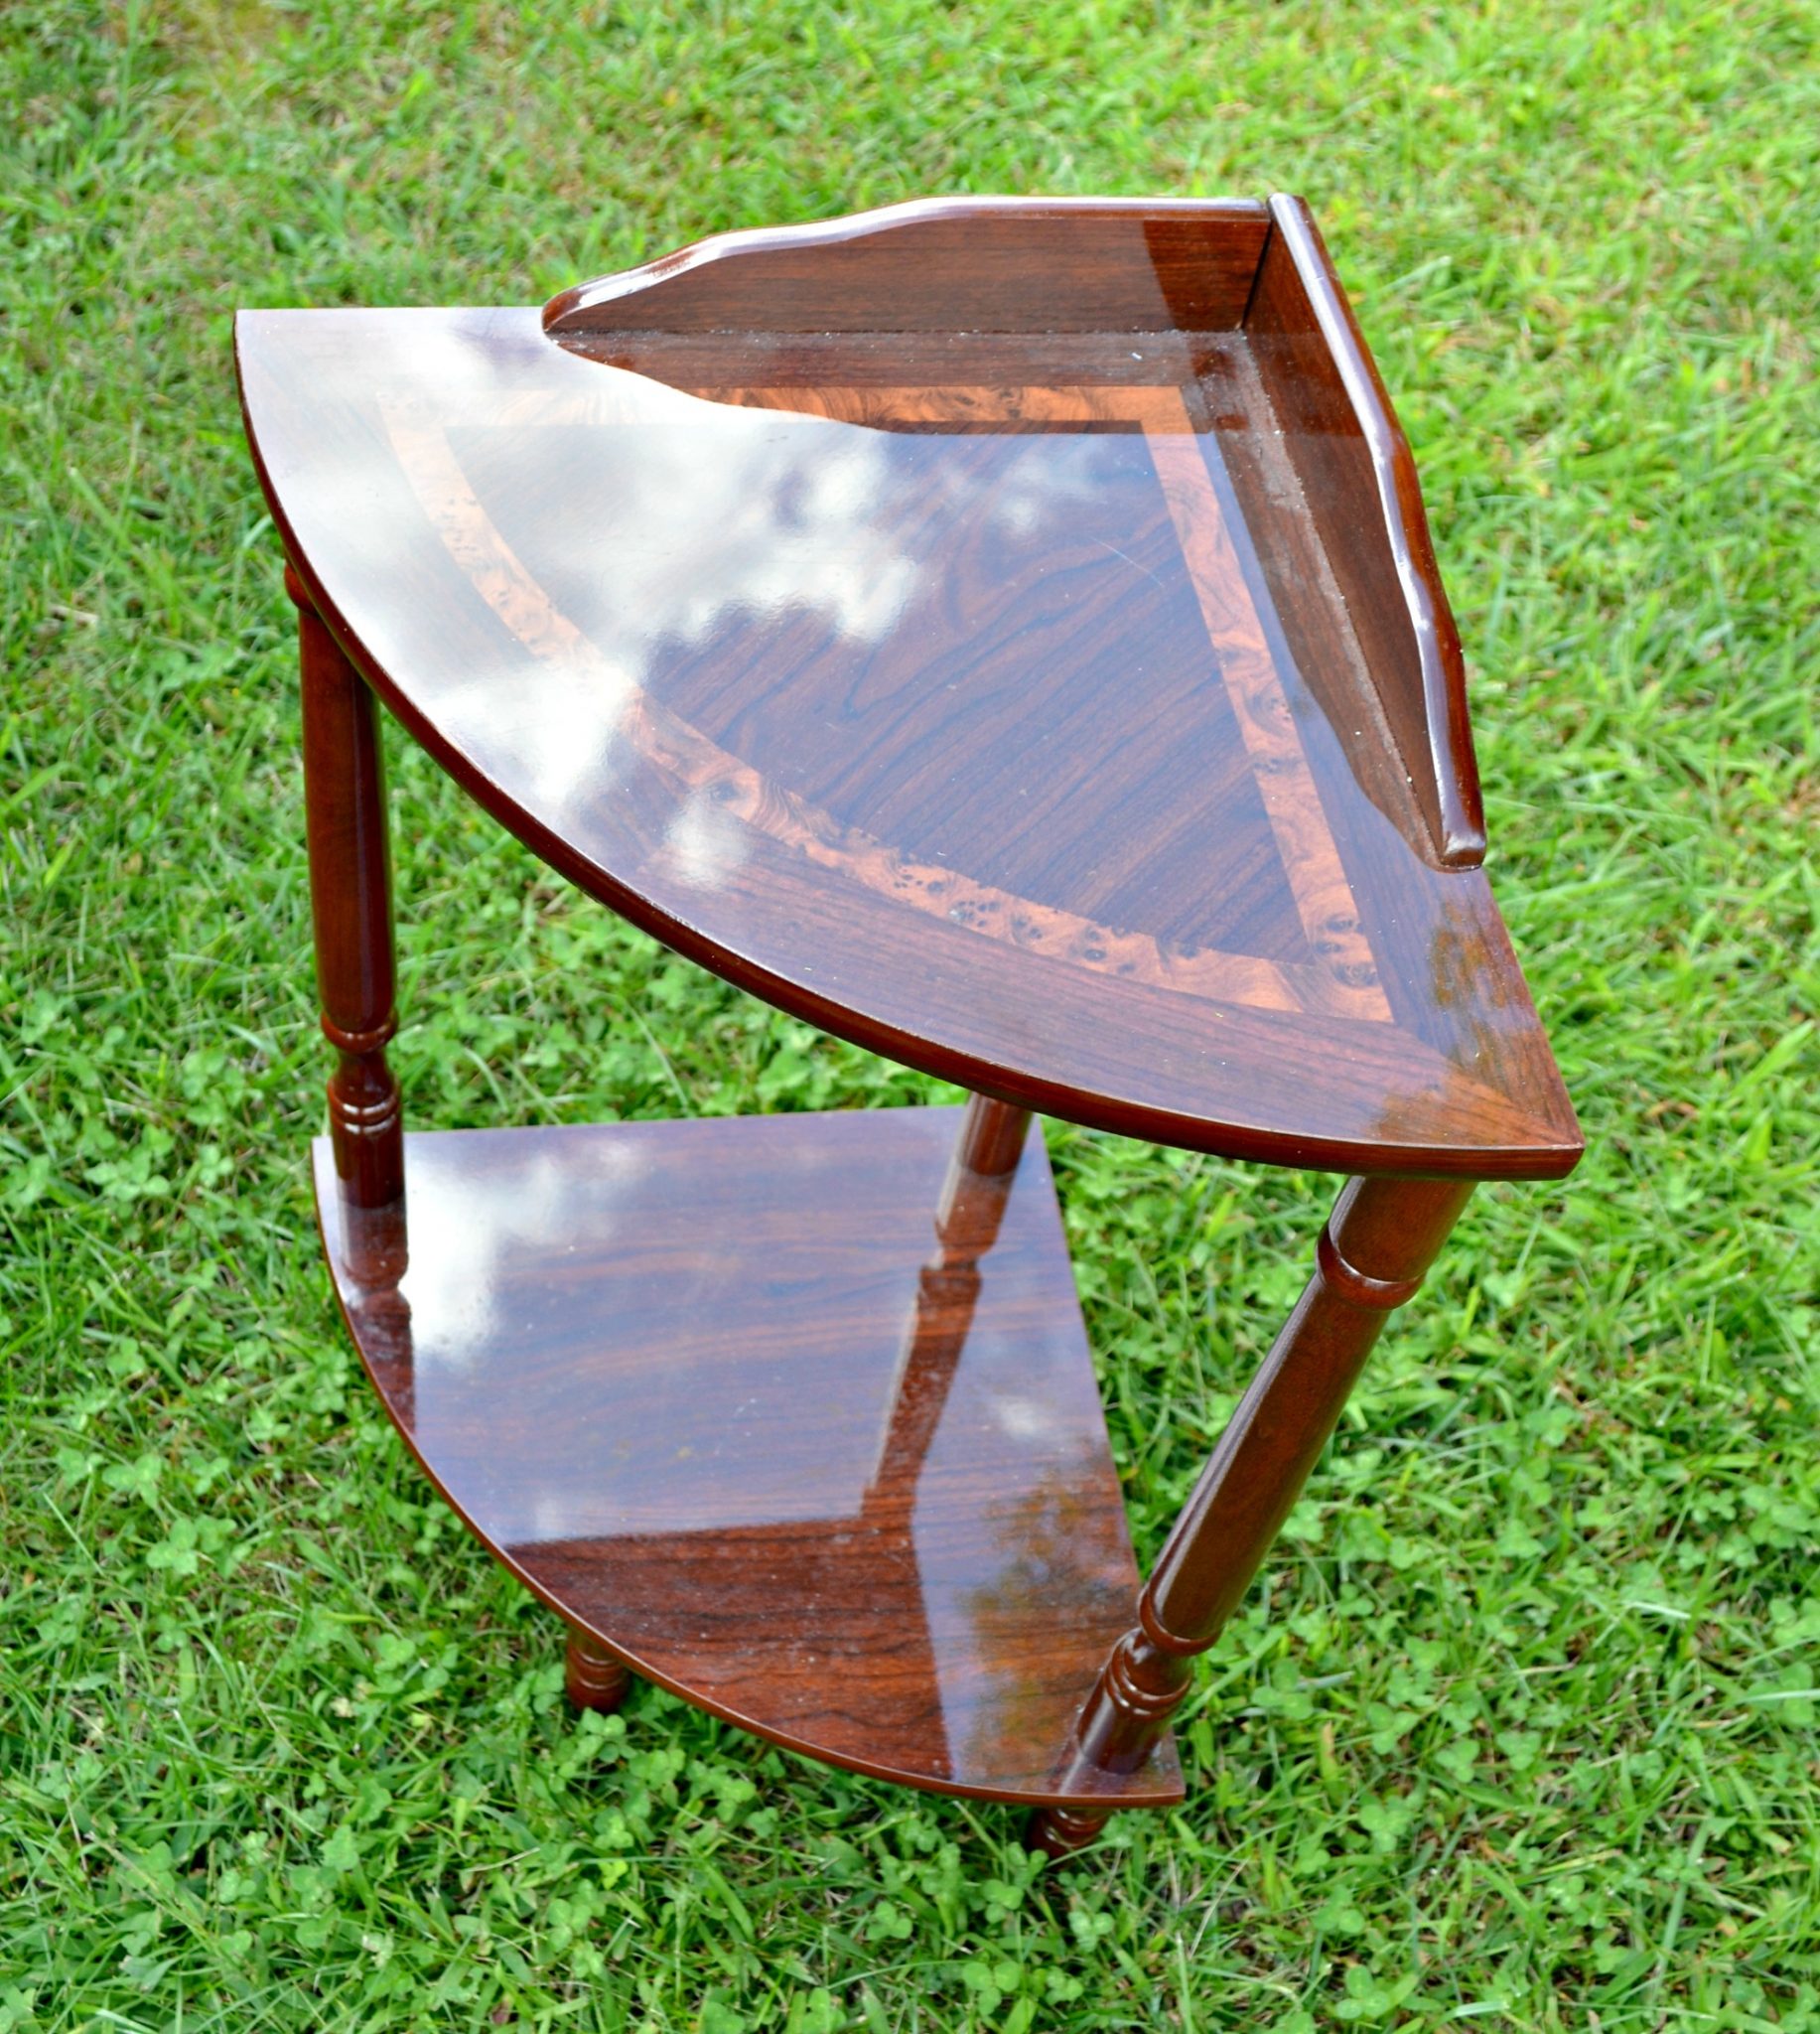
About 12 years ago, my mother-in-law gave us a little corner table. We were looking for something to put at the bottom of the basement steps in our townhouse, and she said she had just the thing. It was the perfect size and shape, and for the entire time we lived there, I used it to display things including photos and the unity candle from our wedding.
When we moved to our current home two and a half years ago, I found a spot for this little table in the guest bedroom. It held extra washcloths, soaps, and lotions, so guests would feel right at home. Recently, though, hubby’s office became the bedroom for “Scout,” the 10 year old we are adopting from China, and the guest room became the new office. So, the table needed a new home. I found a perfect spot on the main level, but it needed a fresh new look first! Here’s how I gave it a facelift with just a few simple supplies.
You’ll need:
{some of the following are affiliate links}
FolkArt Home Decor Chalk paint: Adirondack White & Patina
FolkArt Home Decor Wax: Clear
Martha Stewart Stencils: “Vintage Decor Stencils – Blossom” and “Adhesive Stencils – Floral”
FolkArt Home Decor Wide Brush
FolkArt Stencil Brush
Soft lint-free cloth
Painters’ Tape
Medium grit sandpaper or power sander: I have the RYOBI One+ Corner Cat
Step 1: Prepare your surface.
The table originally was very glossy which is hard for paint {even chalk paint!} to adhere to. I used my sander to get down past whatever sealer was on top and expose the wood itself.
Step 2: Paint the entire surface with several even coats.
I did three coats to get the coverage I wanted. It’s always going to take more coats when you’re going from a very dark color to a much lighter one. I used the 4″ brush to apply my paint, which is my favorite way to paint furniture because of the wide, even coverage. You’ll want to make sure to let your paint dry thoroughly between coats. One 8 oz bottle was plenty for my project, but if you have a larger piece of furniture, you may want to get a larger bottle of the paint.
Step 3: Tape your stencil{s} in place.
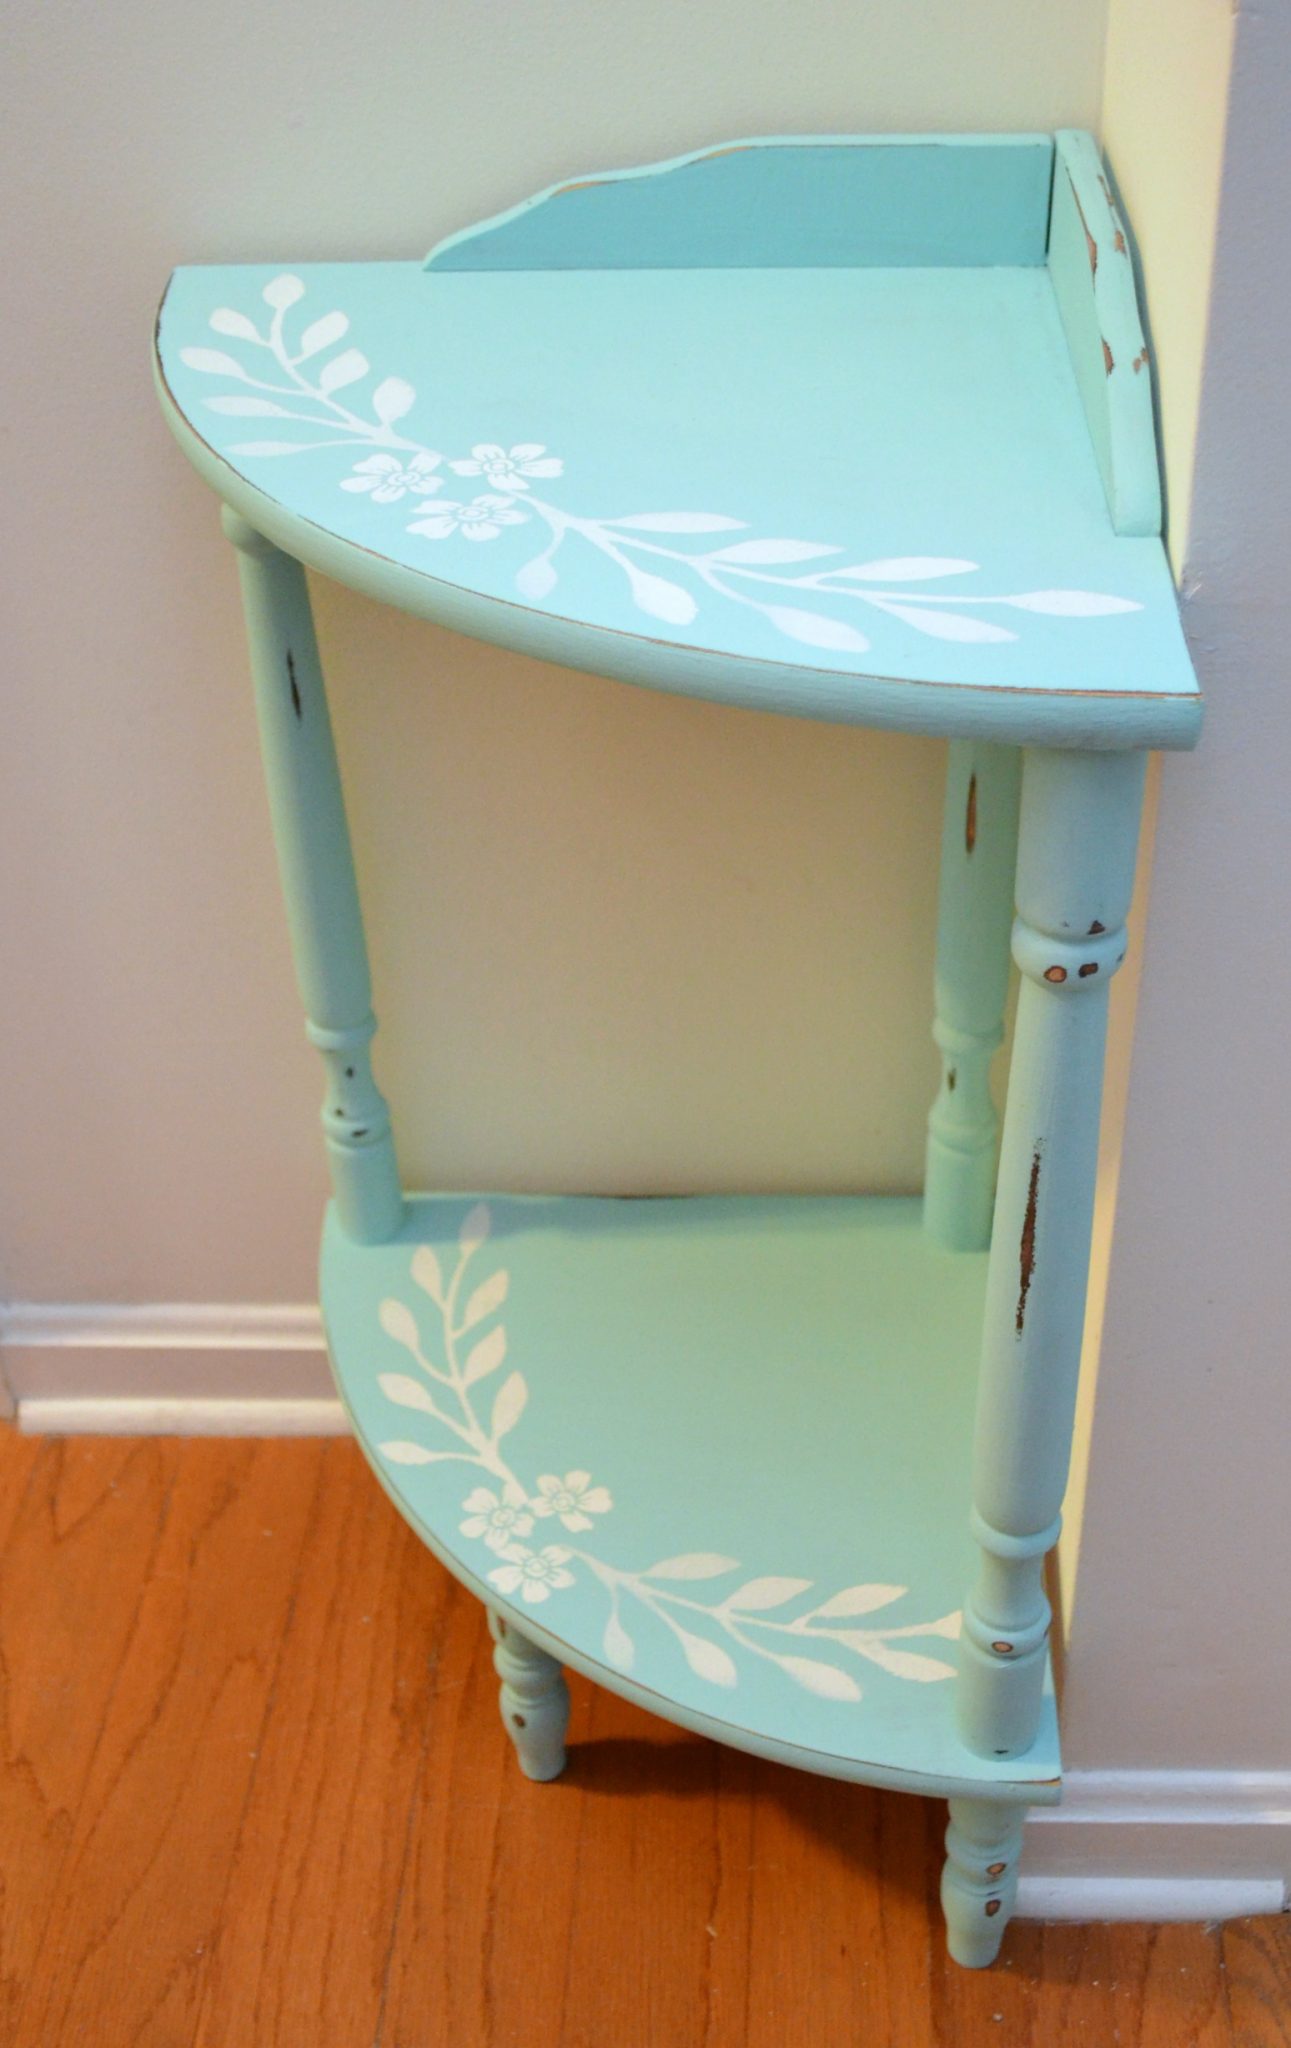
I started with the leaf stencils from the Blossom set and taped one on each side of the top of the table, making sure to match the curve of the vine to the curve of the table’s edge. Then, I stenciled three small flowers from the Floral set in between the leaves. The particular flower I used has a stem, so I had to tape that off in order to keep paint from going through the stem part of the stencil.
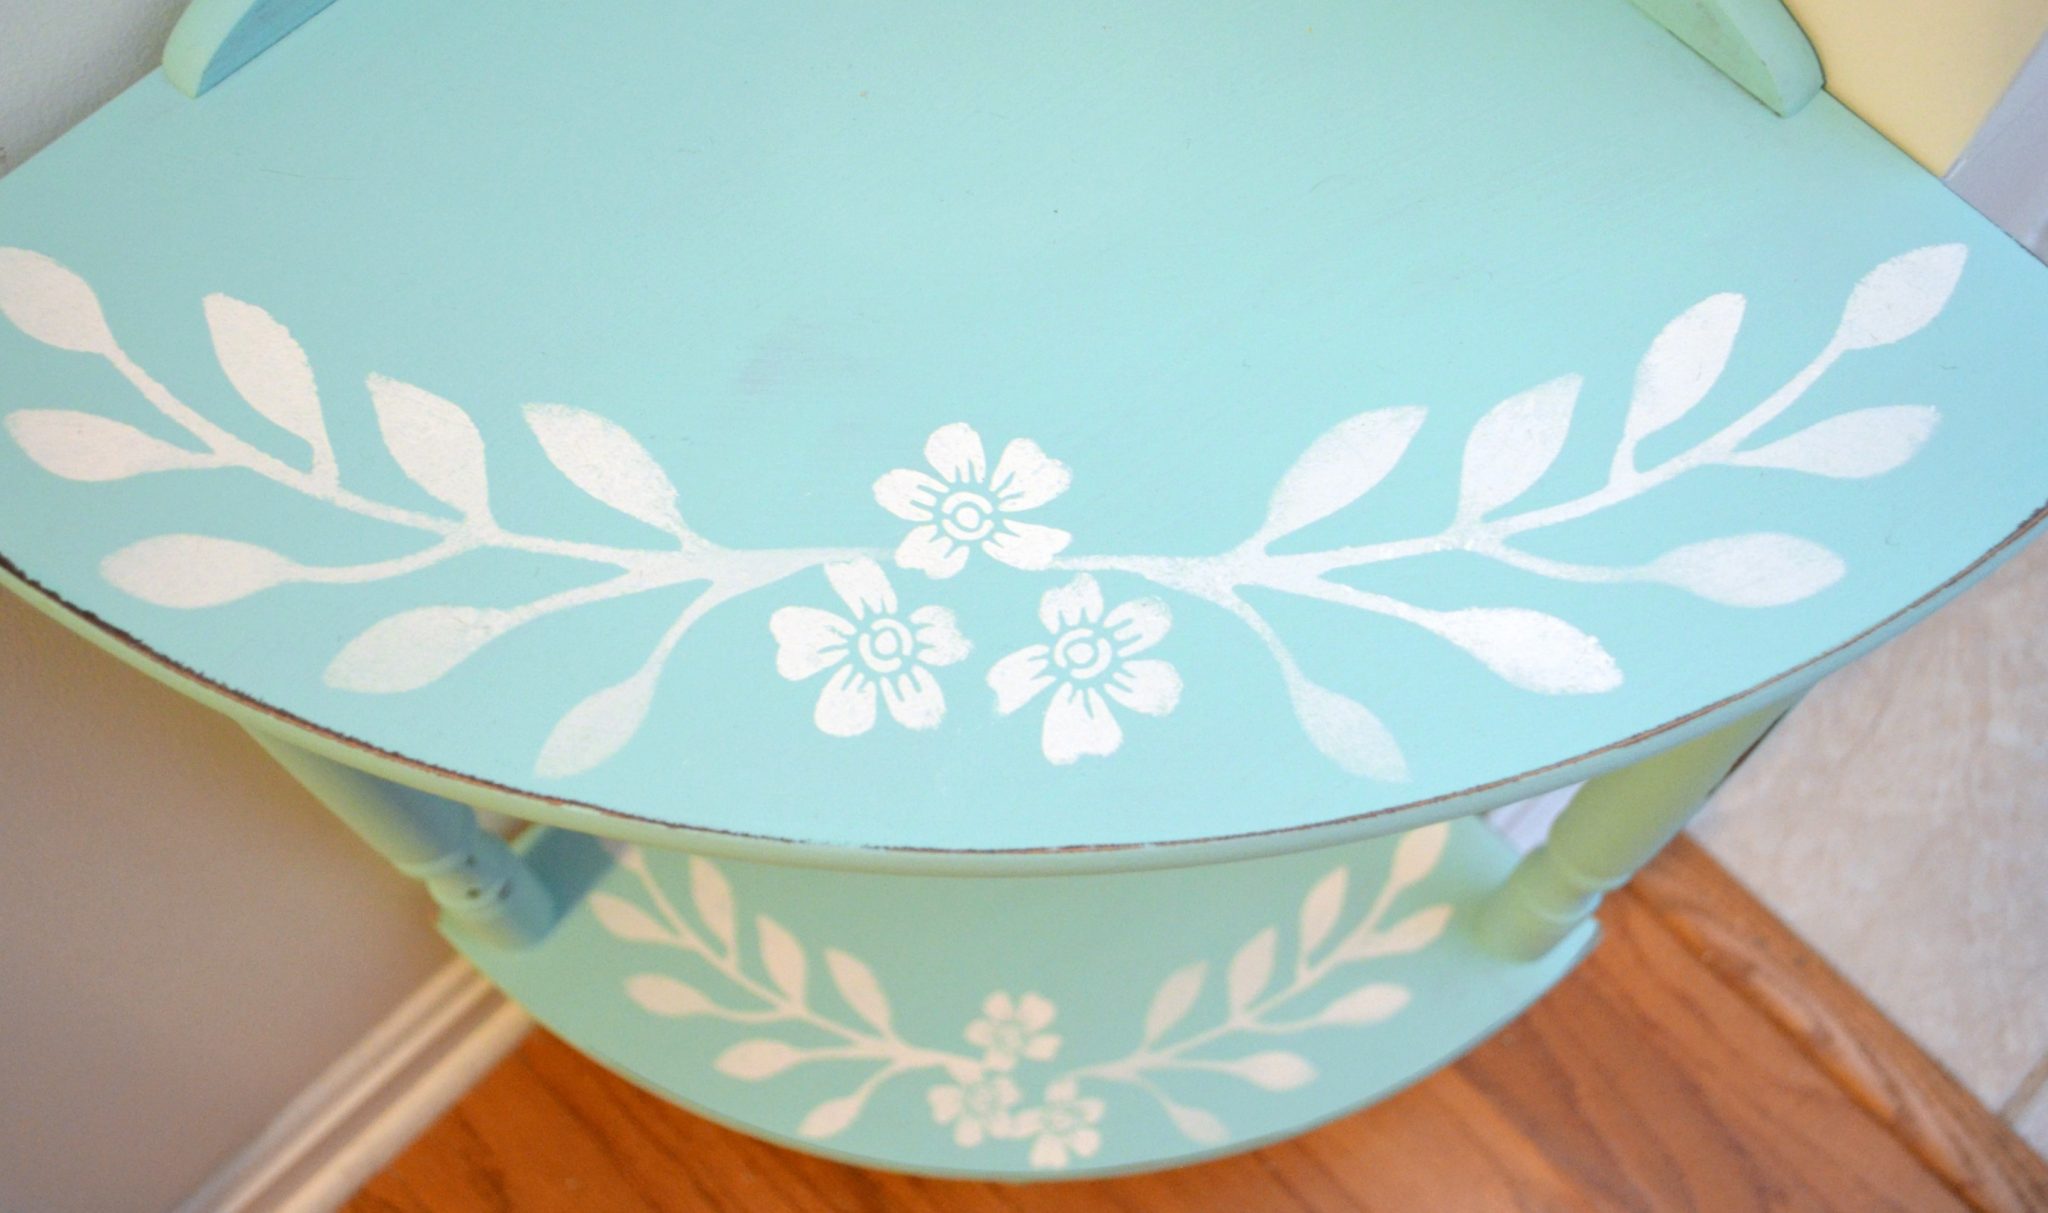
When stenciling, always remember that less is more! The more paint on your brush, the more chance you have for it to bleed under the cutouts and blur your image. Load you brush, then offload it onto a paper towel or paper plate until it’s almost dry before applying it to your stencil. For more tips and tricks on getting a gorgeous, clean stenciled image, check out this Paint Tips post.
Step 4: Distress the piece as much or as little as you like.
Some people, myself included, love a slightly distressed look to their painted furniture. Frankly, I think part of the reason why I do is because then if the cat or the kid does something to add a scratch, I won’t even notice. It takes the pressure off of having to make sure everything stays perfect looking, right? There are definitely other folks who don’t like or understand the distressed look, and if you’re one of them, you can skip this step. If you do choose to distress, though, you’ll just want to lightly sand the piece around the edges and anywhere that would experience daily wear and tear over the years.

Step 5: Apply wax.
You’ll want to take a soft cloth, like a torn t-shirt or an old sock, and use it to gently rub wax onto the surface of the piece. The wax comes in clear, which I used, as well as Dark, which will also give your furniture an aged, antique feel.
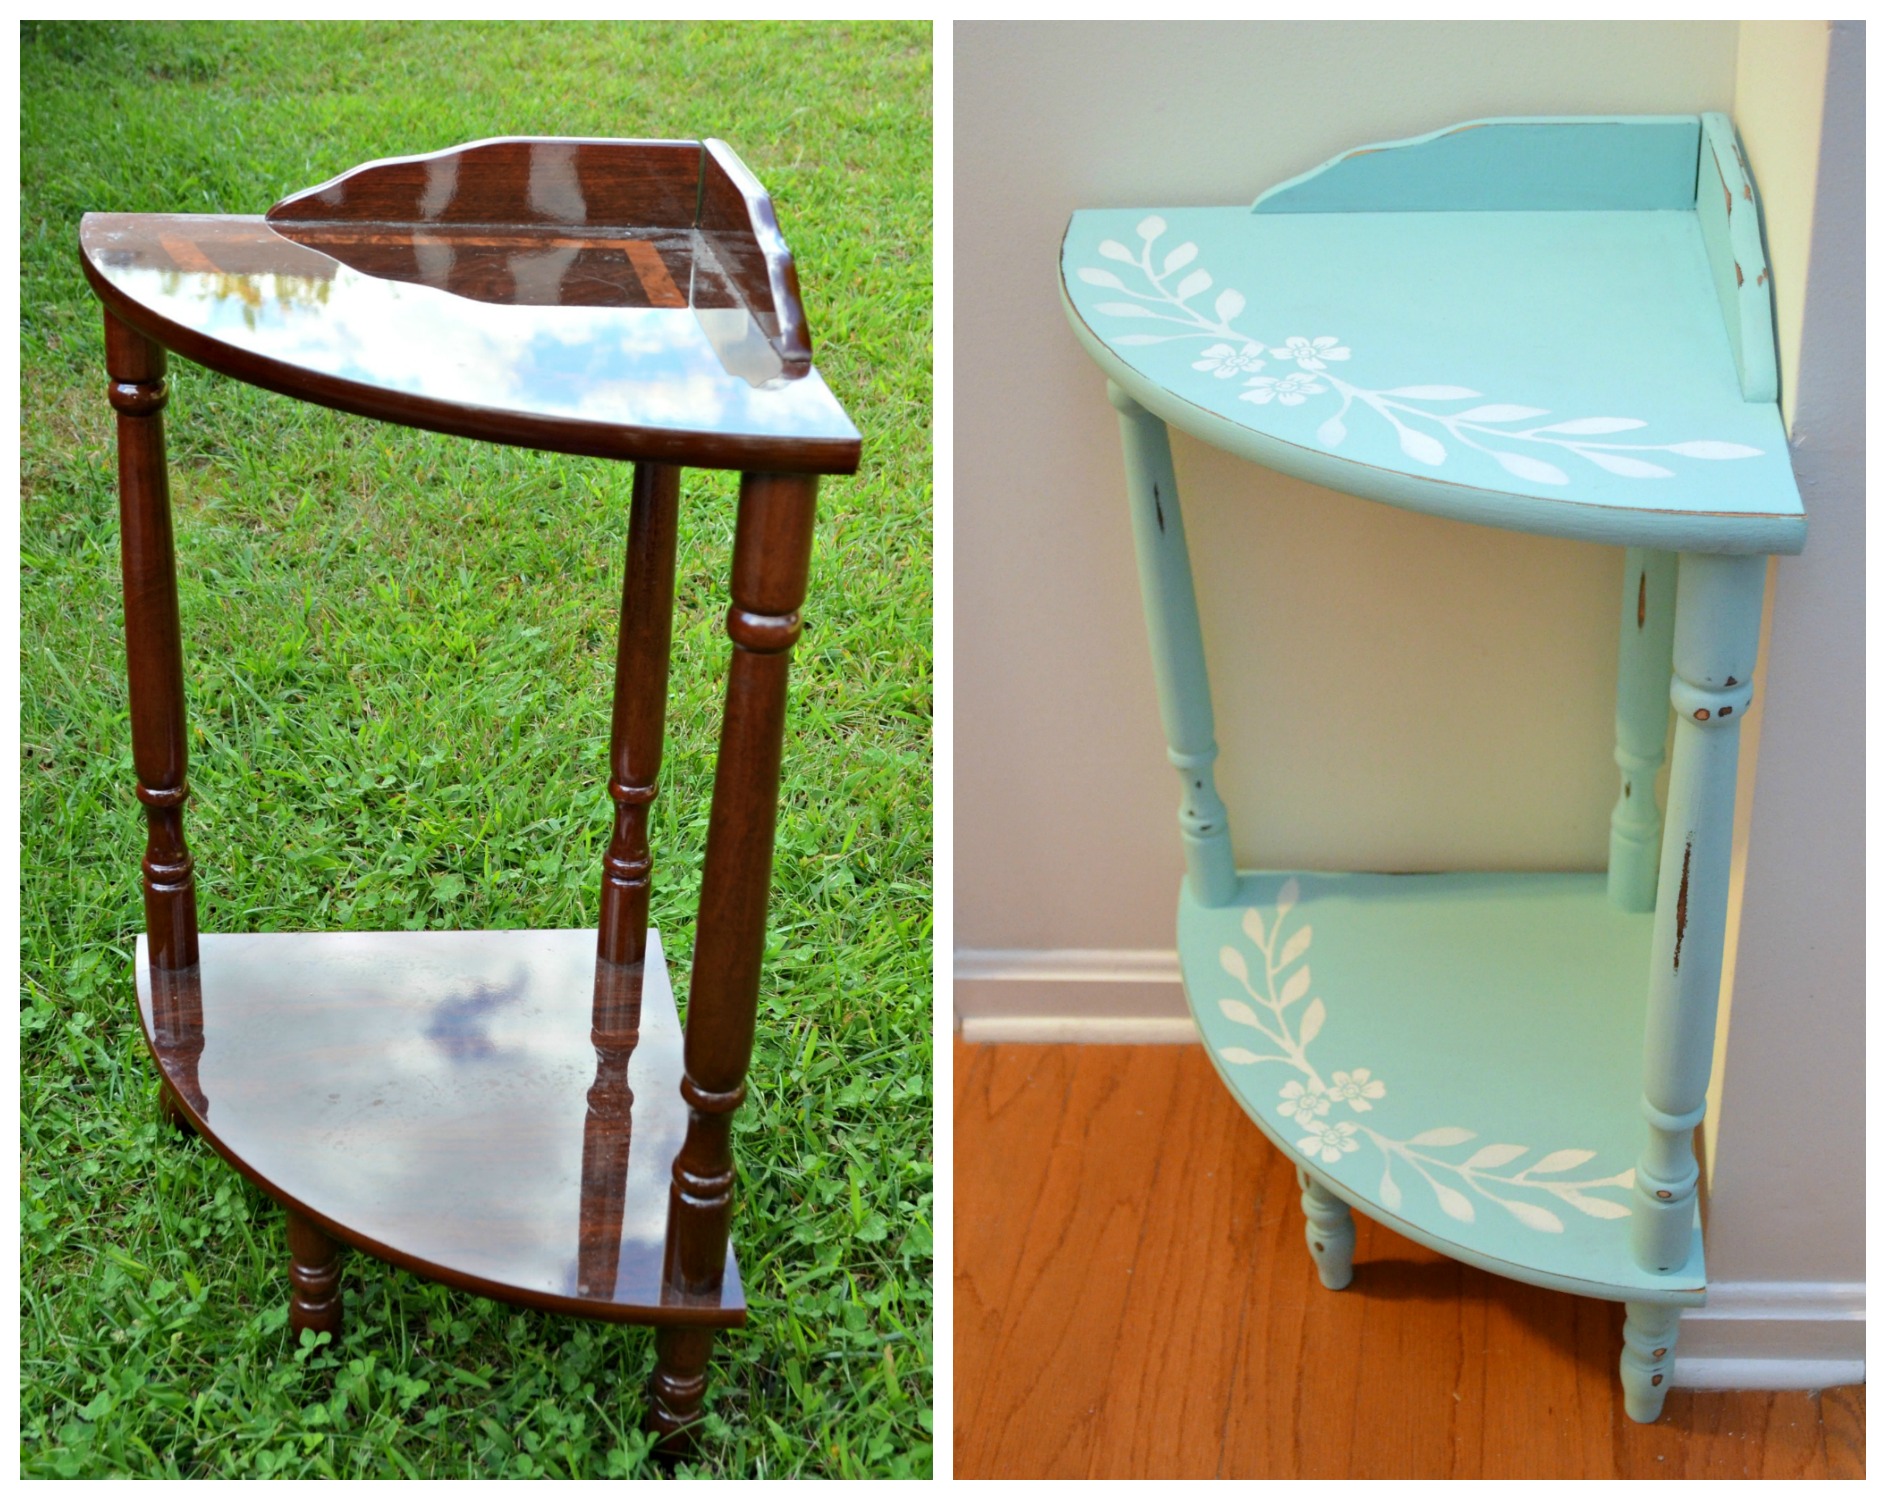
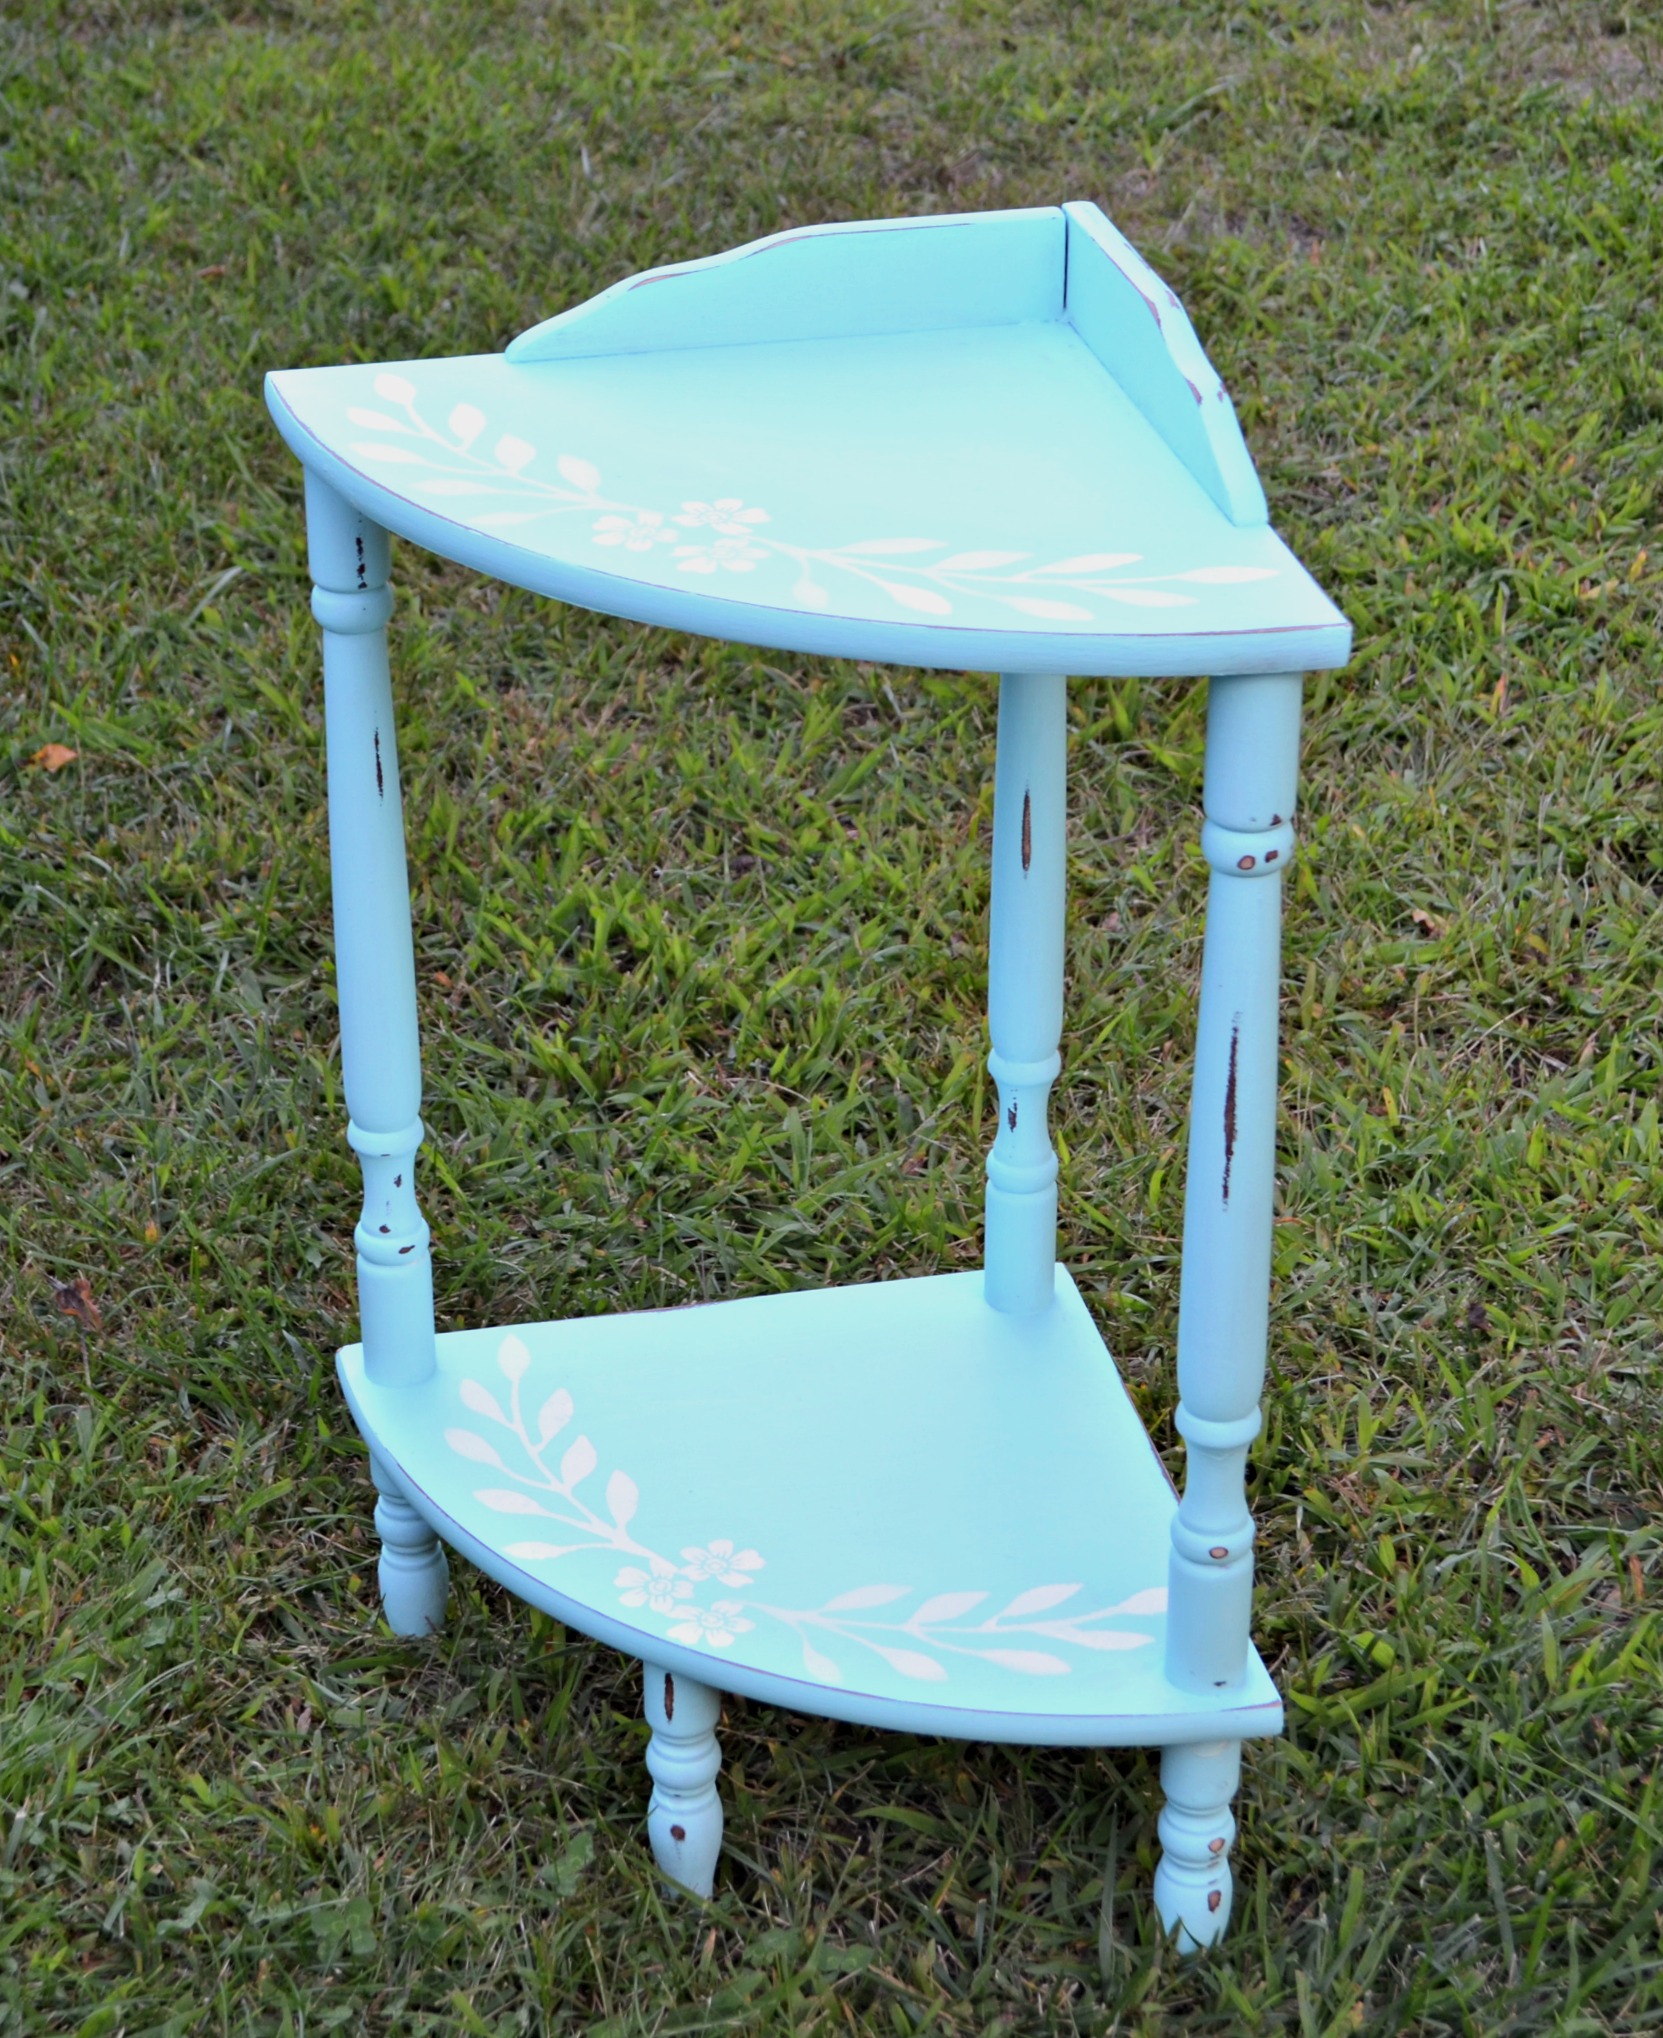
What do you think? I’m loving the absolute transformation and I can’t believe I didn’t do it years ago! Is there a piece in your home that could use this kind of TLC?