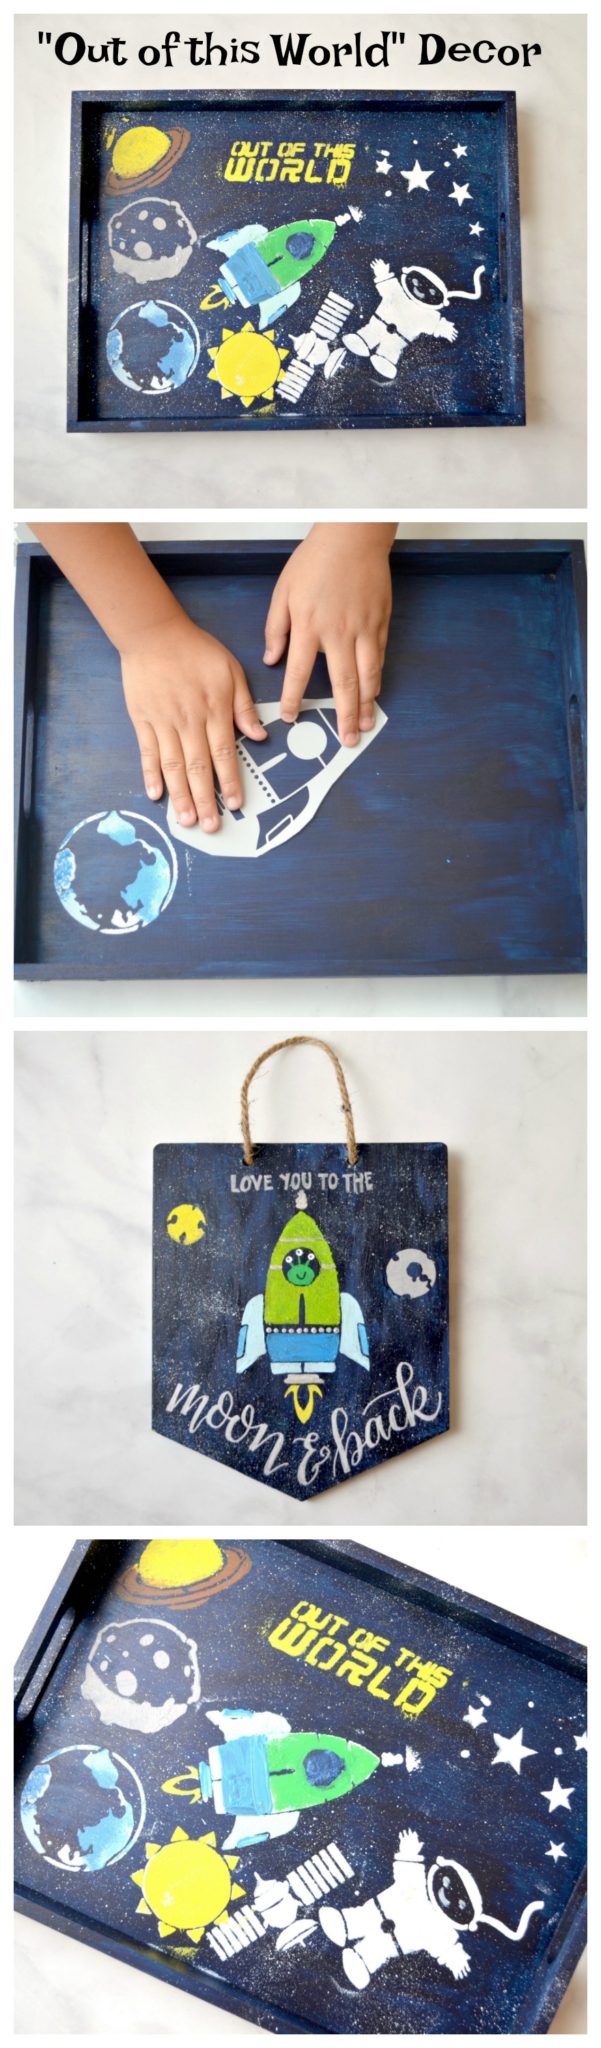
Out of this World Kids’ Room Decor with Martha Stewart Paints
Thanks to Plaid Crafts for sponsoring today’s post; all opinions are honestly my own.
As many of you know, last October, our family grew by means of international adoption. “Scout,” our son from China, has been such an amazing blessing to us over these past ten months, and one of my favorite things has been watching him start to dream about his future. Although I’m sure he’ll change his mind many times between now and adulthood, right now he says he wants to be an astronaut.
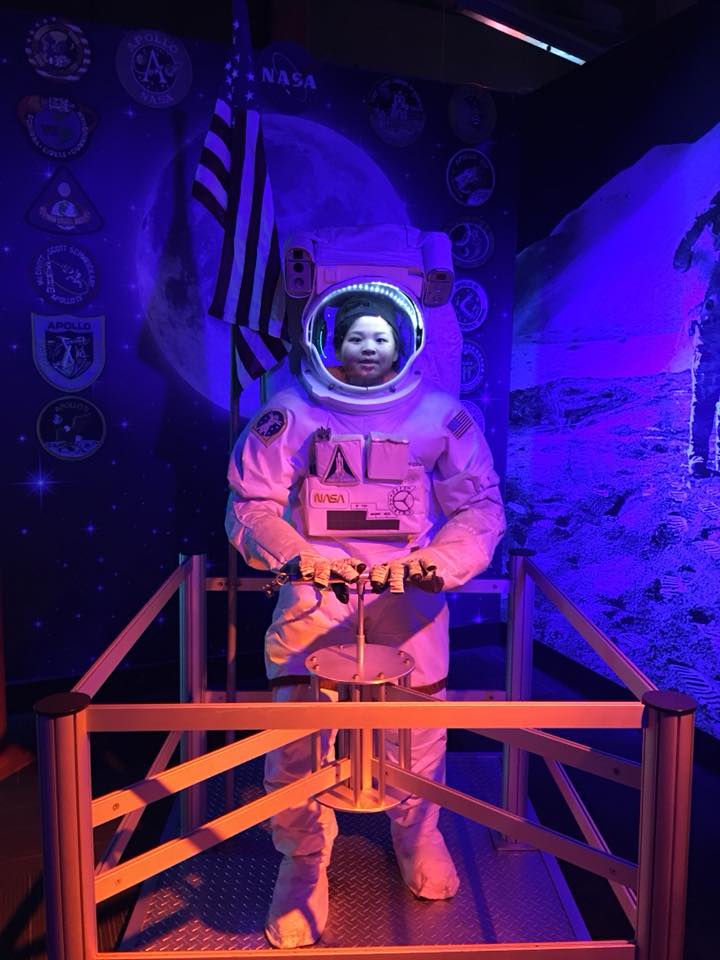
He loves anything and everything about outer space and wants to plant an American flag on another planet. When I first decorated “Scout’s” room last summer, I tried to make it personal, but I hadn’t even met him yet. So, I thought it was time now to create a few new pieces of decor that really express his personality and favorite things. He was beyond eager to jump right in and make some of it himself, and we both had a blast working on these a couple of projects that are “out of this world!” Here’s how we made them and you can too…
Check out these step-by-step instructions so you can make your own at home.
You’ll need:
Unfinished Wood Surfaces {we used a wall sign and a tray}
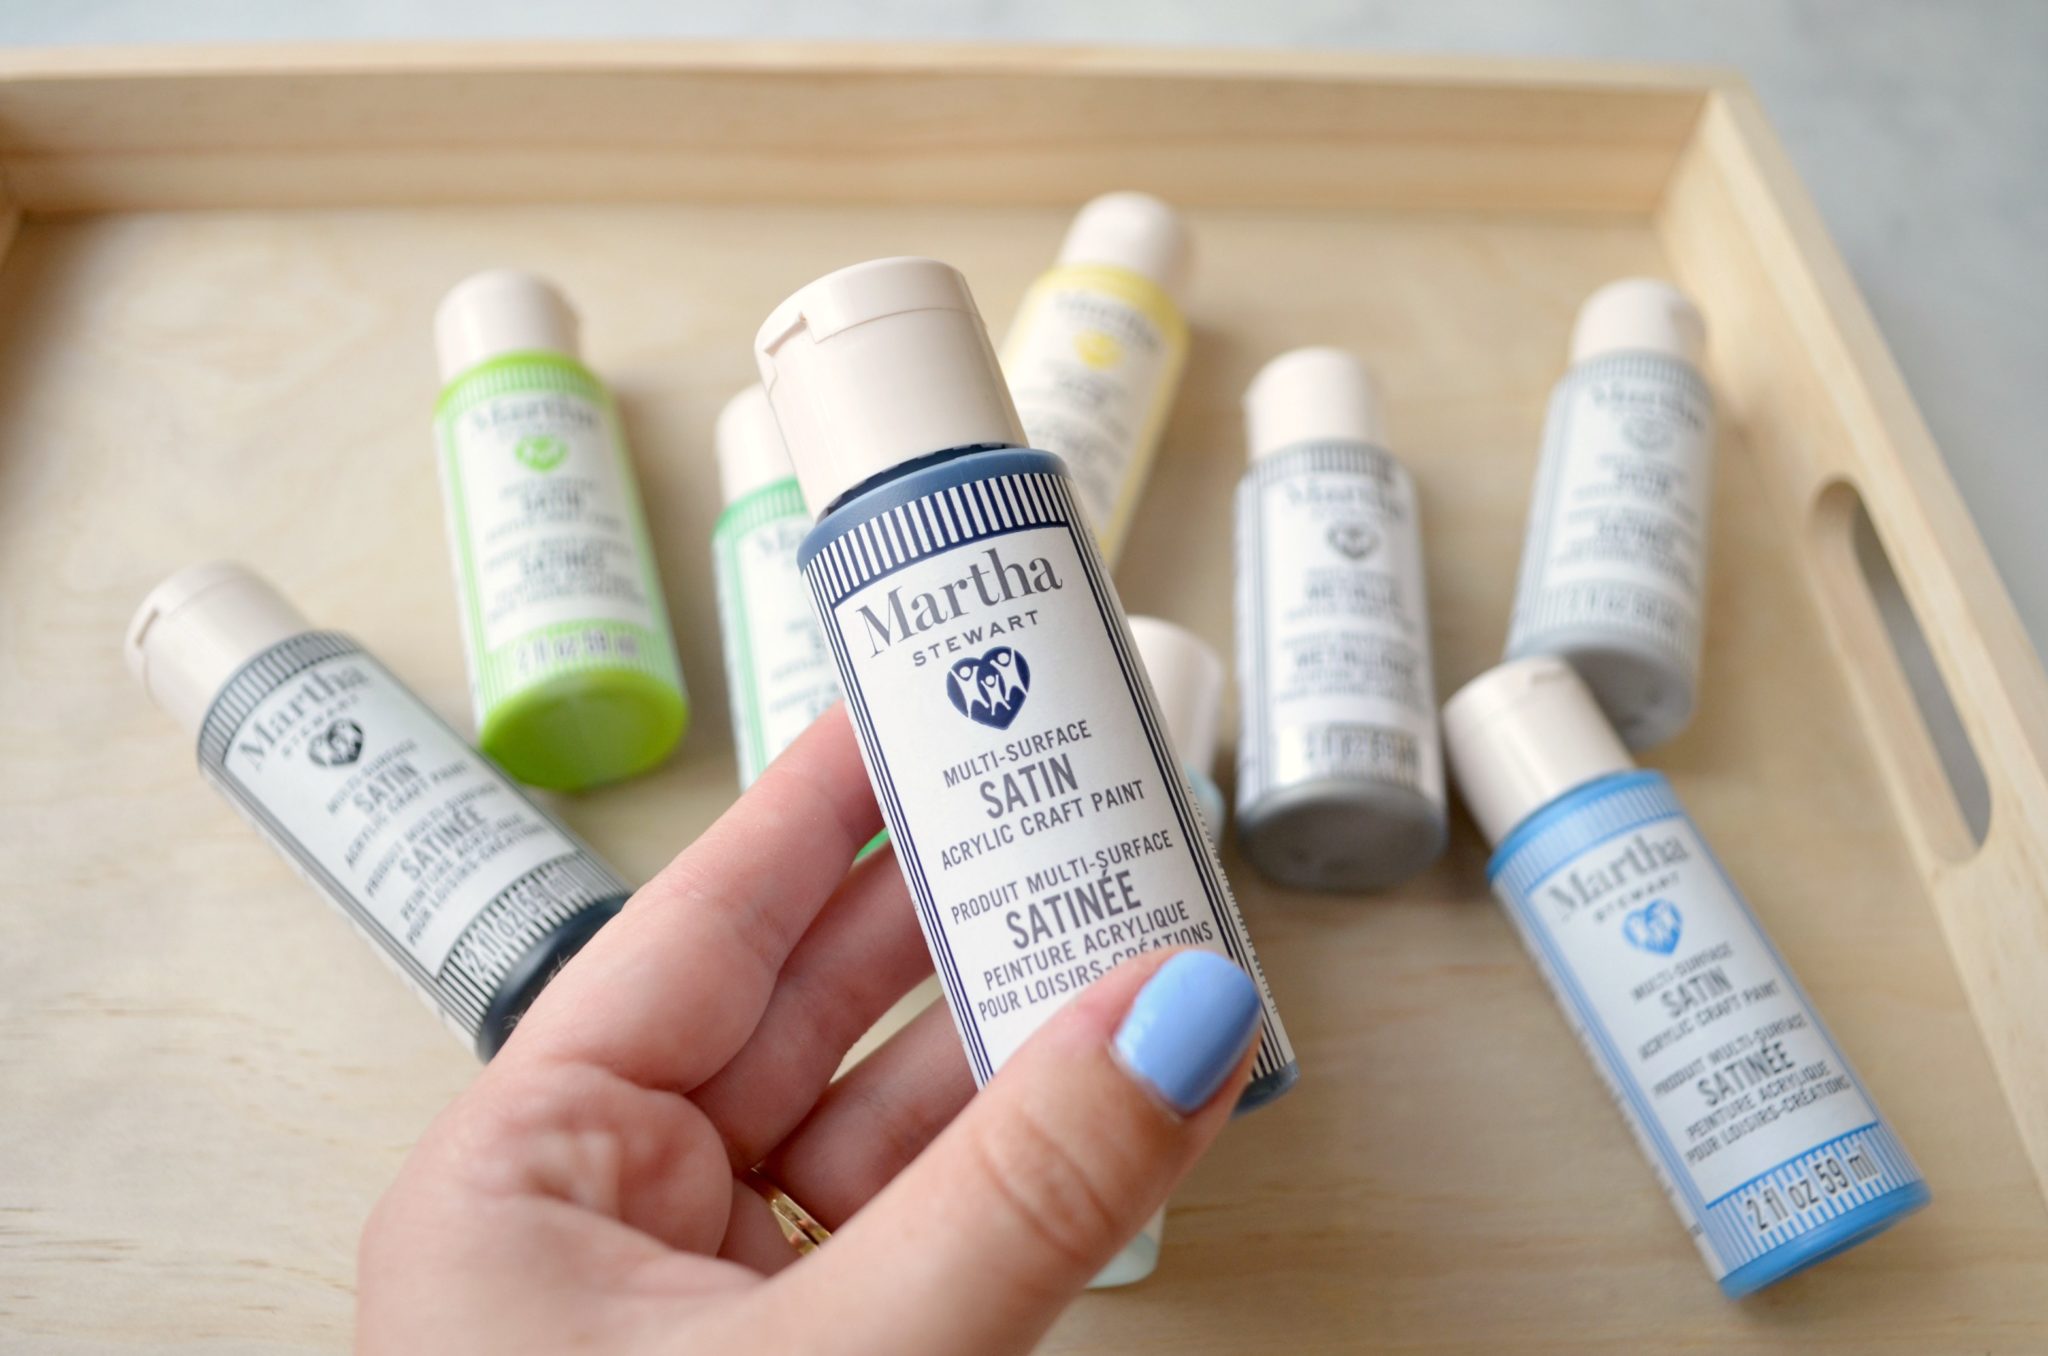
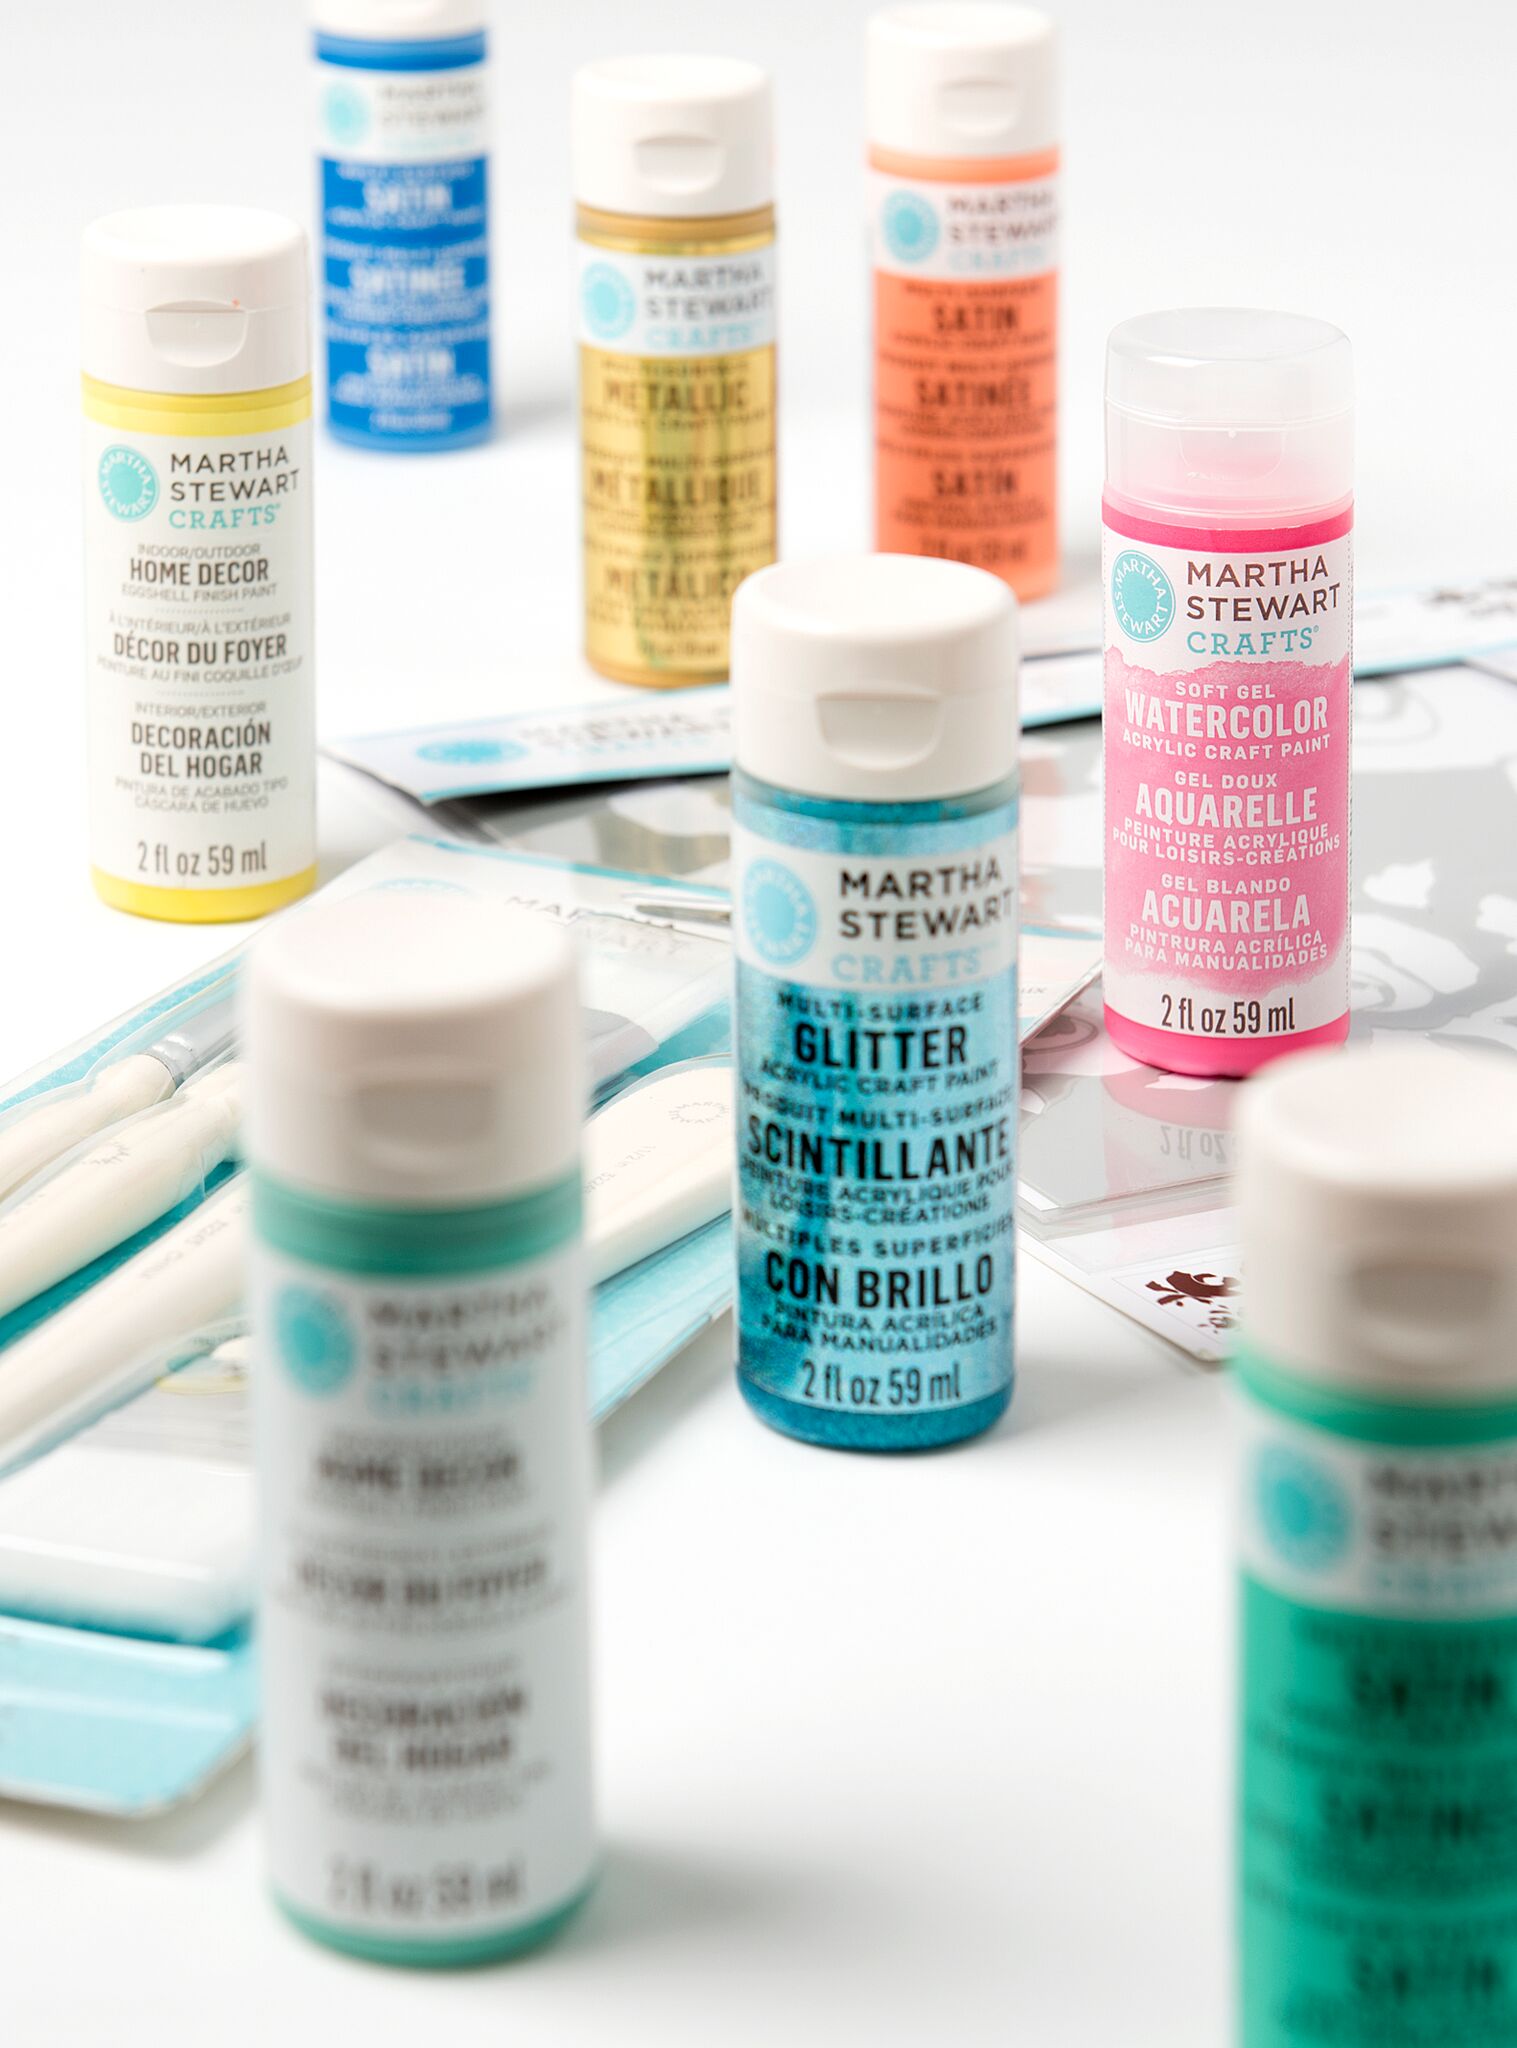
Martha Stewart Multi-Surface Acrylic Paint
Martha Stewart 5 Piece Basic Brush Set
Martha Stewart Adhesive Paper Stencils: Space
Martha Stewart Stencil Brushes and/or Martha Stewart Bottle Toppers
Scissors
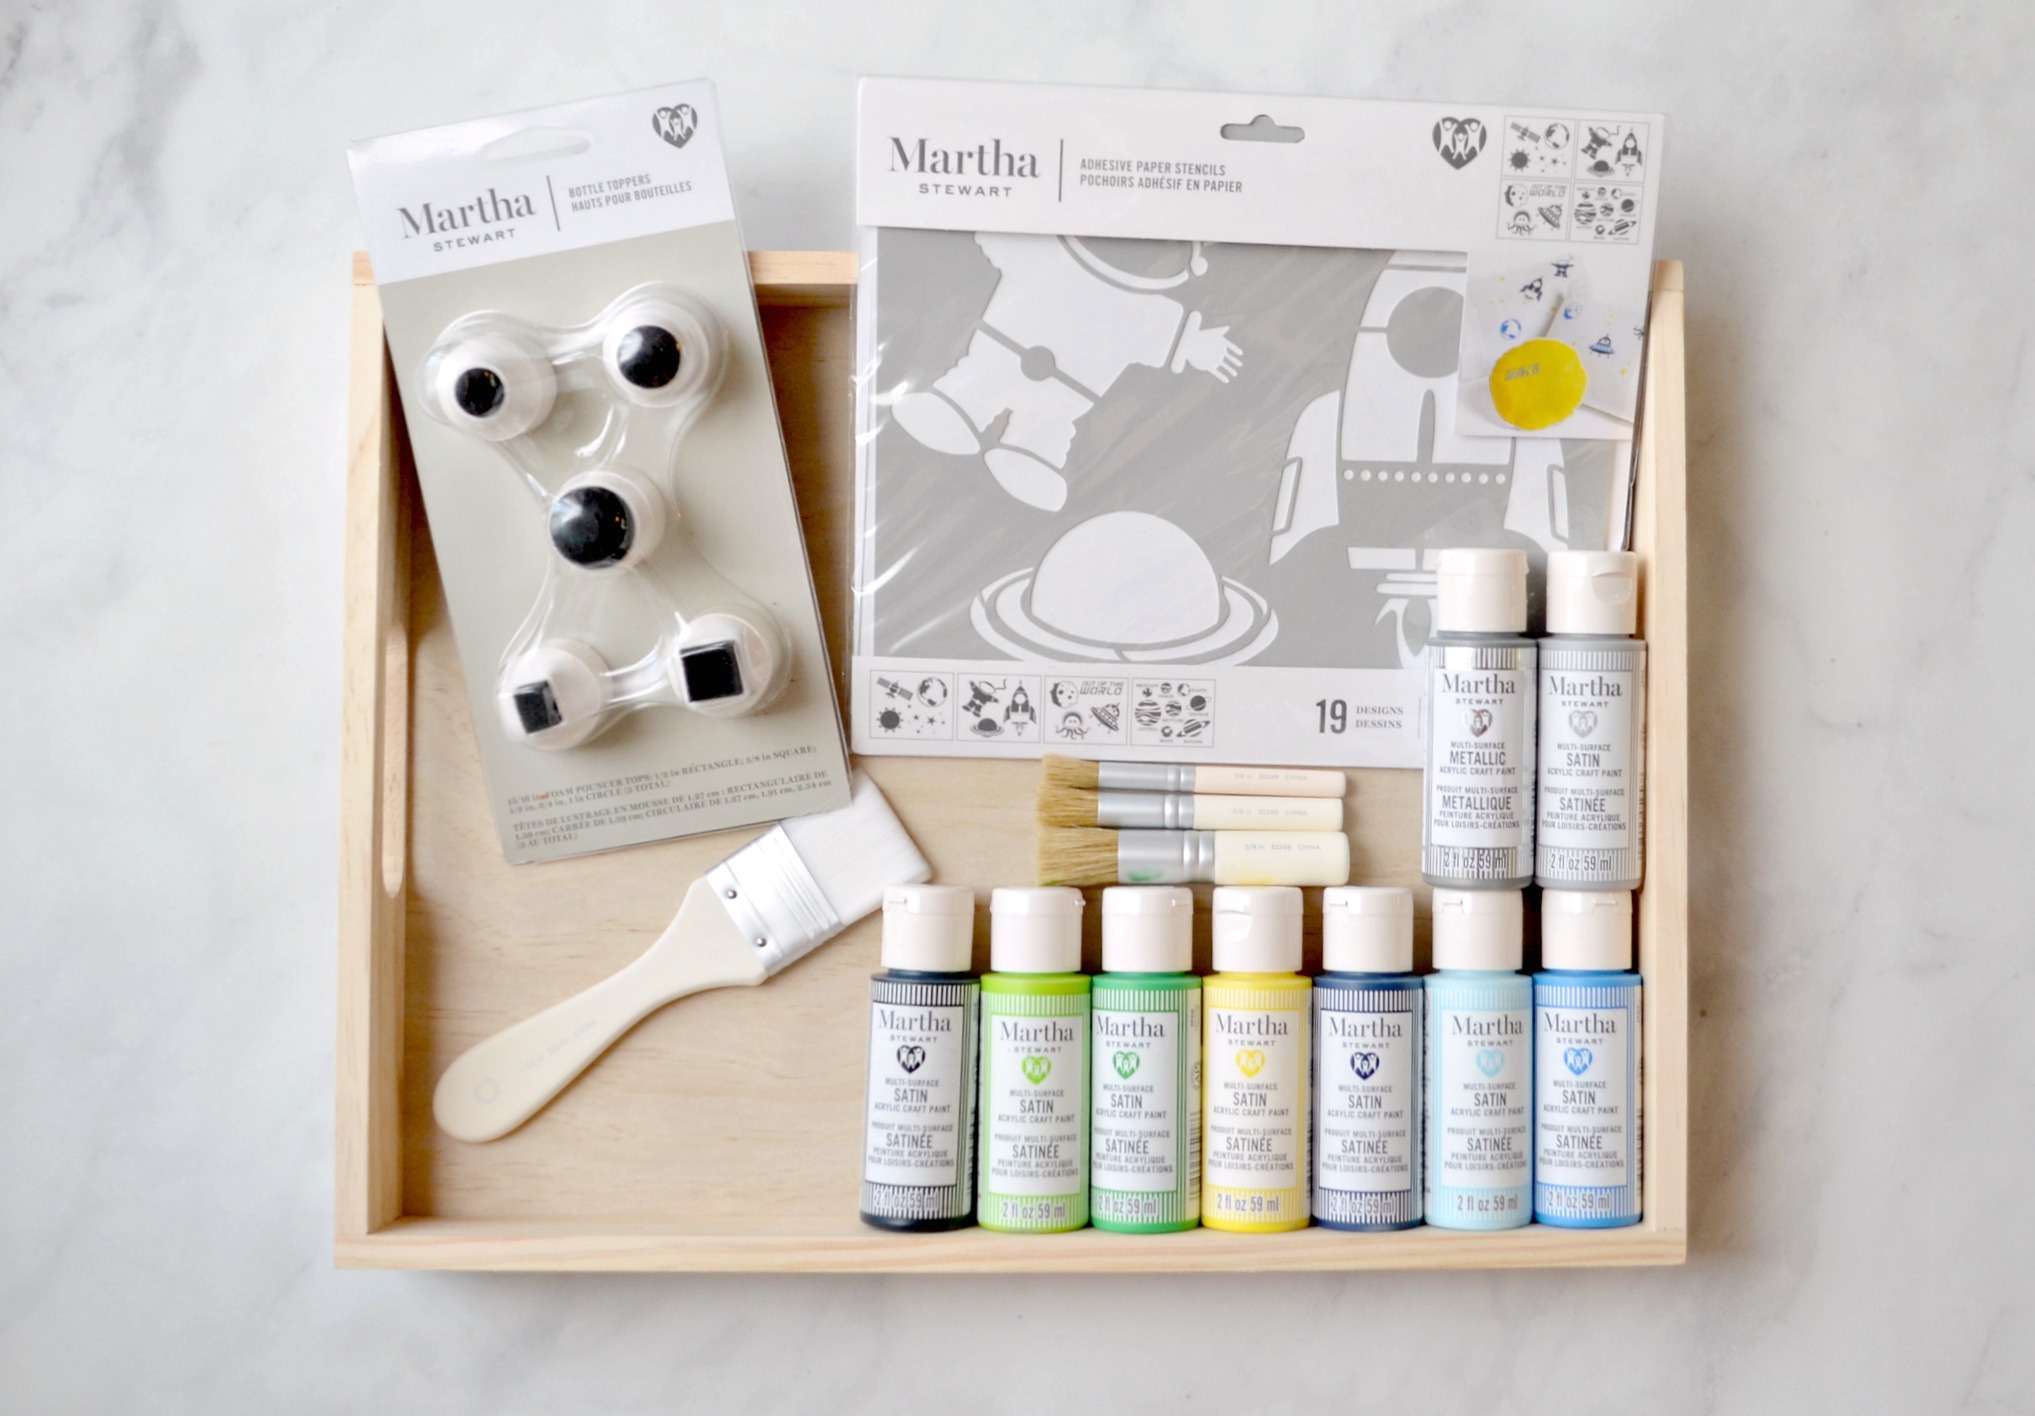
Martha Stewart Multi-Surface Acrylic Paint is non-toxic, and the perfect paint for all kinds of family crafts and school projects. The bright, cheerful palette has over 80 colors to choose from in six different finishes: satin, glitter, pearl, metallic, neon, and glow-in-the-dark. You can use it on any surface including wood, terracotta, ceramic, glass and tin. Plus, it pairs perfectly with the new Martha Stewart Family Crafting stencils and tools, as you’ll see in our projects today.
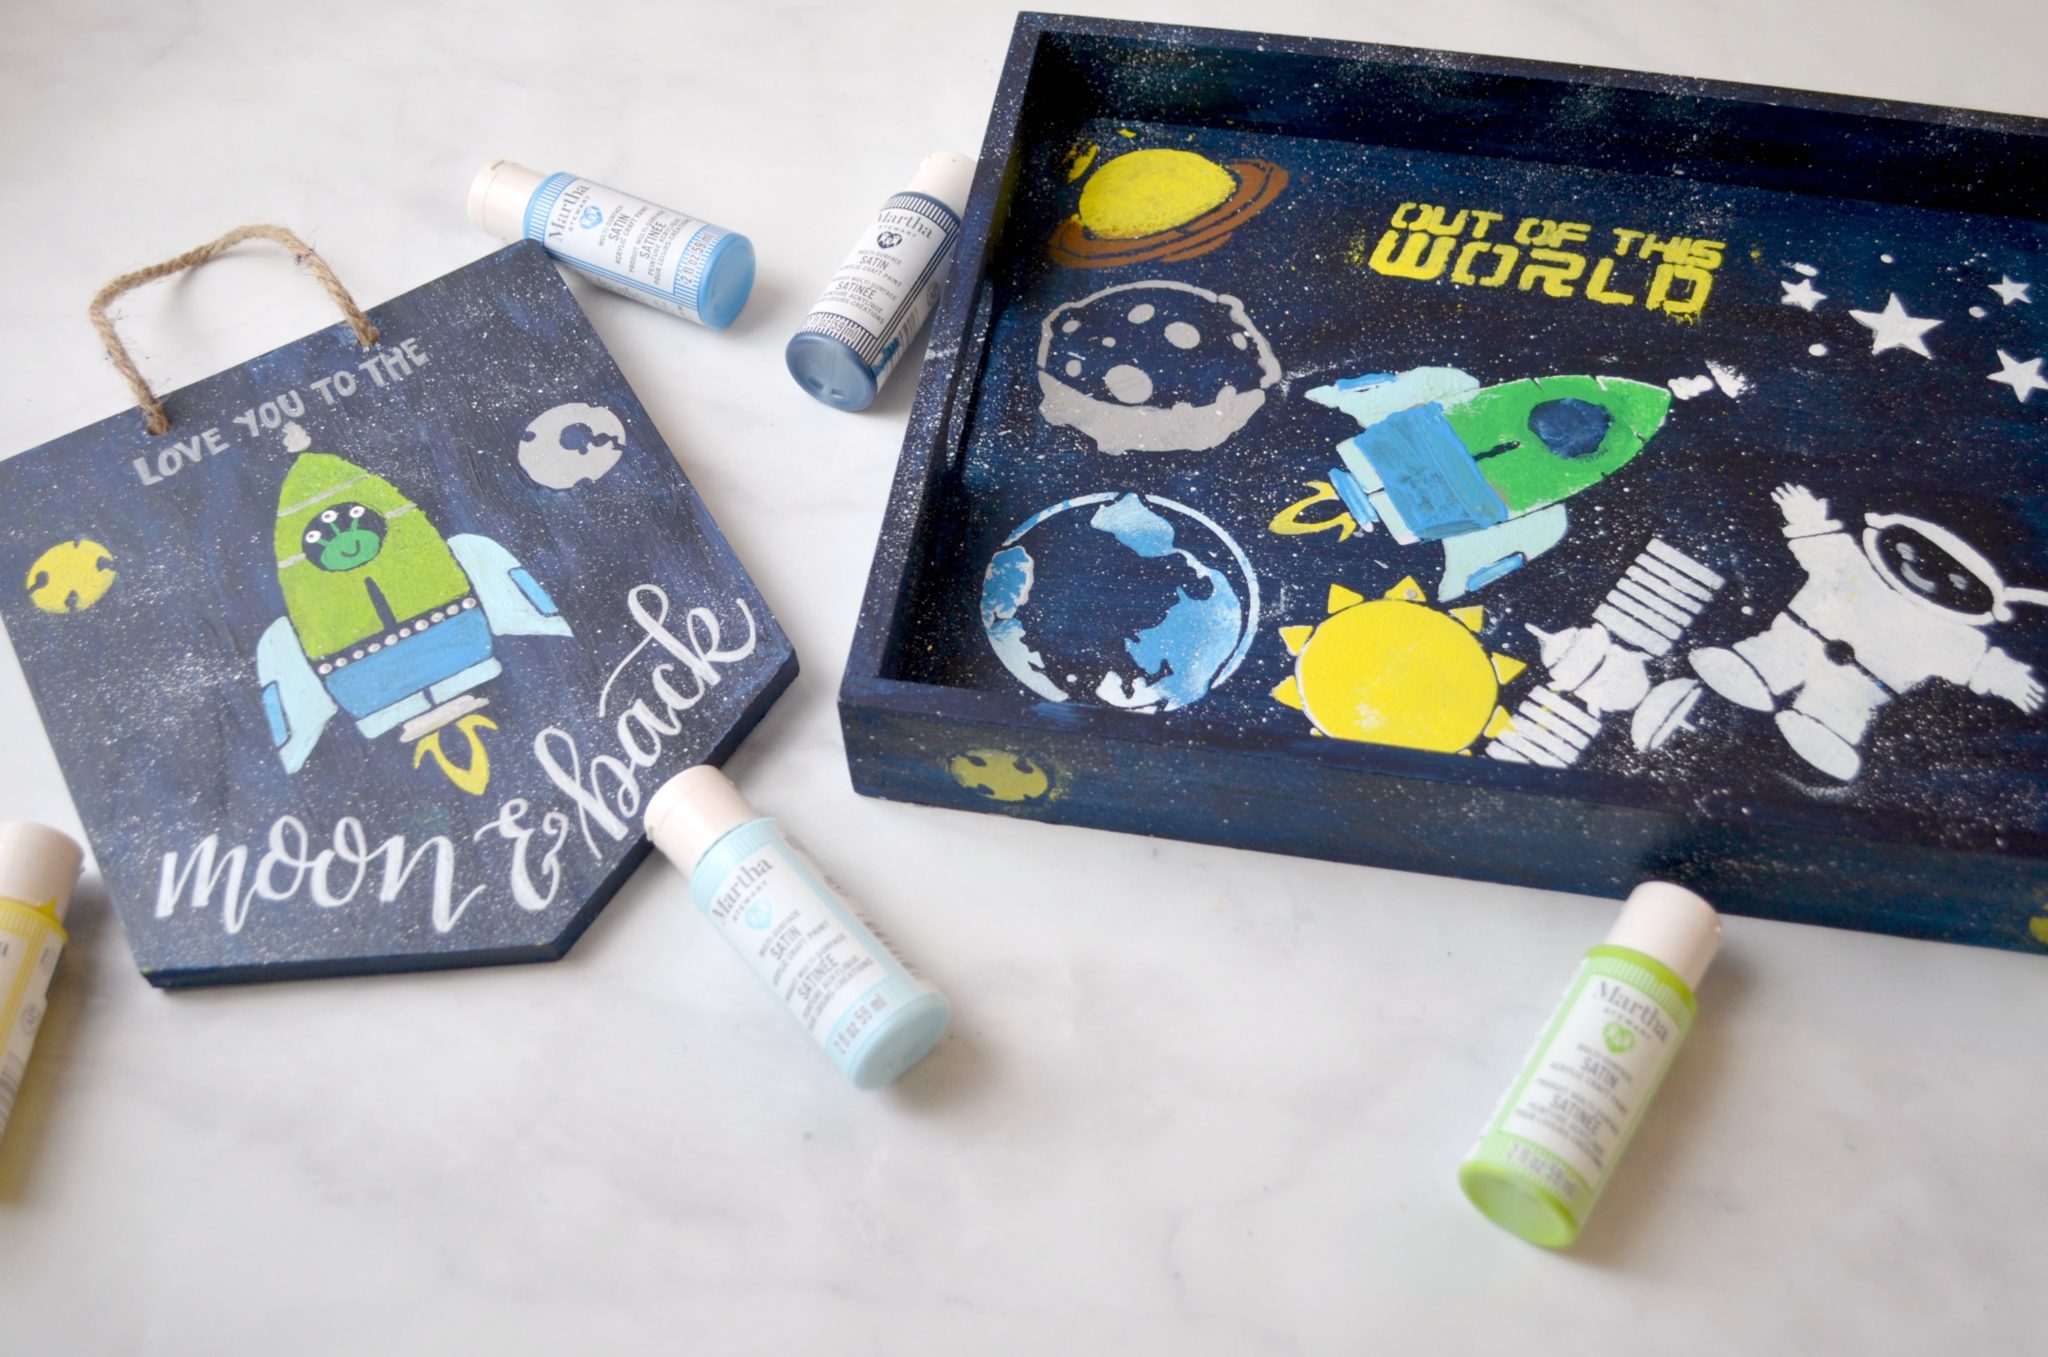
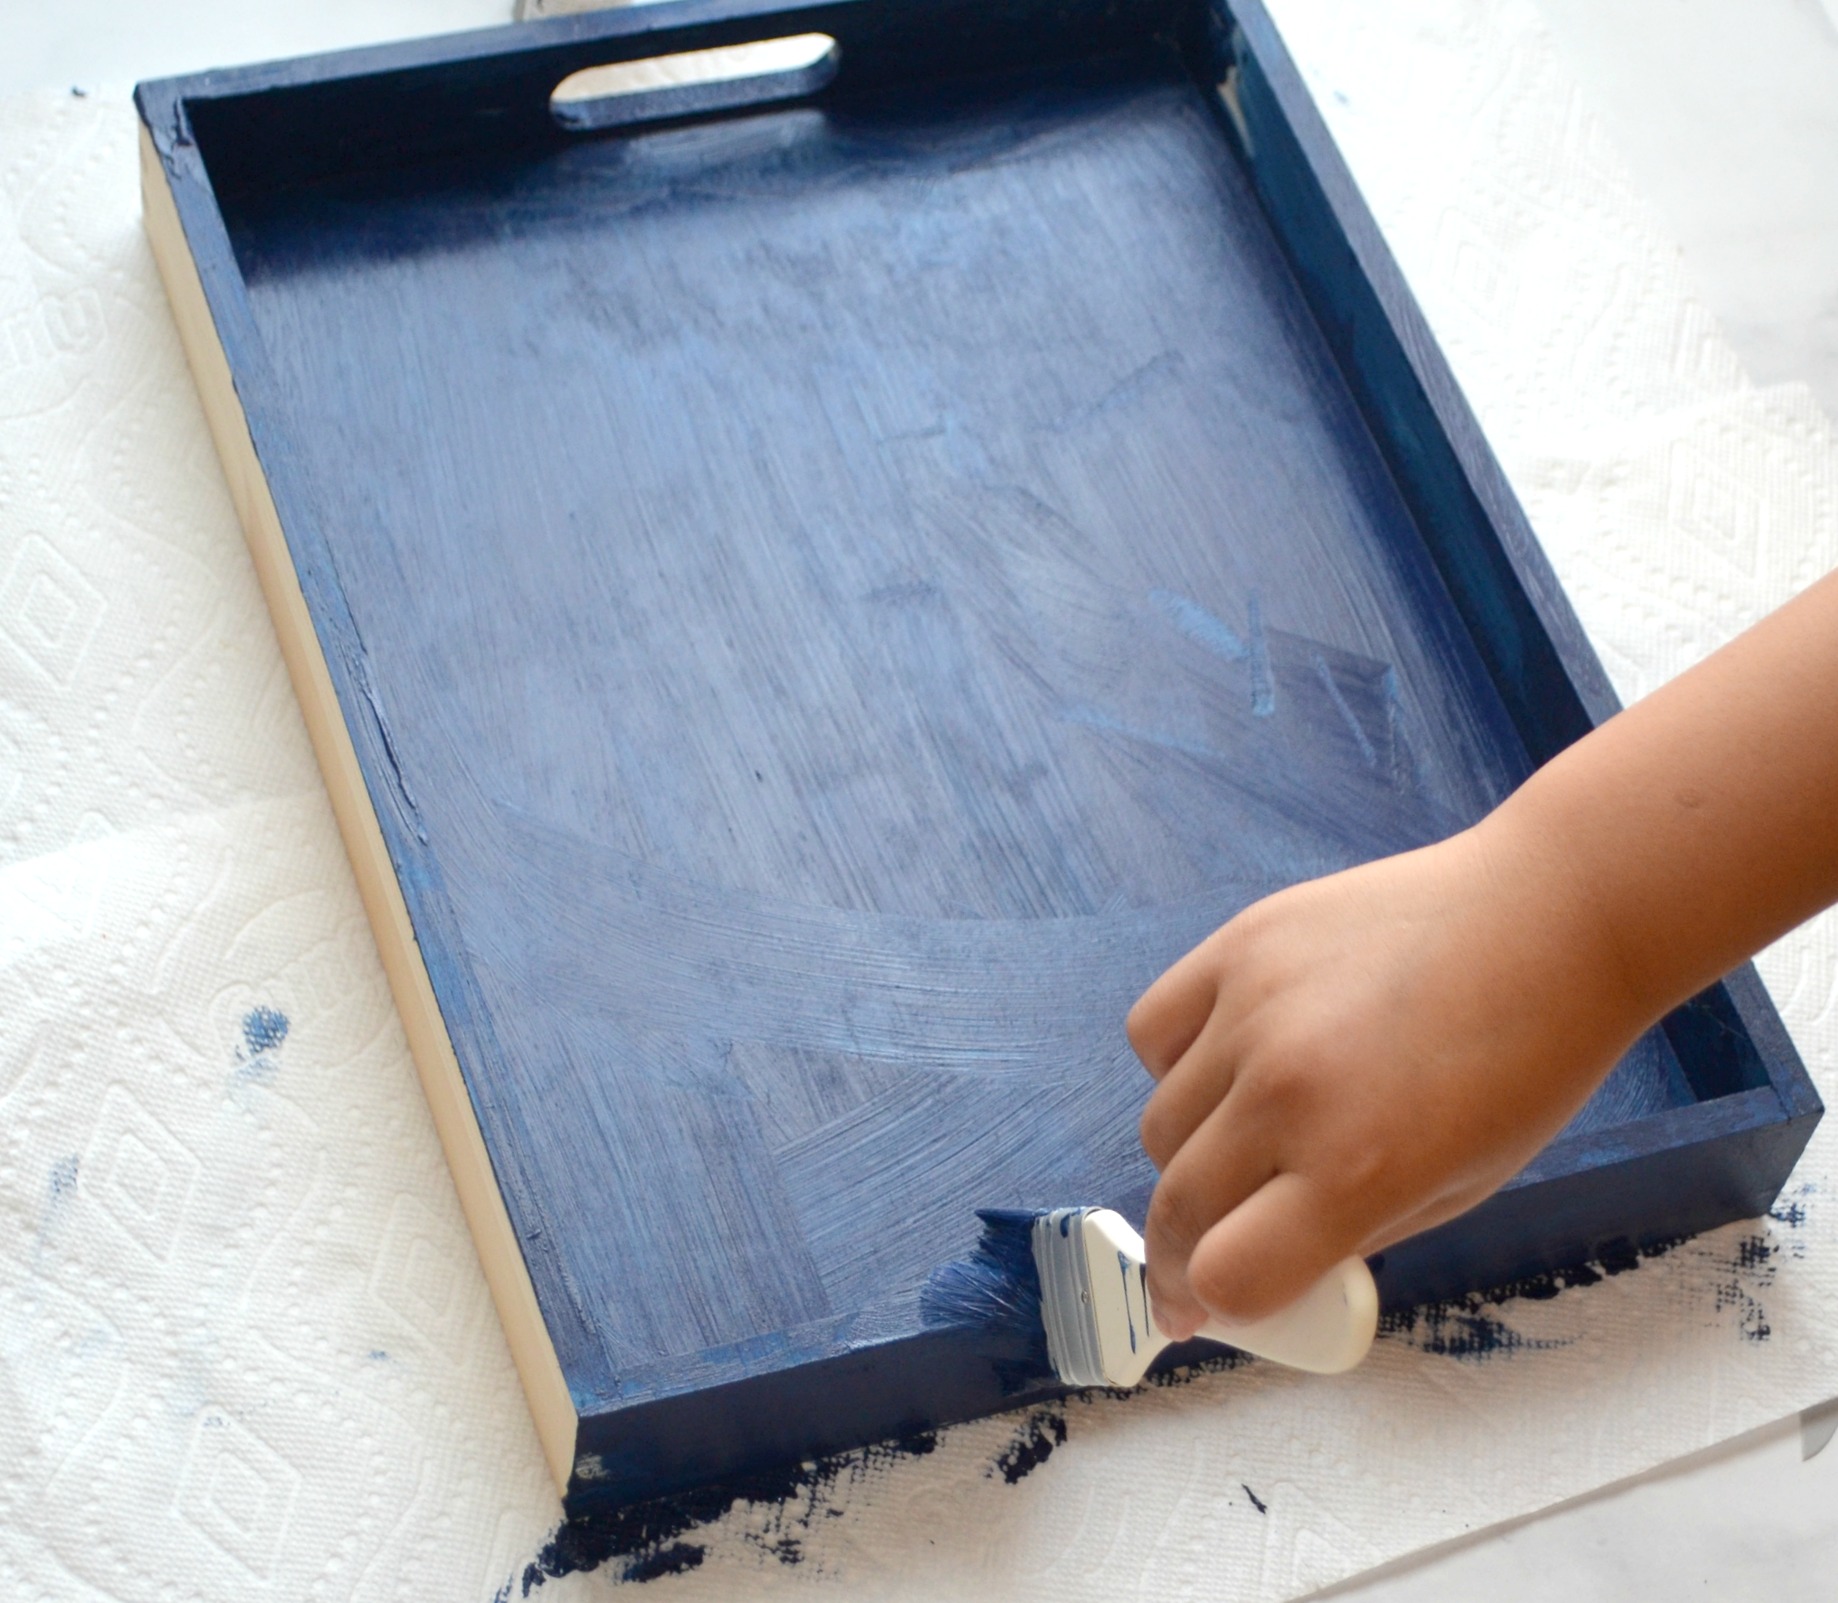
Step 1: Give your wooden surface a base coat of paint.
We used Deep Sea Blue to give the look of outer space. Since we liked the effect of having some spots a little darker than others, we only used one coat of paint, but if you want a more uniform base coat, feel free to add a second coat after the first one is dry.
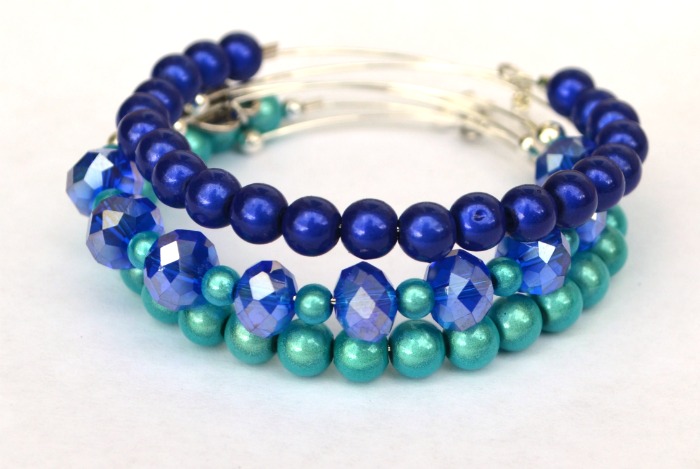
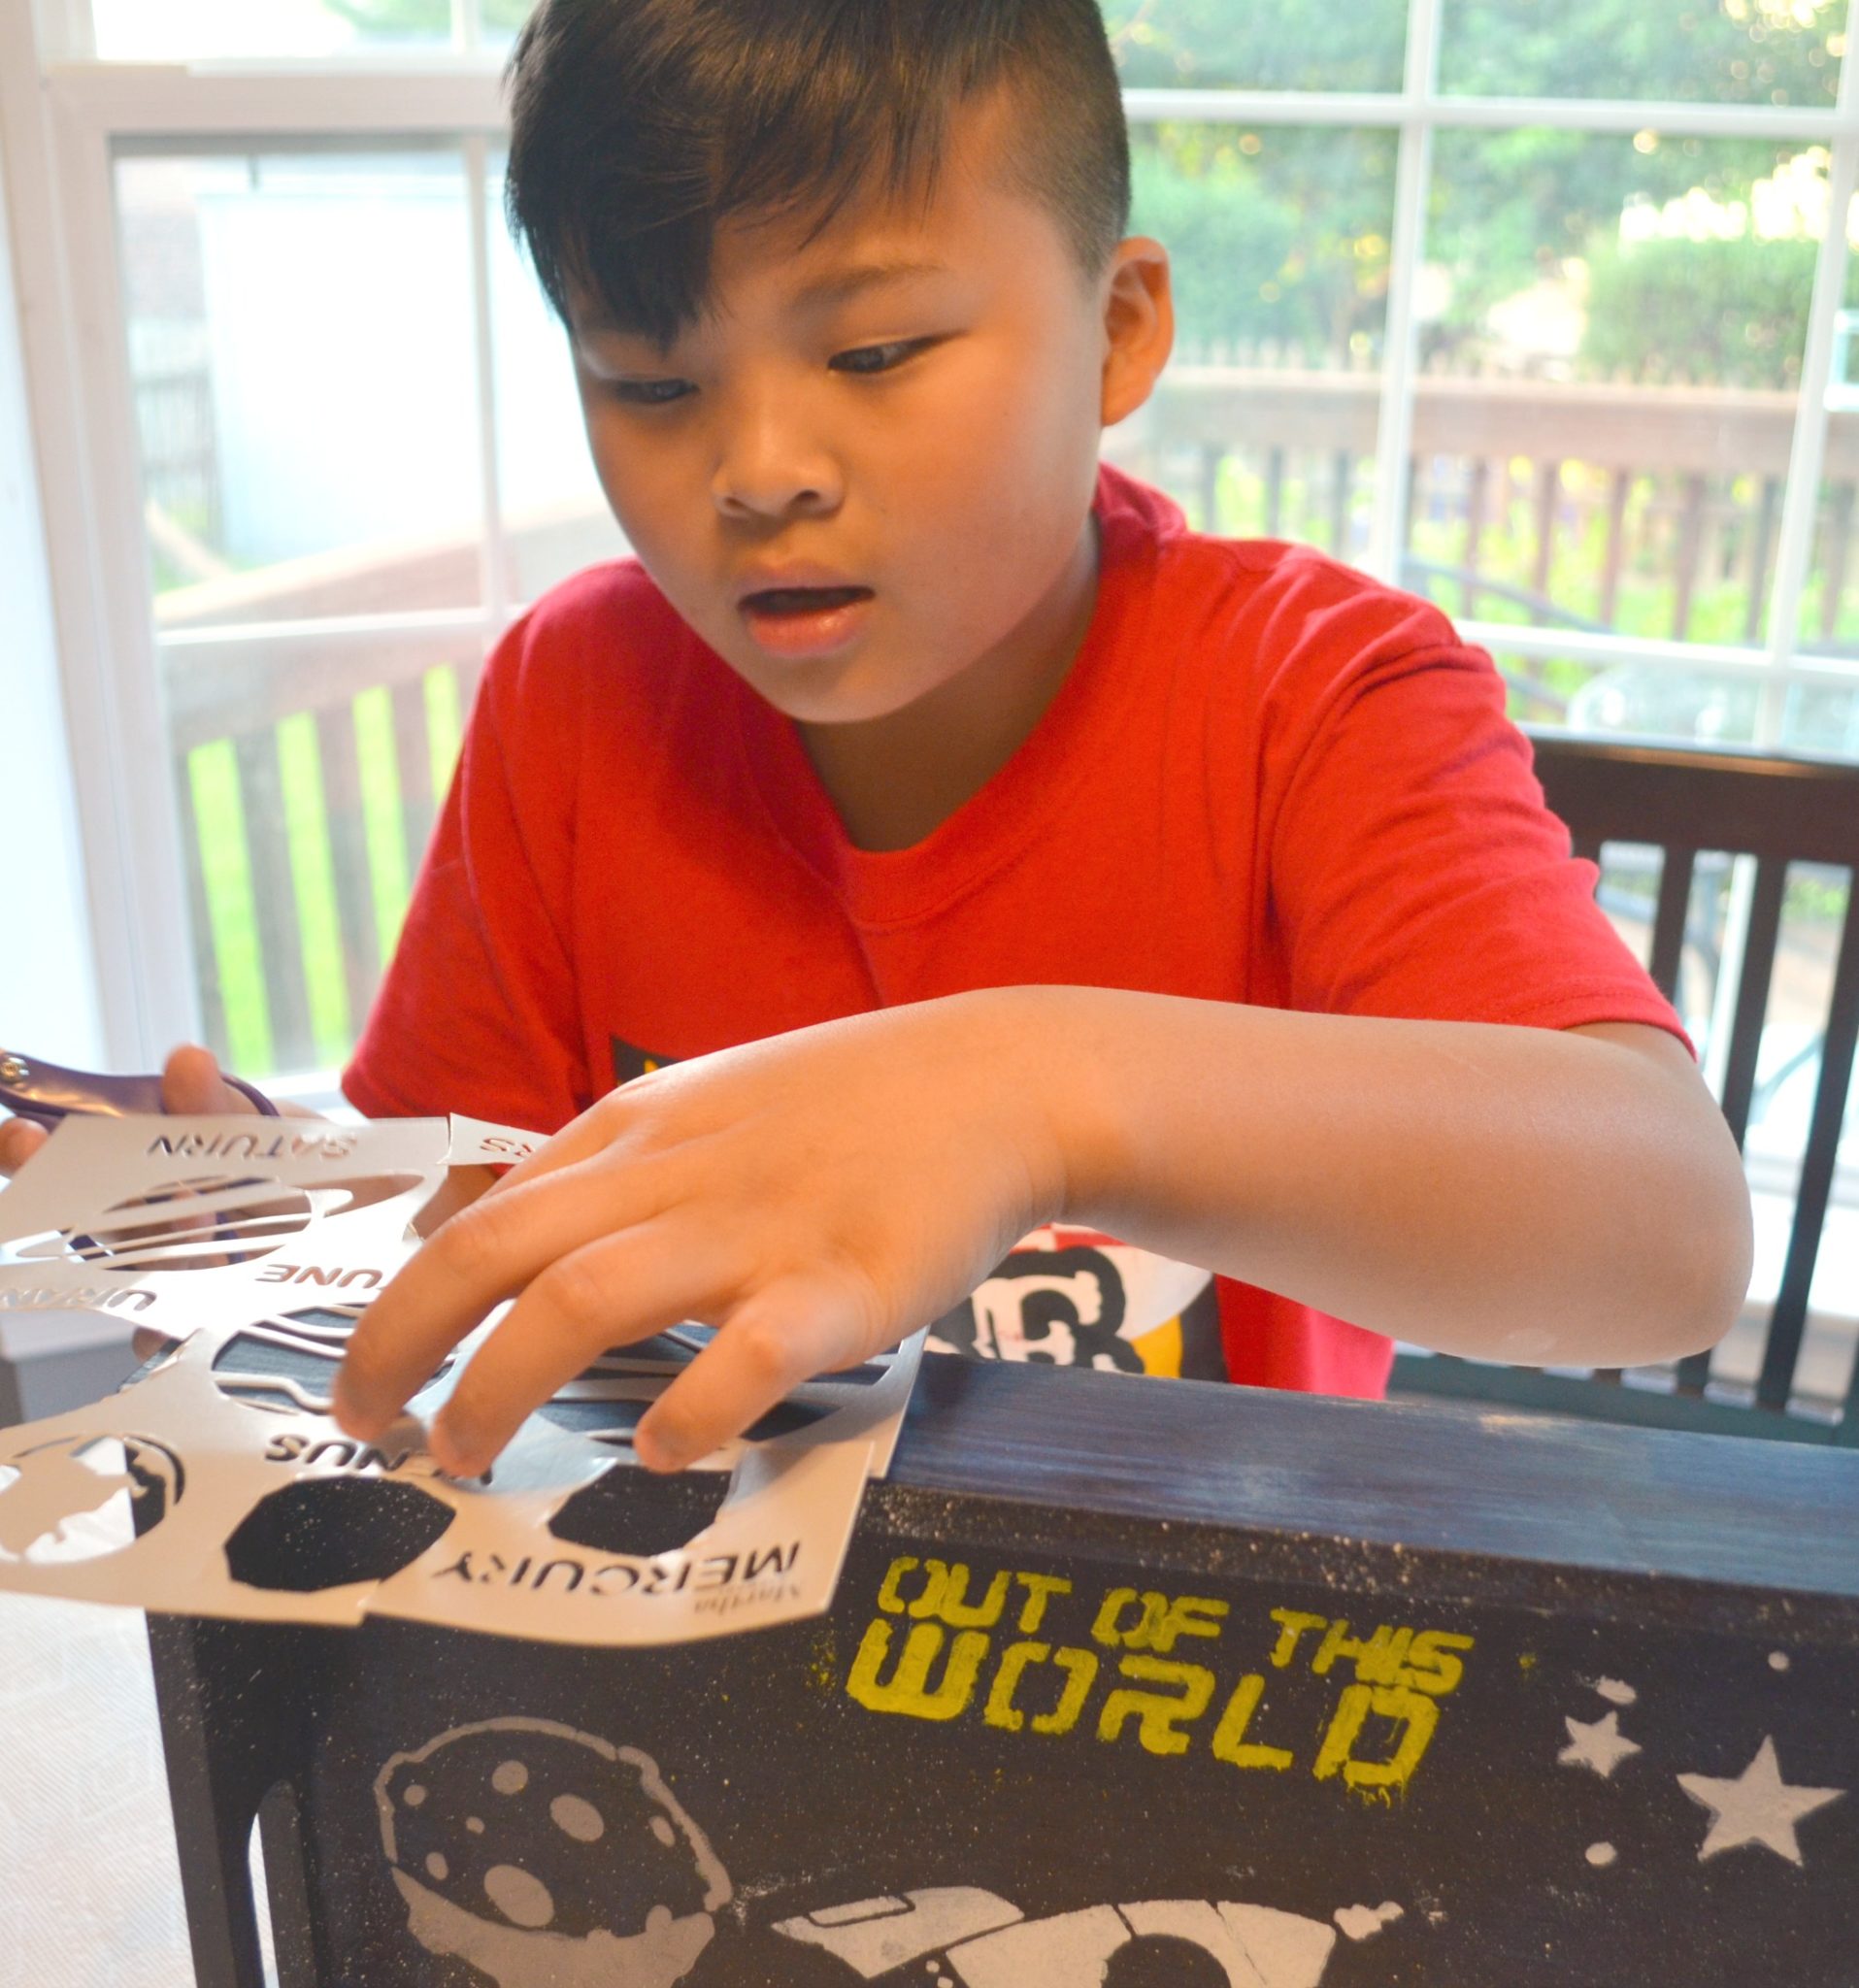
Step 2: Cut, peel, and stick your stencils wherever you’d like the images to go.
Since the backs of the stencils are adhesive, you don’t need to worry about taping them in place. Simply stick them onto the surface, apply your paint, then peel them off to use again another time.
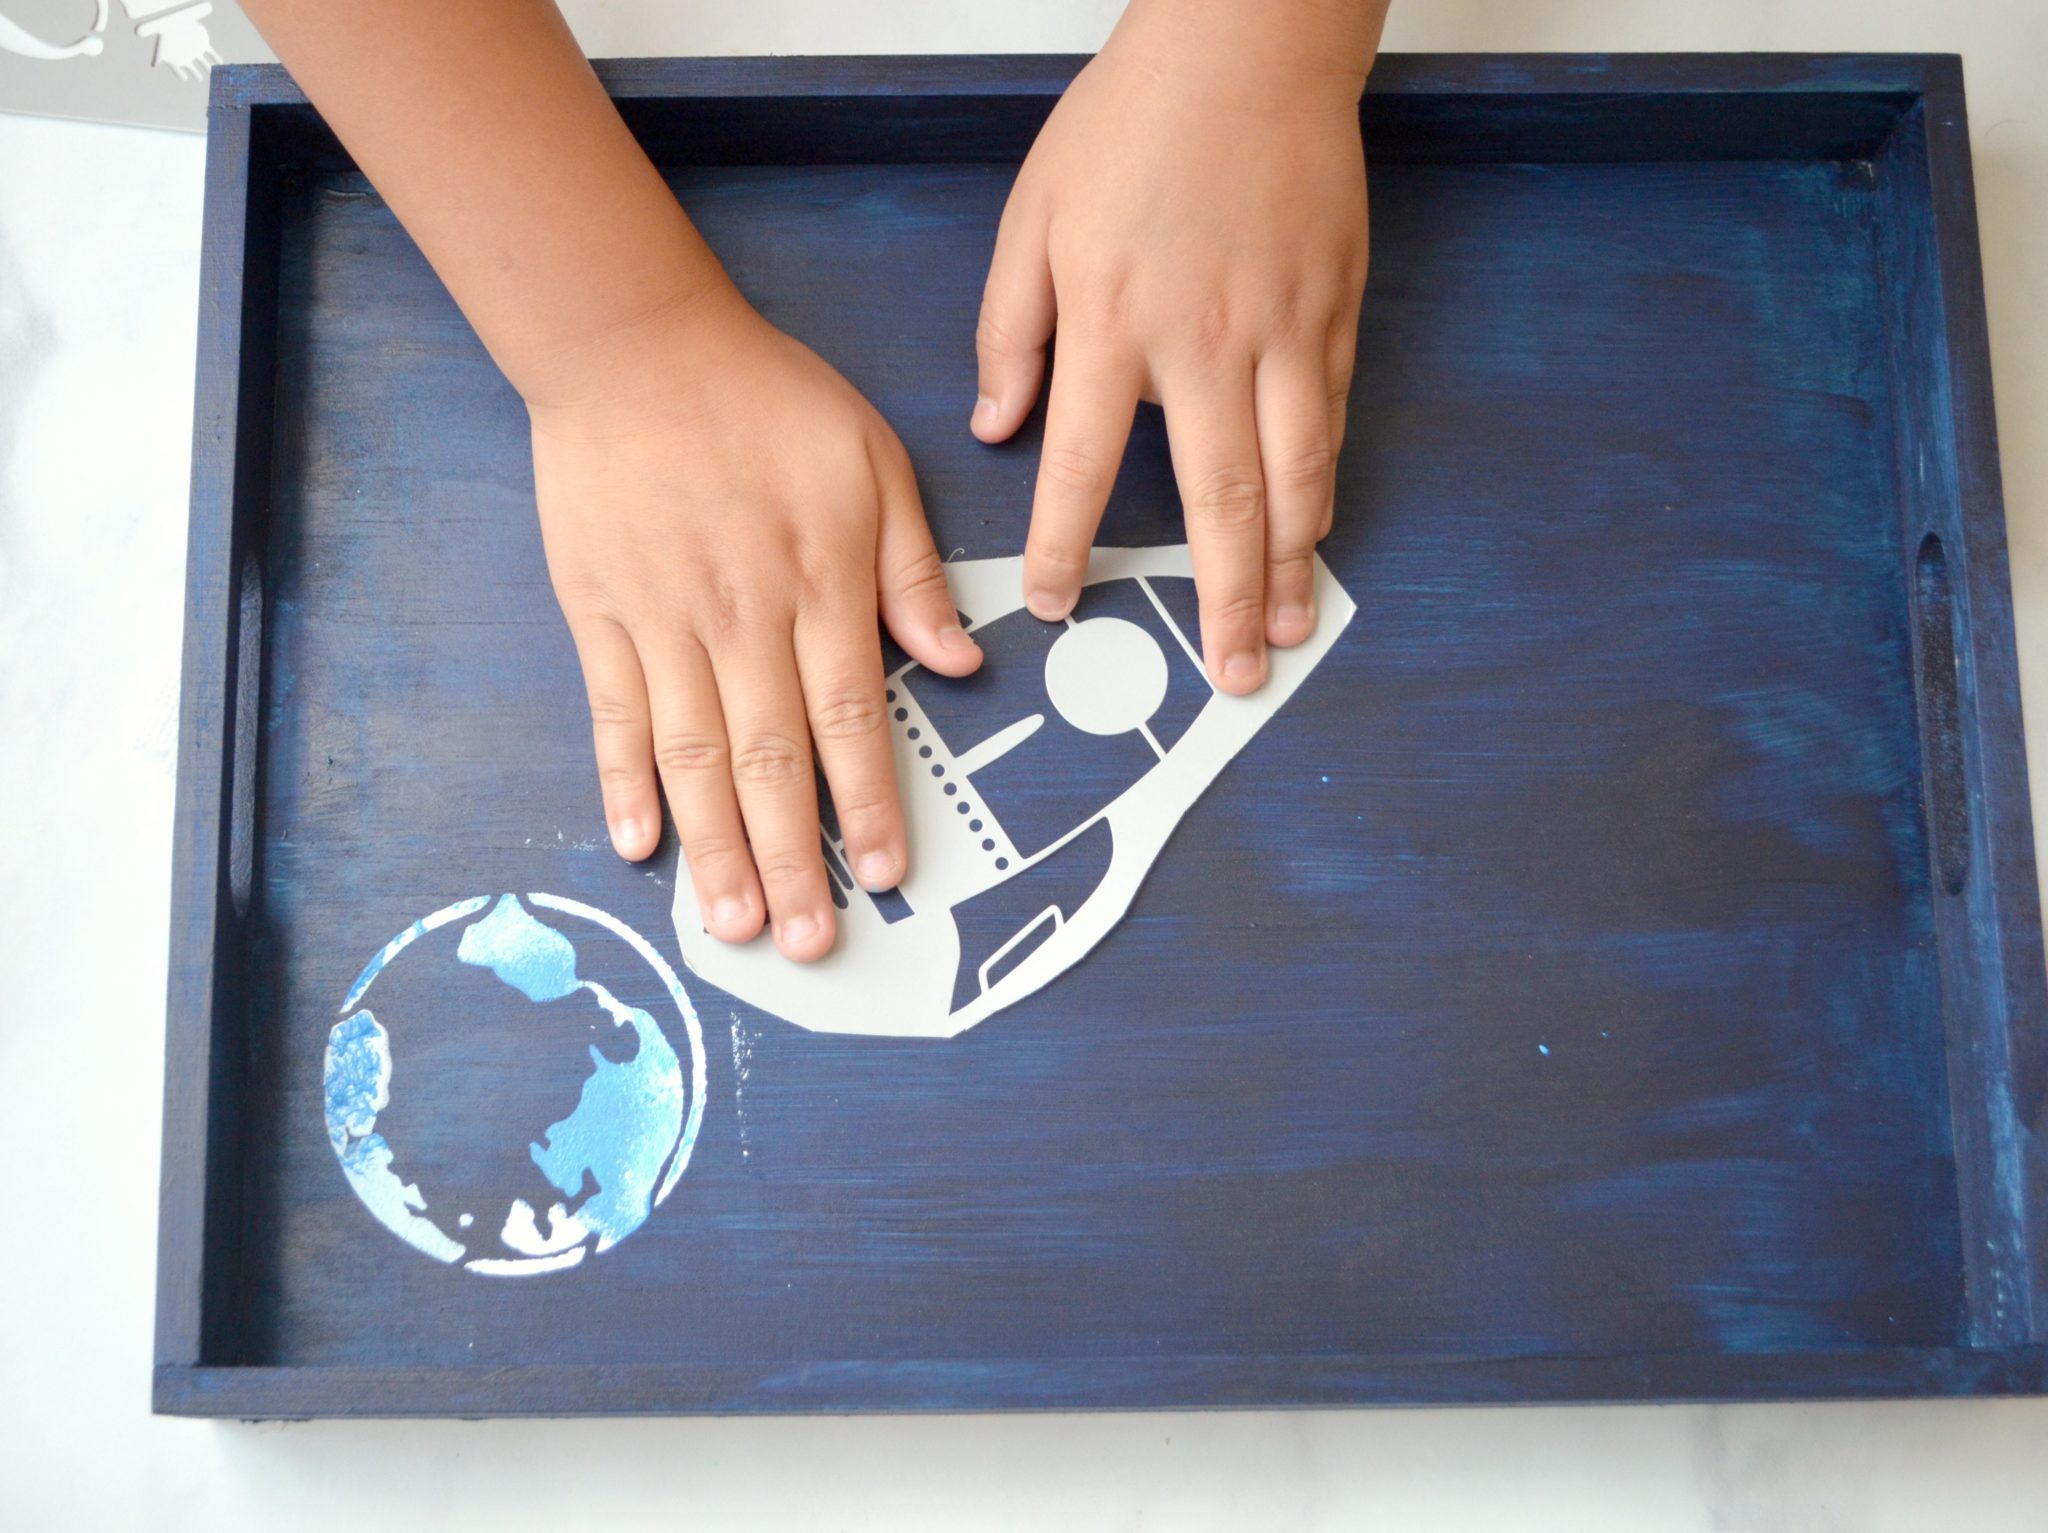
Step 3: Apply paint to the stencil.
When you stencil, especially with kiddos, remember that a little bit of paint goes a long way. You’ll want to dip the brush in paint, then offload it so that the brush is almost dry, then tap the brush up and down in the open areas of the stencil image. Using too much paint can cause the color to bleed under your stencil or beyond the edges, getting paint where you don’t want it to be. Remove the stencil while the paint is still wet and store it on the special paper that comes in the package. This will preserve the adhesive and allow you to use the stencils over and over.
Repeat this step until you’ve covered your surface with whatever stenciled images you like. Scout loved choosing his favorites and picking out what colors he wanted to use for each one.
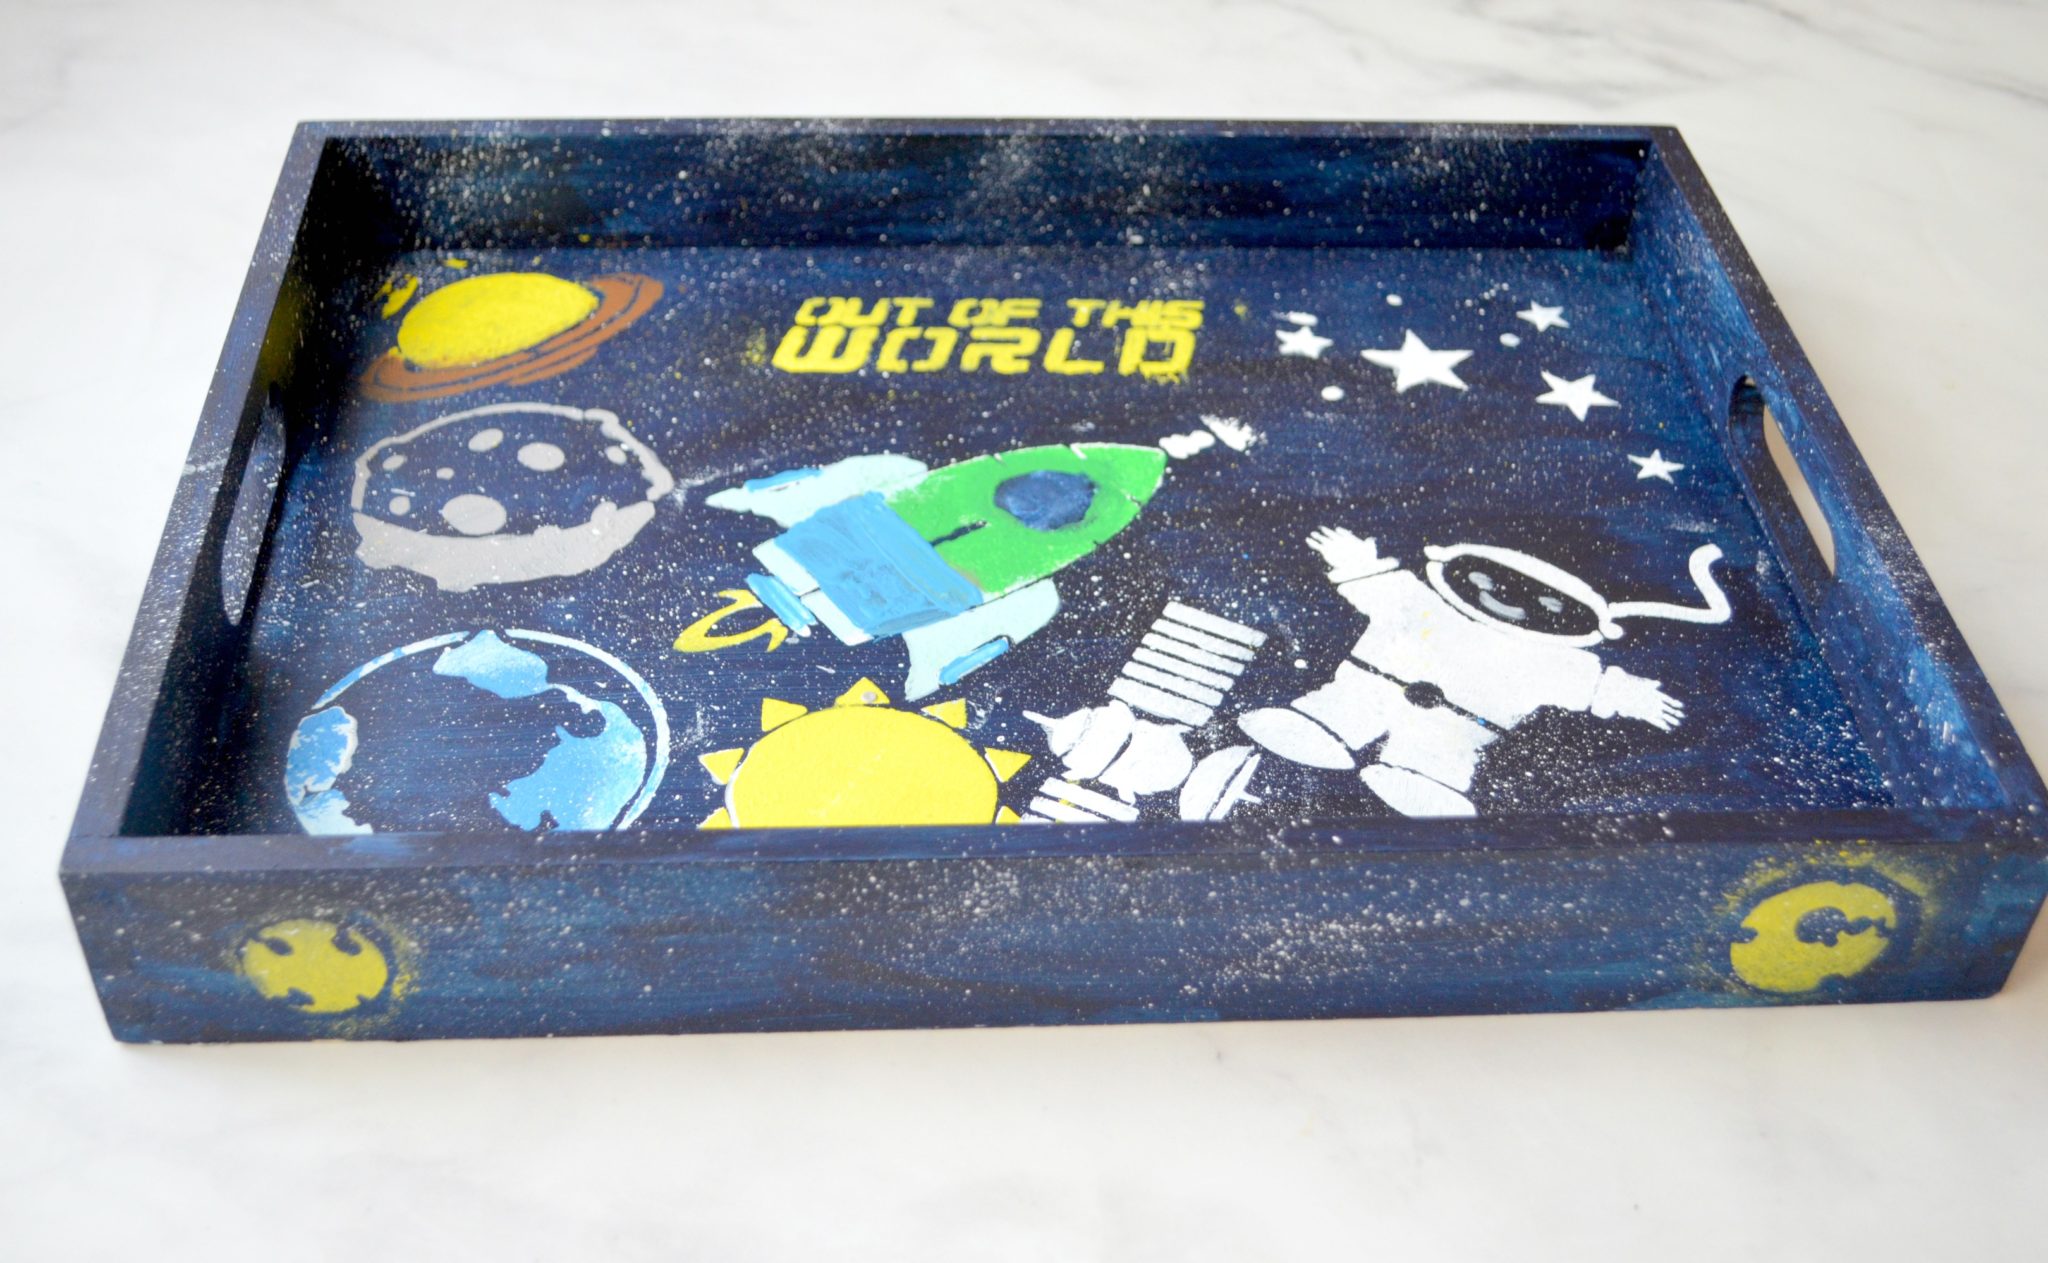
Step 4: Create “splatter stars.”
To get the effect of thousands of tiny twinkling stars, dip a paintbrush into white paint, then gently flick the bristles with your finger while holding it over your surface. This will cause the paint to splatter. The more paint you have on your brush, the bigger the stars will be.
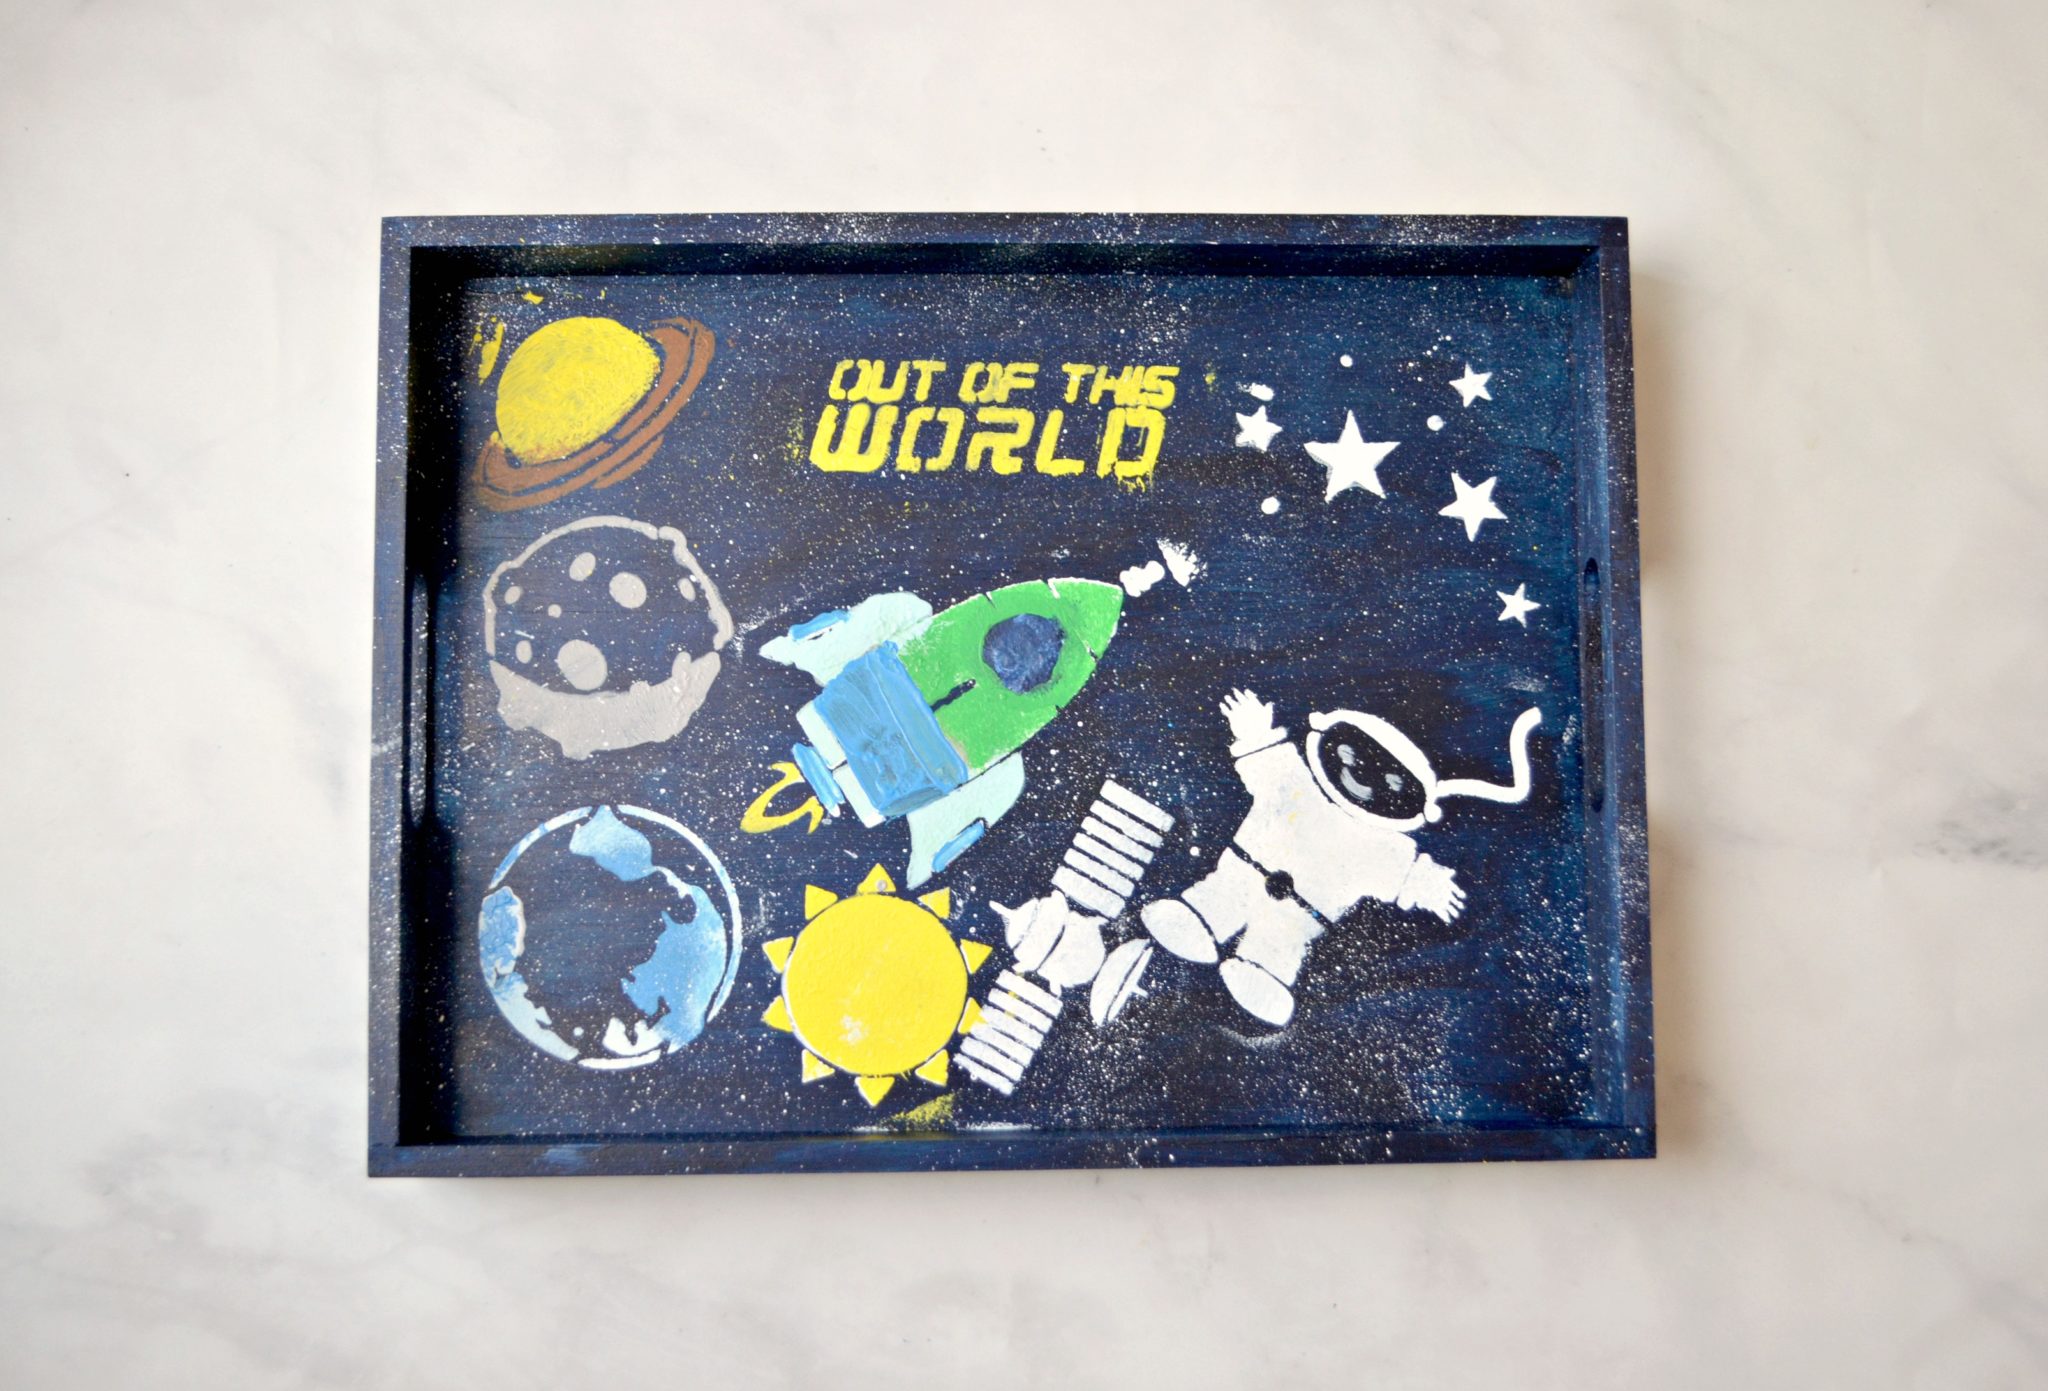
Step 5: Fill in/paint any extra details.
Use a small brush, like the 3/4″ angle brush from the 5 piece basic brush set, to add anything extra. Scout added a smiling face to his astronaut and some extra color to the rocket. You can also add more planets by using the round bottle topper; just remove the lid from your favorite paint color and replace it with the topper. The paint will come out through the sponge!
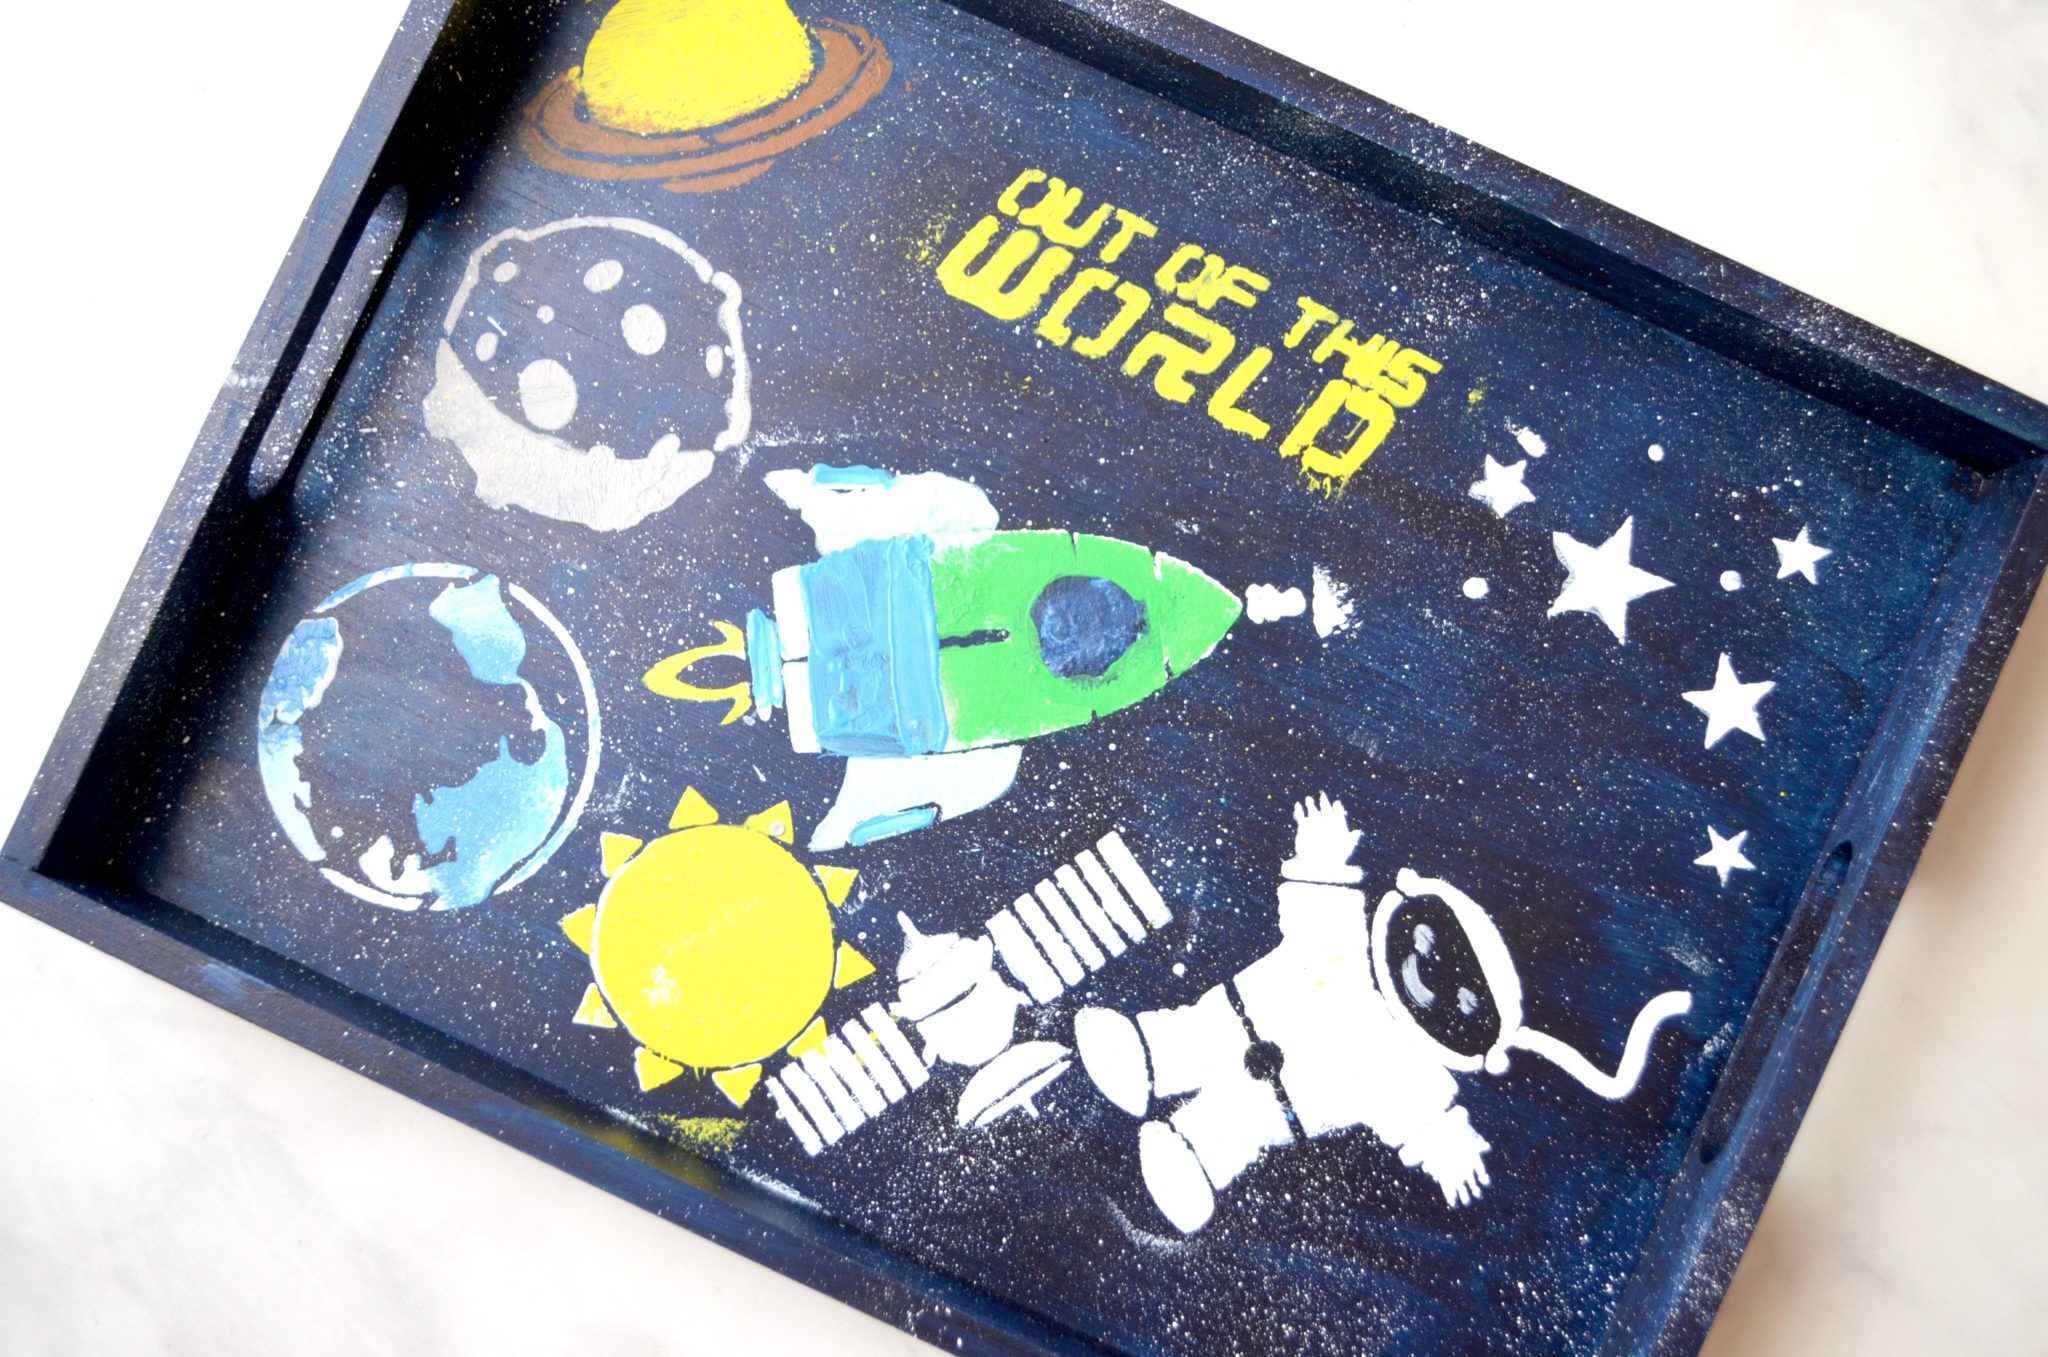
Step 6 {optional}: Seal your project.
If your project is something that will experience everyday handling or use, you may want to seal it with something like Mod Podge to maintain the appearance long term.
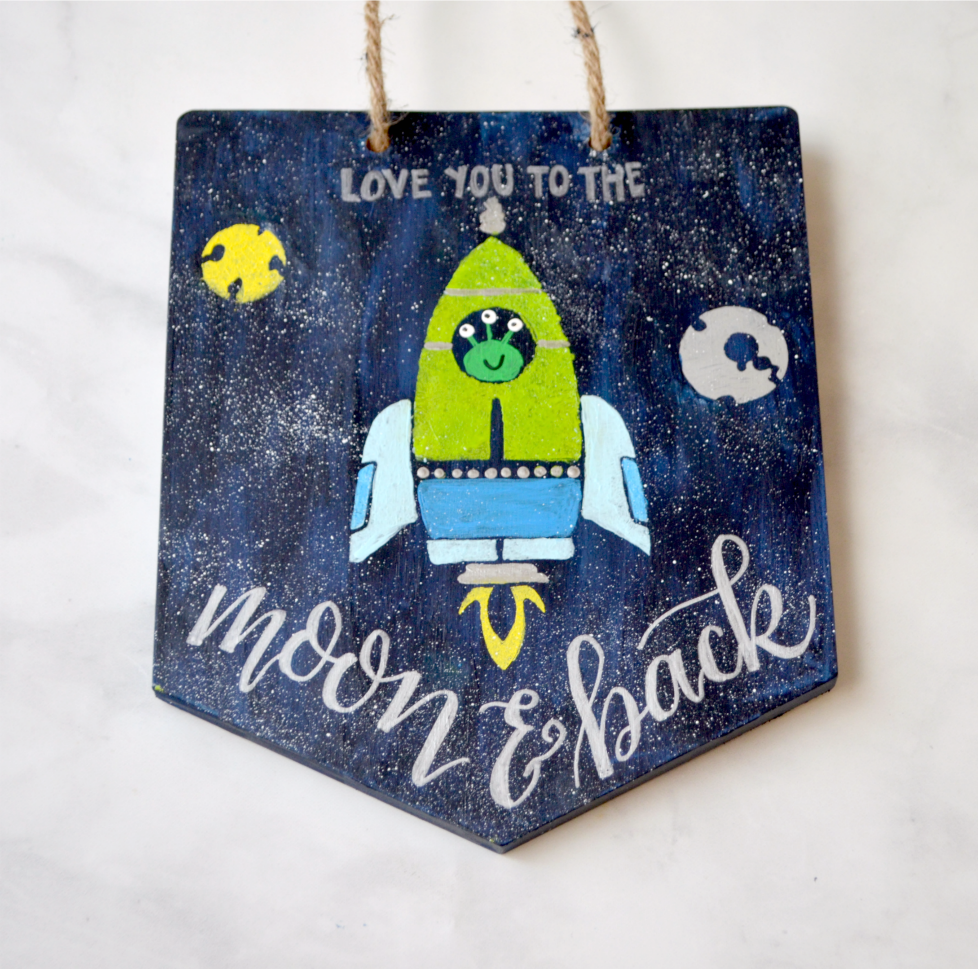
If you create something that’s to be viewed but not really touched, like the wall sign I made, you don’t need to worry about sealing it. You’ll notice that I added a little alien inside the rocket, as well as my hand lettering for a special message.
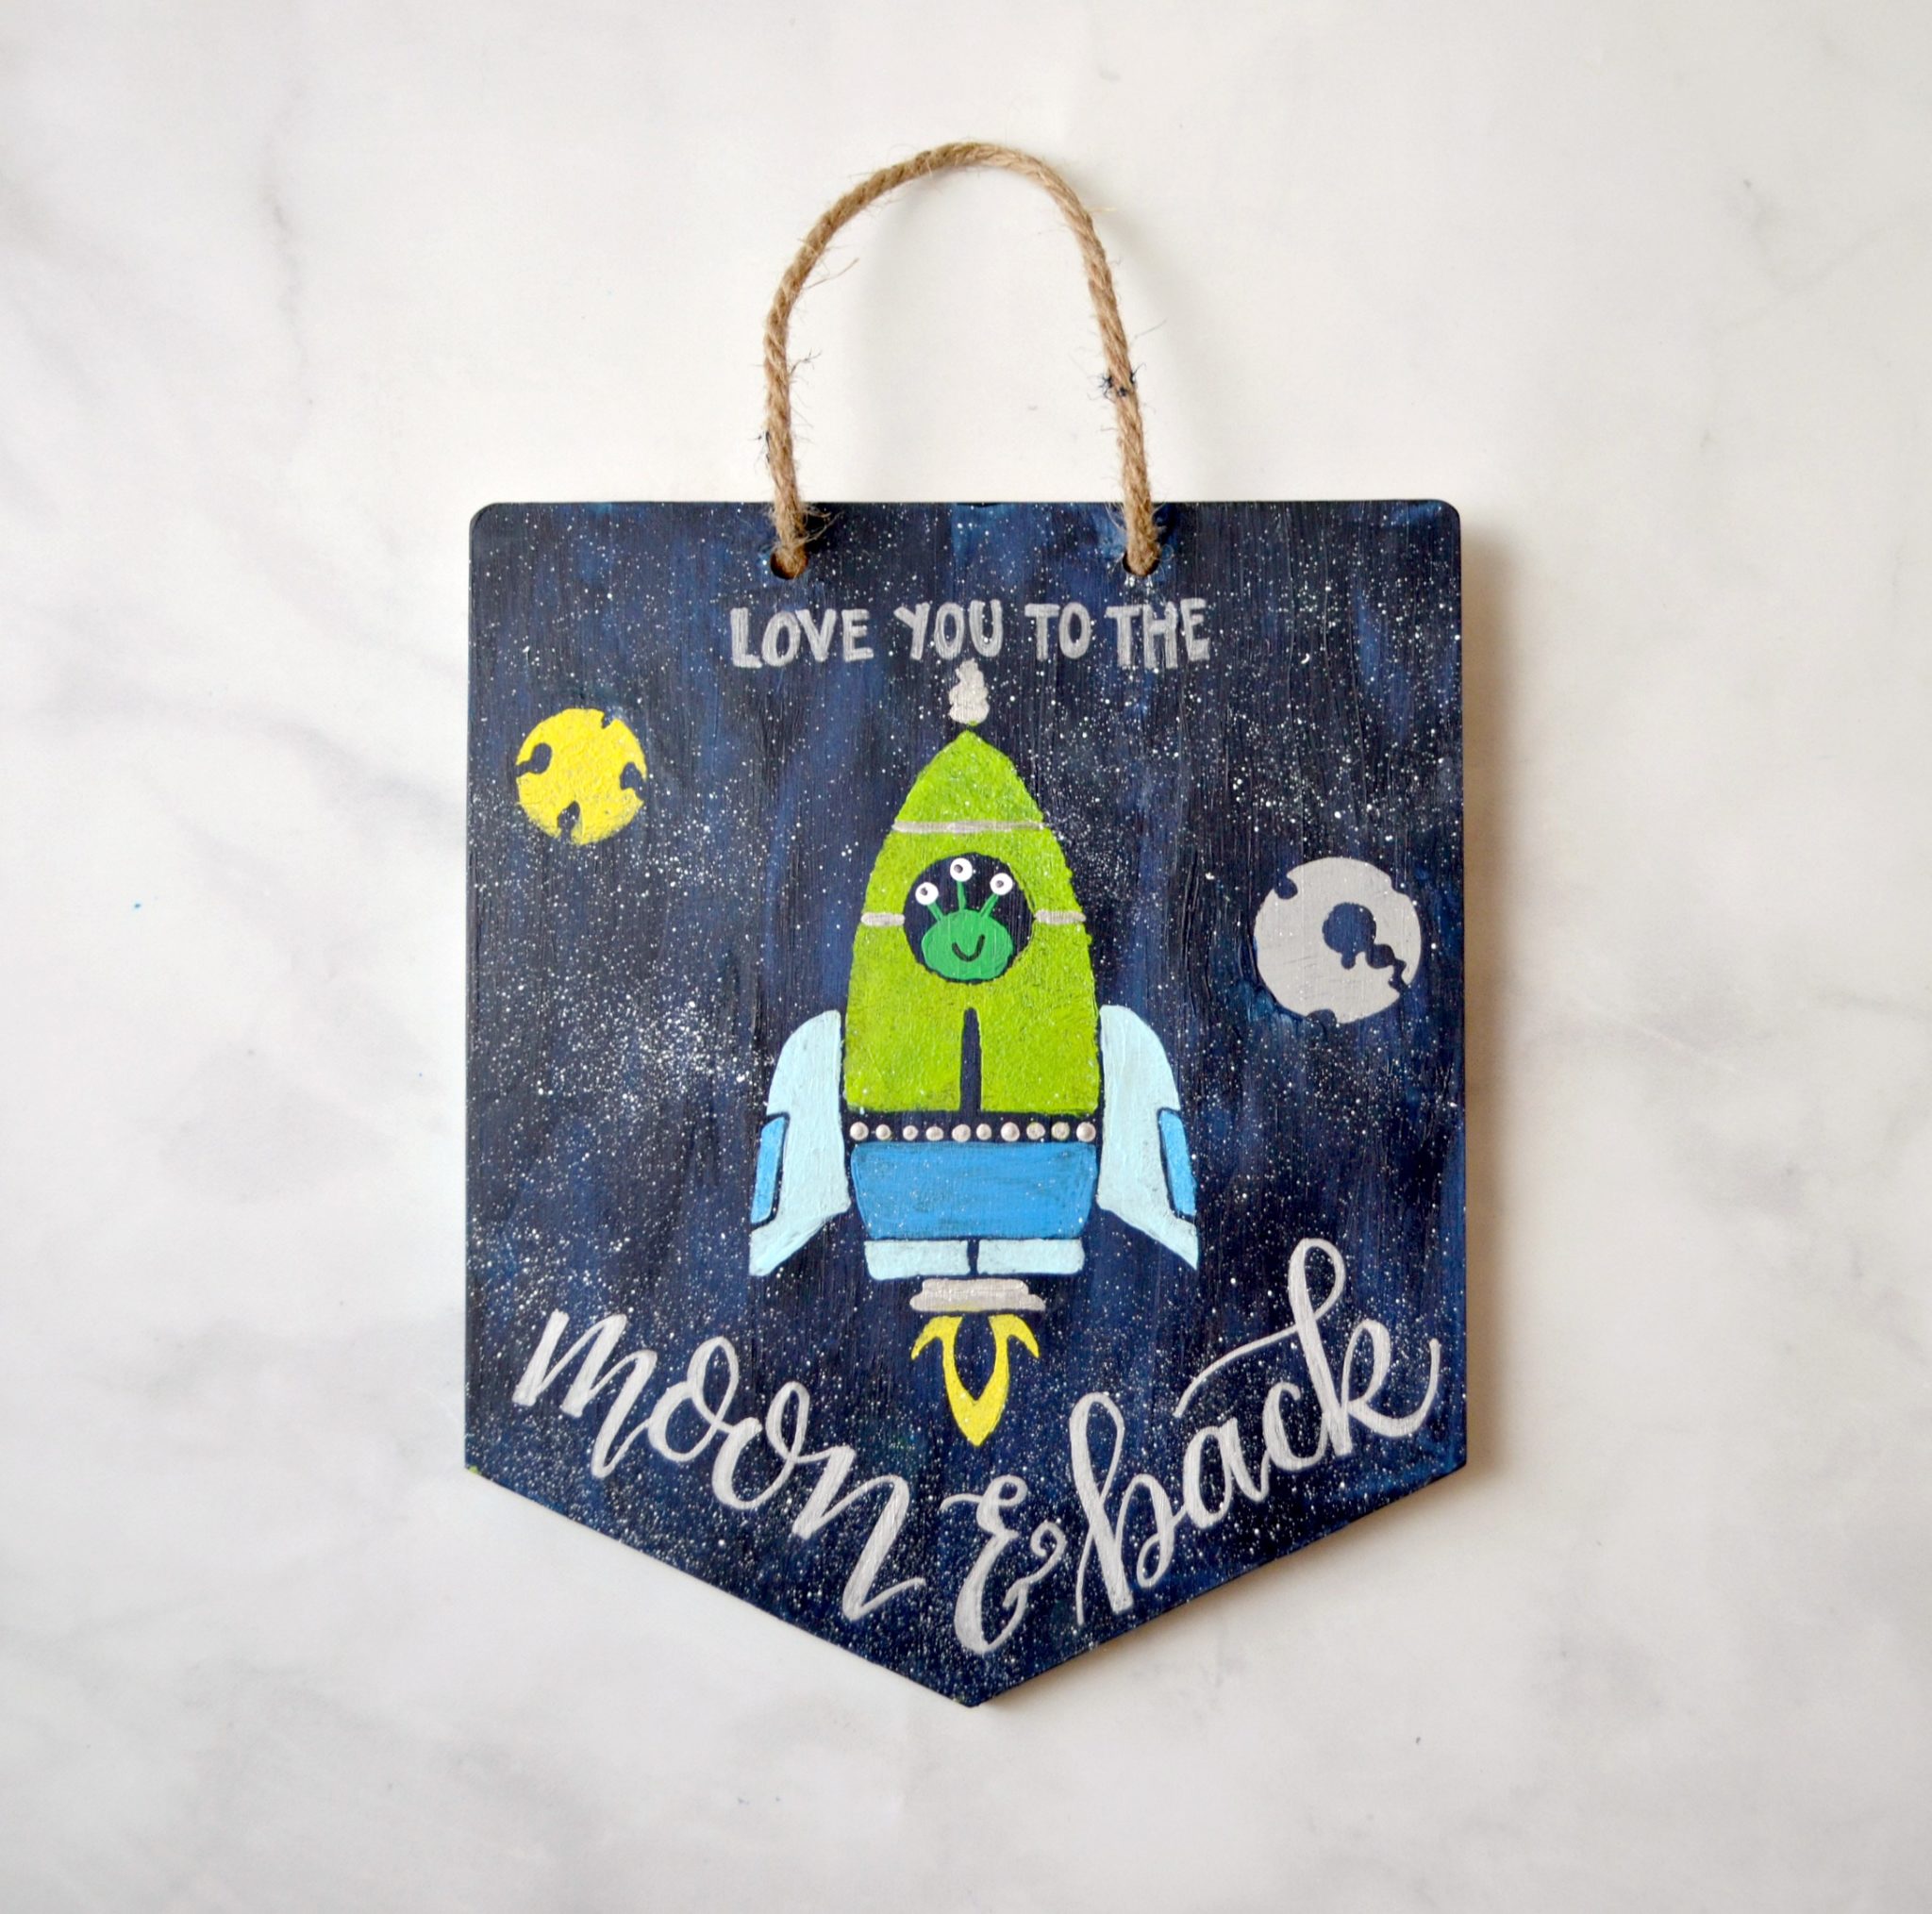
If you want to get this look but aren’t sure how to achieve it, check out my basic hand lettering tutorial…it’s easier than you think. Of course, the stencil set also comes with words you can use, “out of this world.”
These new Martha Stewart Family Crafting products are available exclusively at Michaels stores. Also new, find 168 new additions in the Martha Stewart line, including new silkscreens, which are great for achieving highly detailed designs with ease.
What do you think? Is there a future astronaut in your life who would love these “out of this world” projects? There are also tons of other stencil images to choose from to totally personalize your project. Have fun creating together like we did, and then show us what you made in the Amy Latta & Friends Facebook group! See you there!
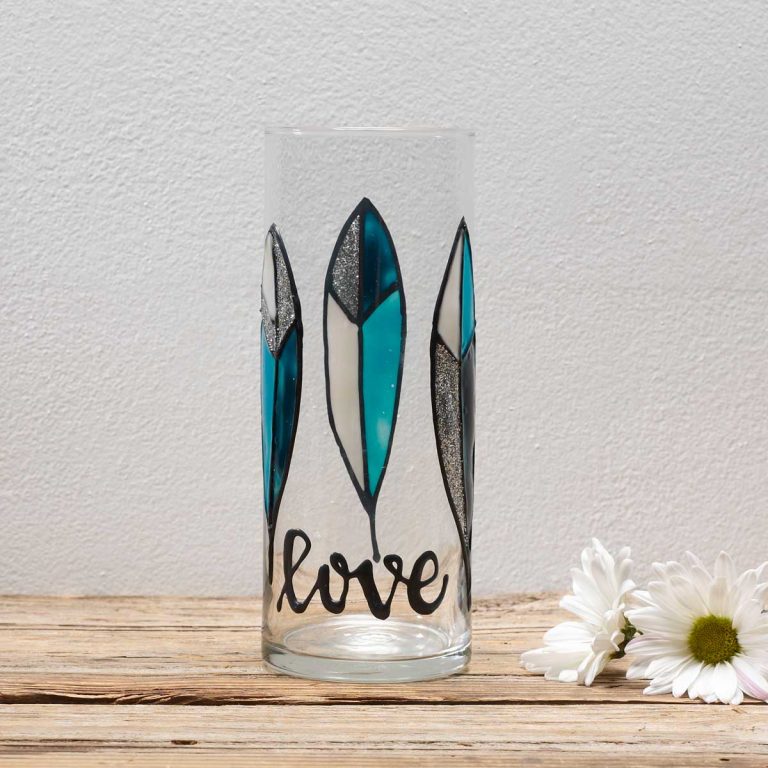
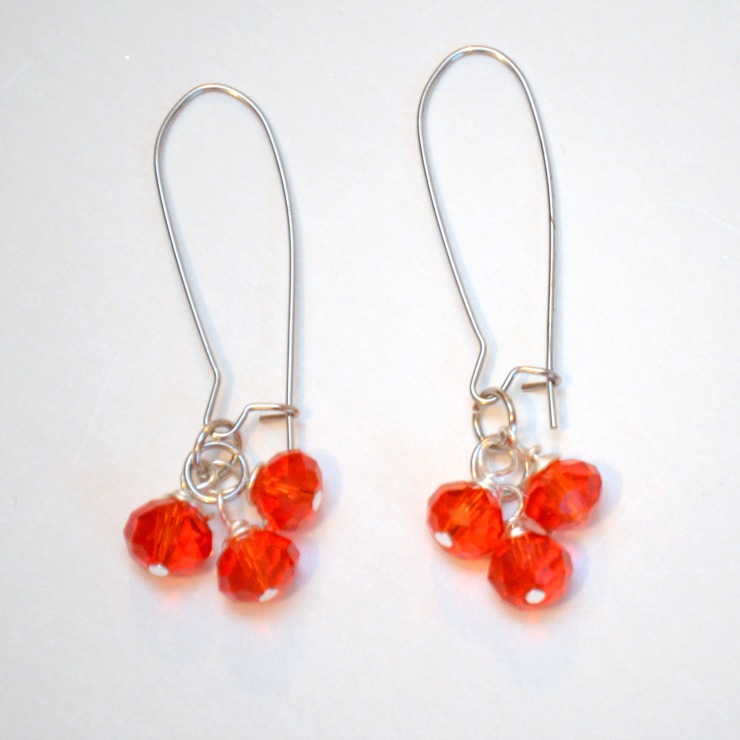
Be sure to check out these other fun projects my fellow Plaid Creators made using this new line of Martha Stewart products, and don’t forget to follow Plaid Crafts on Facebook, Twitter, Instagram, and Pinterest for more inspiration!
Stenciled Neighborhood Embroidery Hoop Art – Flamingo Toes
Stenciled Wood Coasters – Petticoat Junktion
Princess Castle Toddler Desk – Made to be a Momma
Stenciled Dog Tablecloth – The Cards We Drew
DIY Rolling Wooden Toy Bin – Erin Spain
Remember, if you like it, then you oughta put a Pin on it!